
Create and send an invoice
Select a client and catalog items, review the total, then save or send an invoice.
- 1
Start an invoice
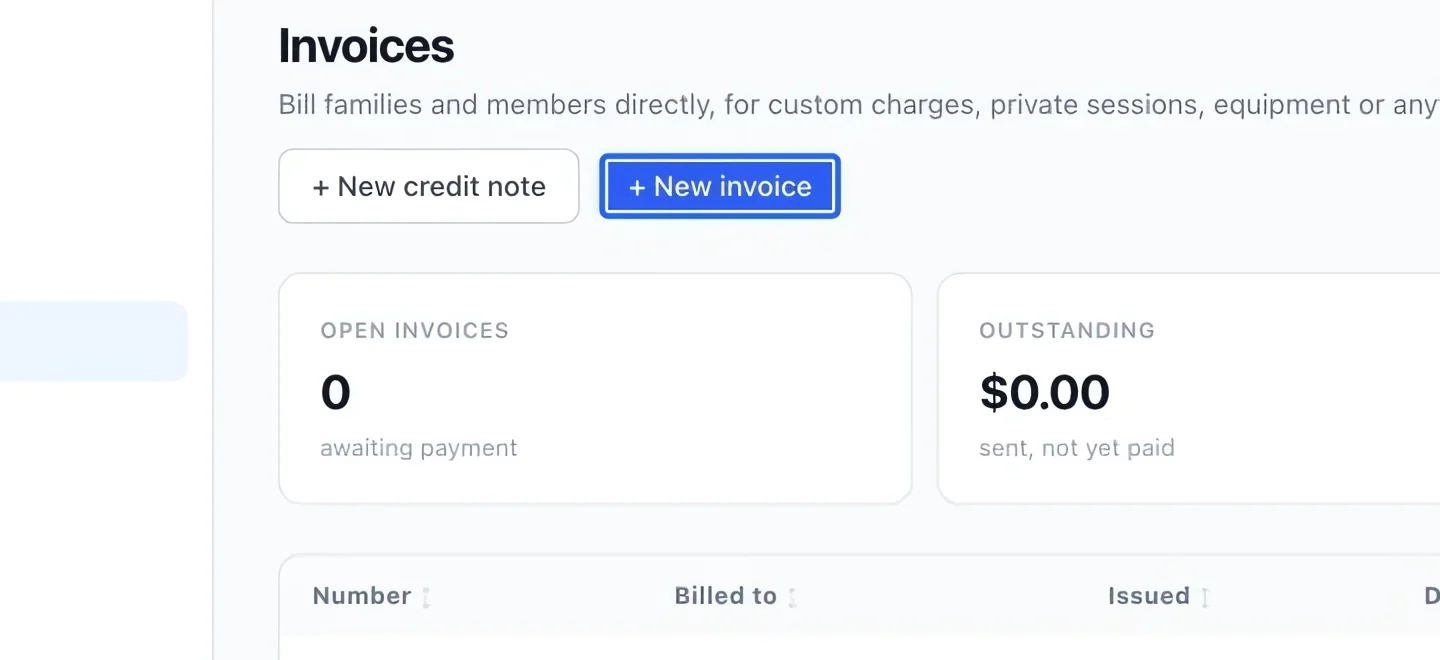
Open Money → Invoices and click + New invoice. Have the client’s account and the items you are billing ready.
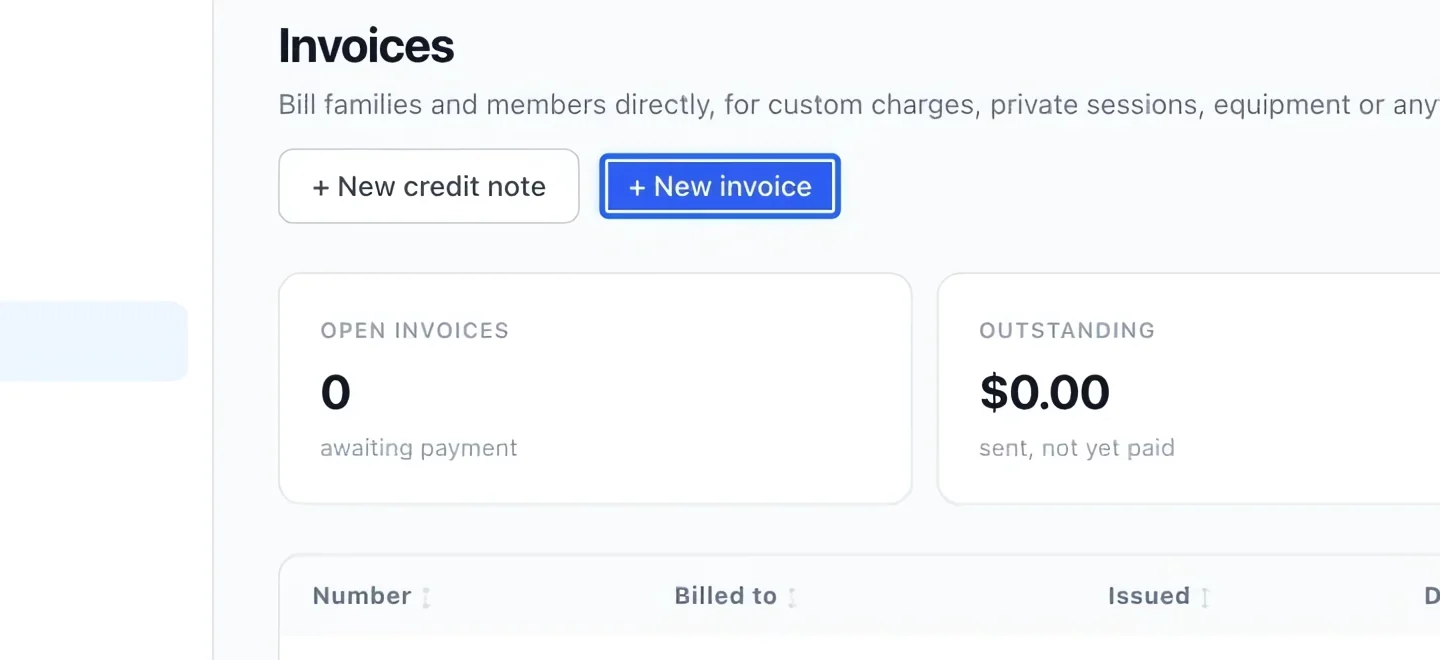
Select the screenshot to enlarge it. The blue outline marks the control to use.
- 2
Select the client
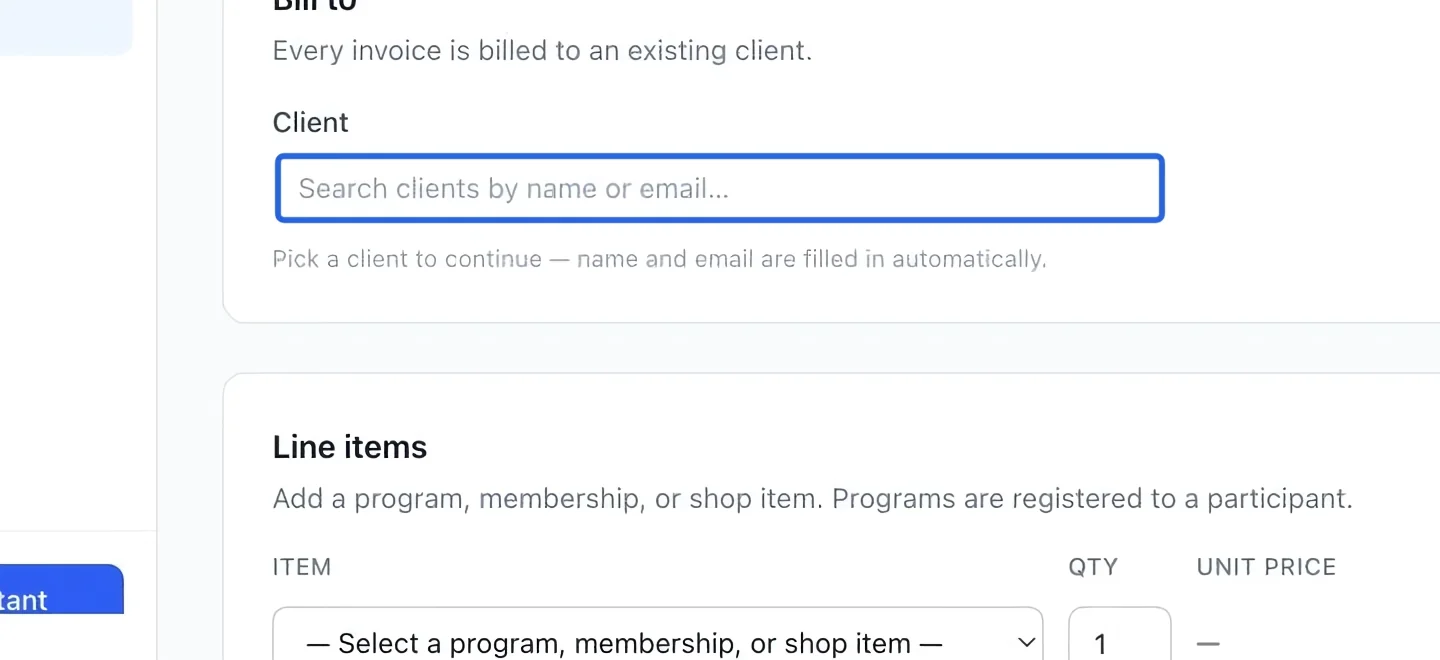
Under Bill to, type the client’s name or email and select the matching result. The invoice must belong to an existing client. Verify the selected name and email before adding charges.
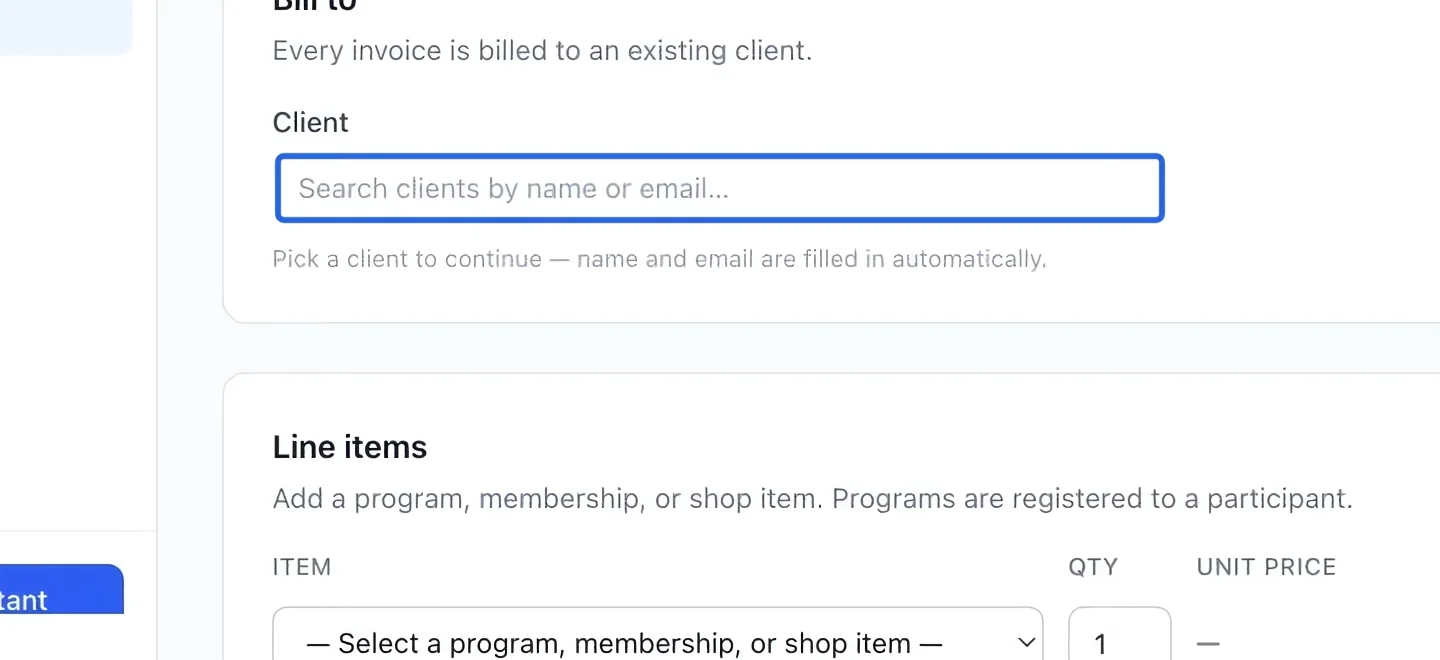
Select the screenshot to enlarge it. The blue outline marks the control to use.
- 3
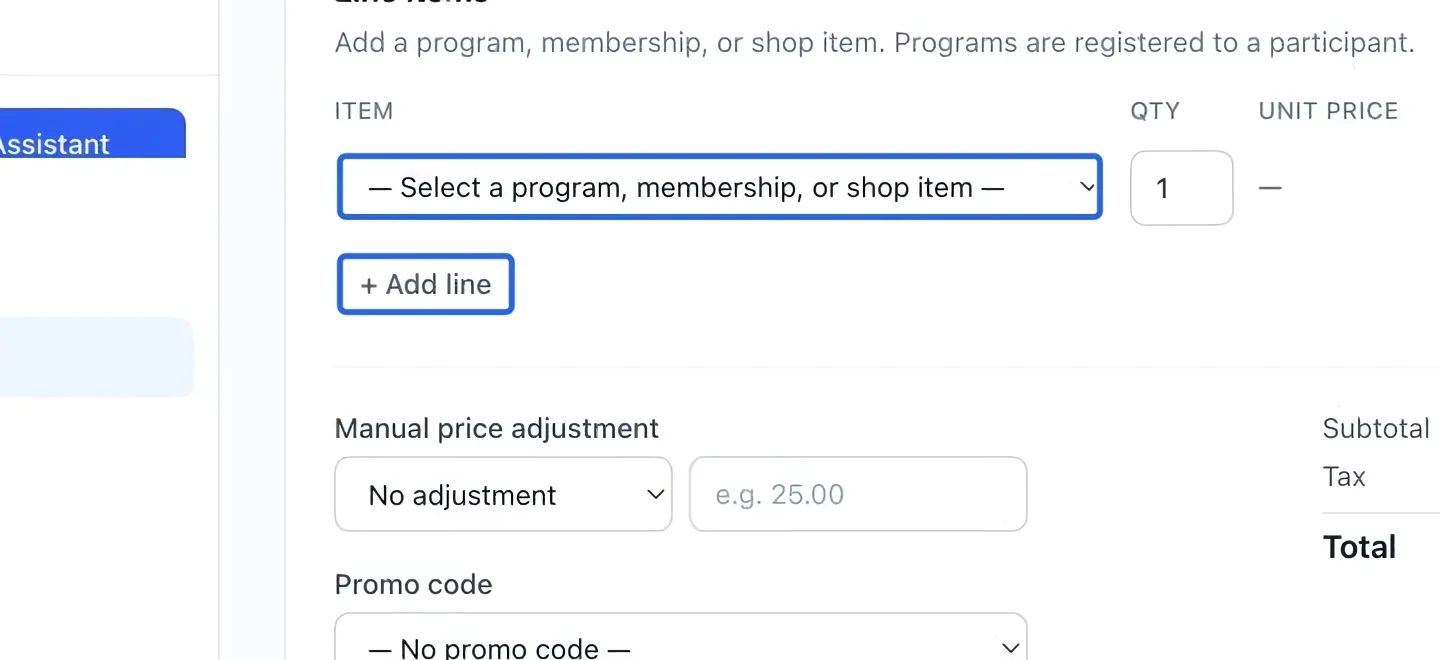
Choose the catalog items
In Line items, choose a program, membership or store item. For a program, select the participant when prompted; for a product, check the size and quantity. Use + Add line for another item.
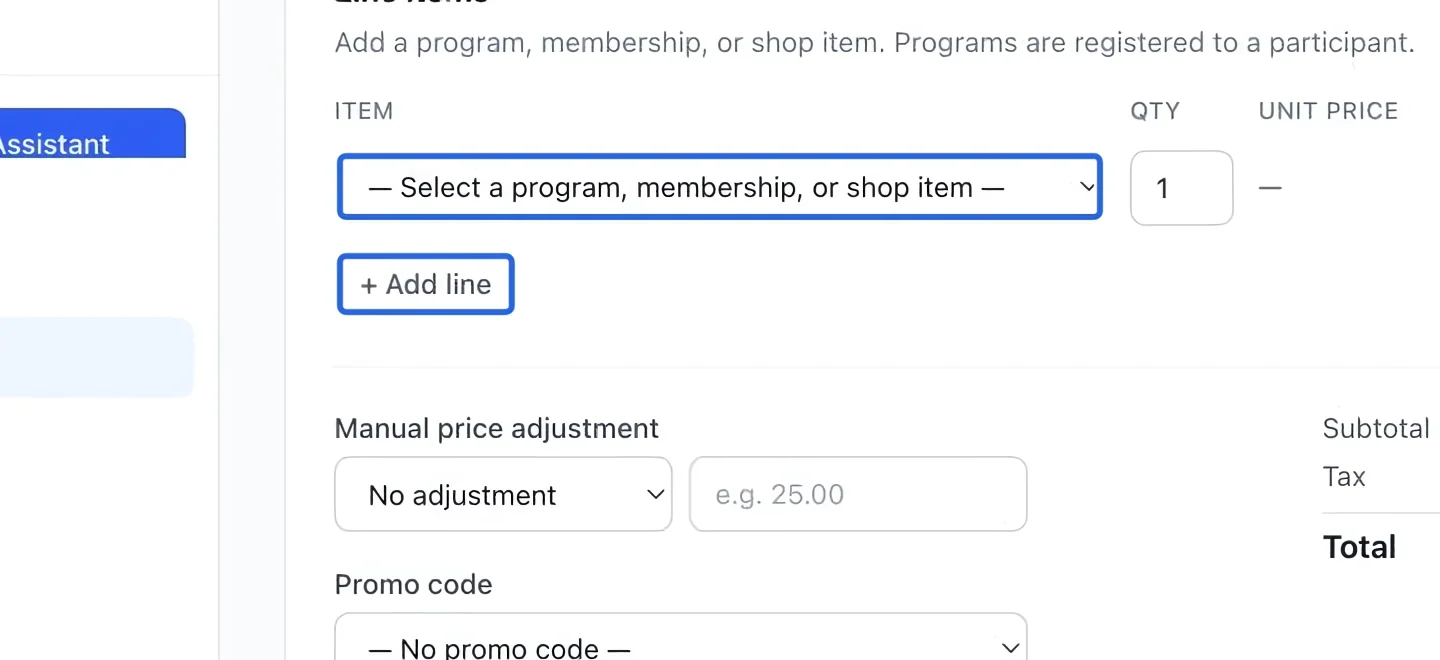
Select the screenshot to enlarge it. The blue outline marks the control to use.
- 4
Review discounts and totals
Apply a Manual price adjustment or Promo code only if intended. Recheck the subtotal, tax and total below the items. A manual invoice is not a free-form charge: select the catalog item being sold. Active multi-course rules apply automatically to qualifying program–participant pairs. A manual adjustment applies afterward; do not enter the automatic savings twice. Review multi-course invoices.
- 5
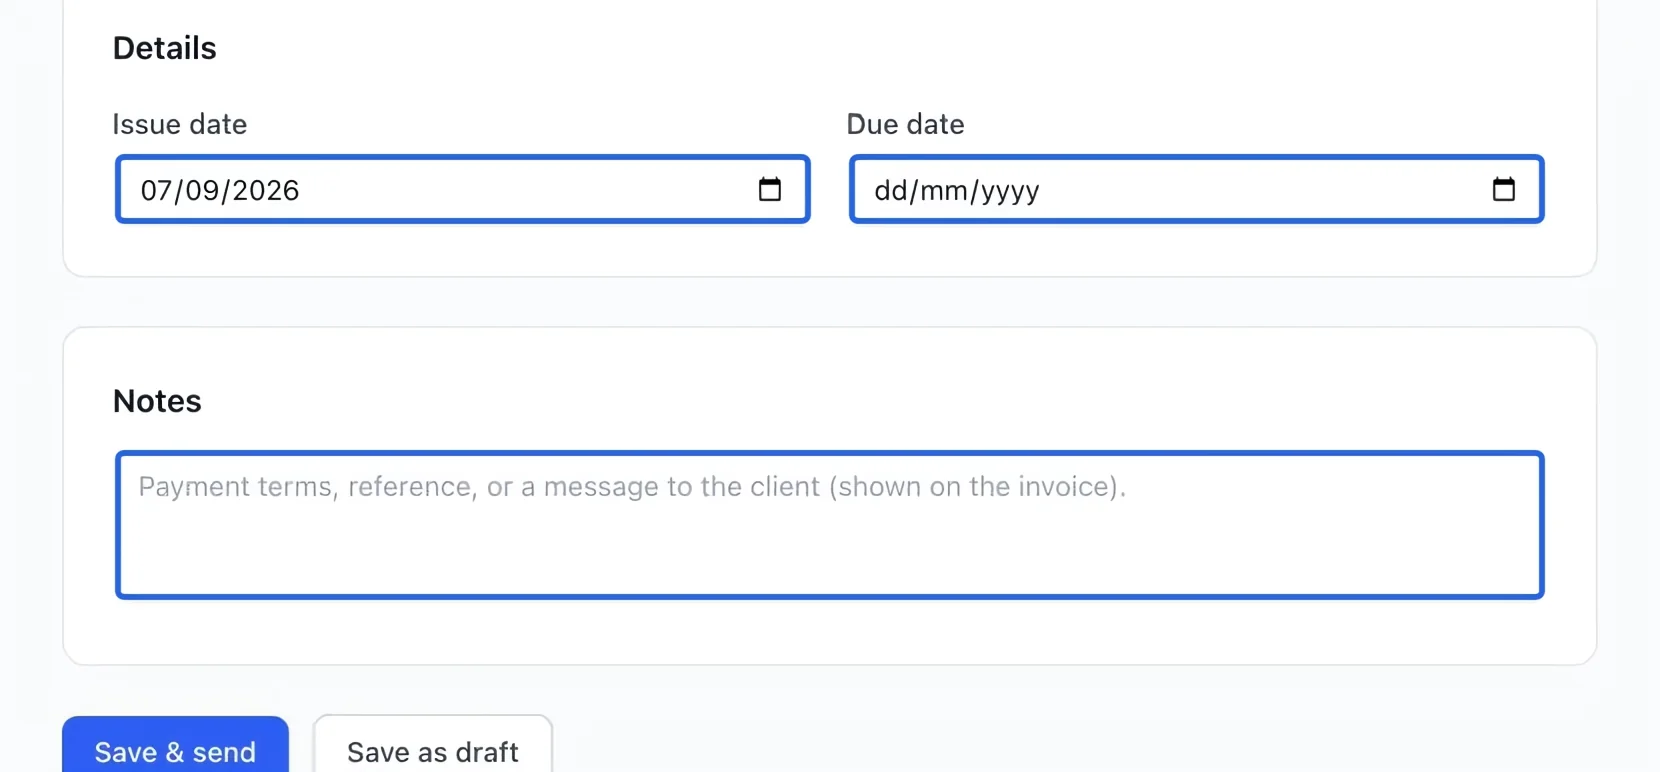
Set the dates and notes
Enter Issue date and Due date under Details. Add payment terms or context under Notes; this text is shown to the client on the invoice. The issue date is also the accounting date. A closed accounting month rejects new postings for that month.
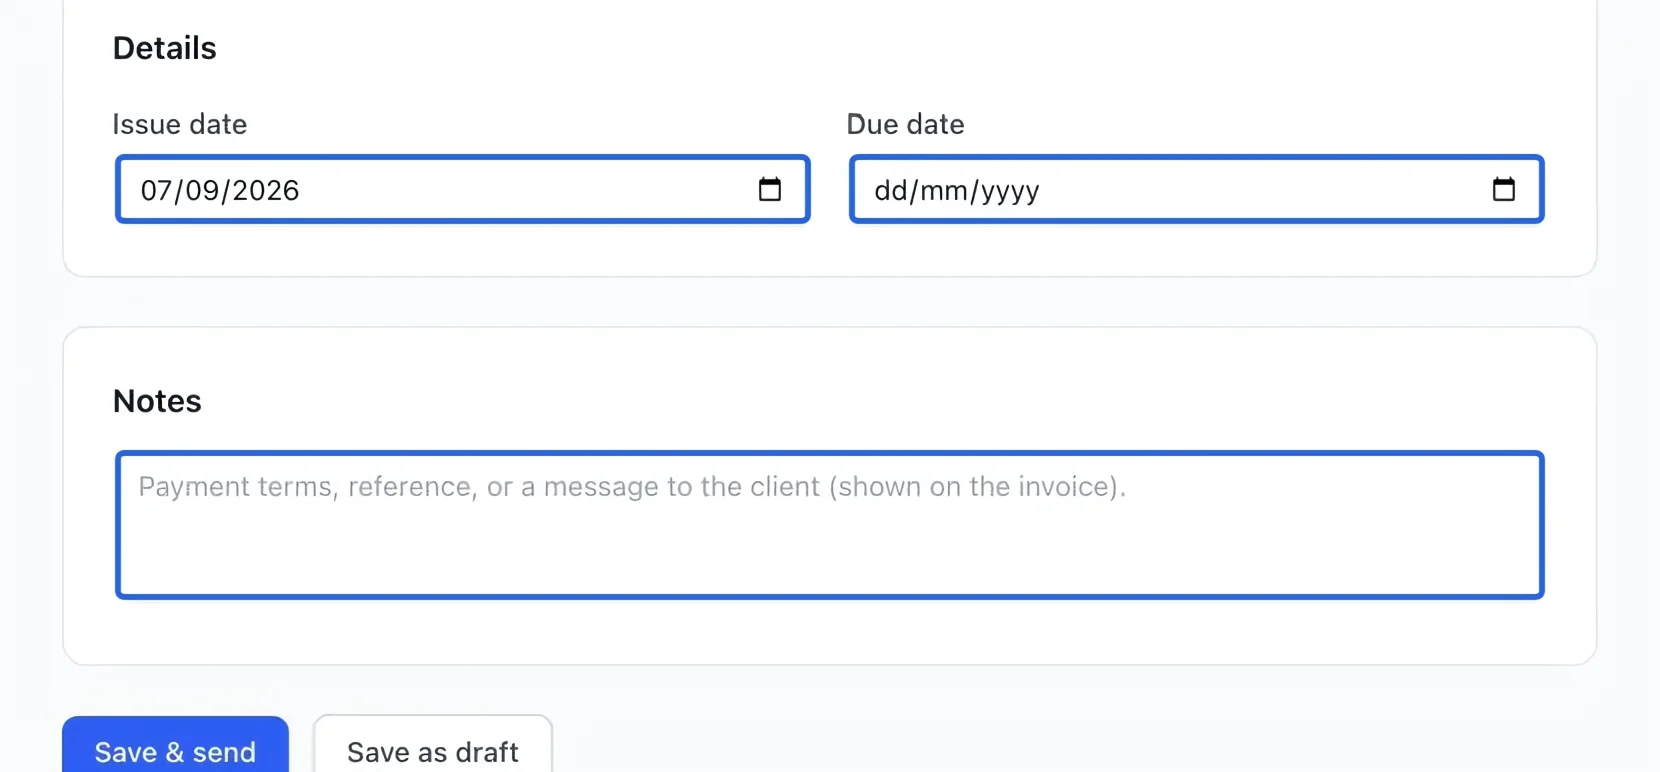
Select the screenshot to enlarge it. The blue outline marks the control to use.
- 6
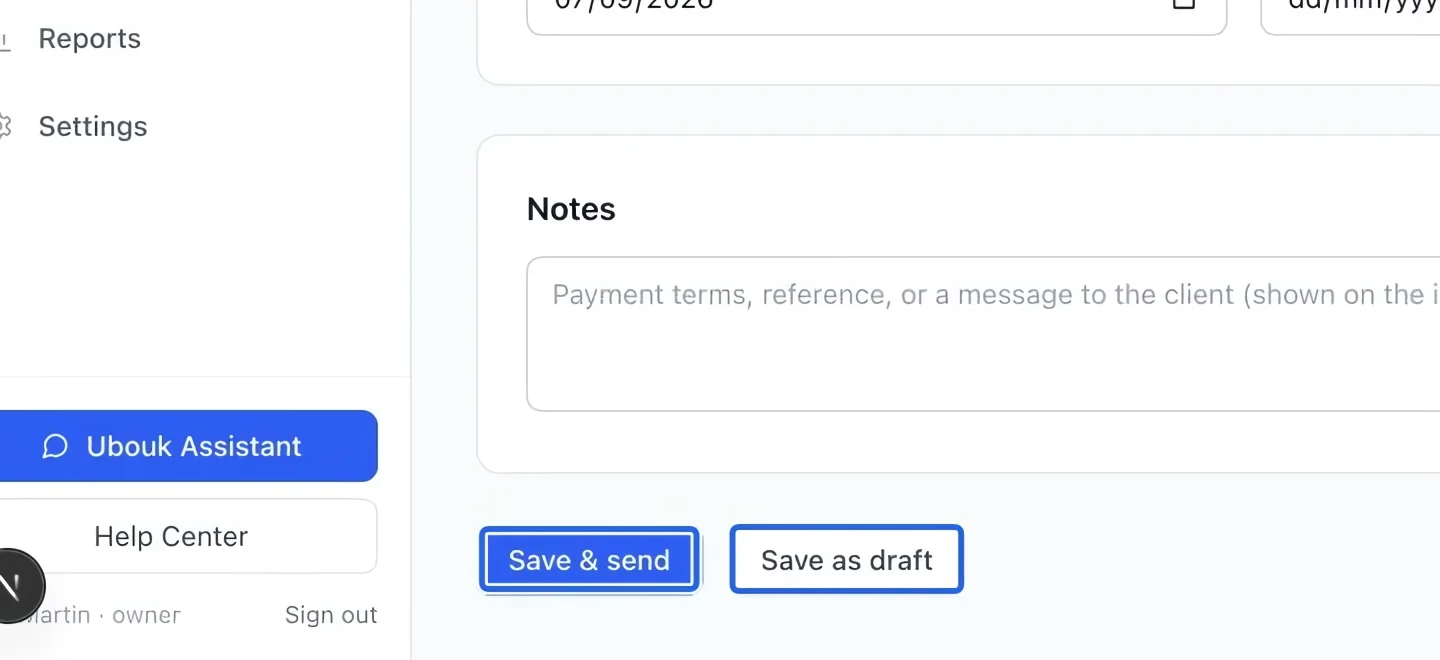
Save or send
Choose Save as draft to continue later. When the recipient, items and total are correct, choose Save & send to email the invoice. Online card payment requires your Stripe connection. Issuing posts the sale using the current accounting mappings; a draft does not post sales. Once journal entries exist, the accounting basis is locked.
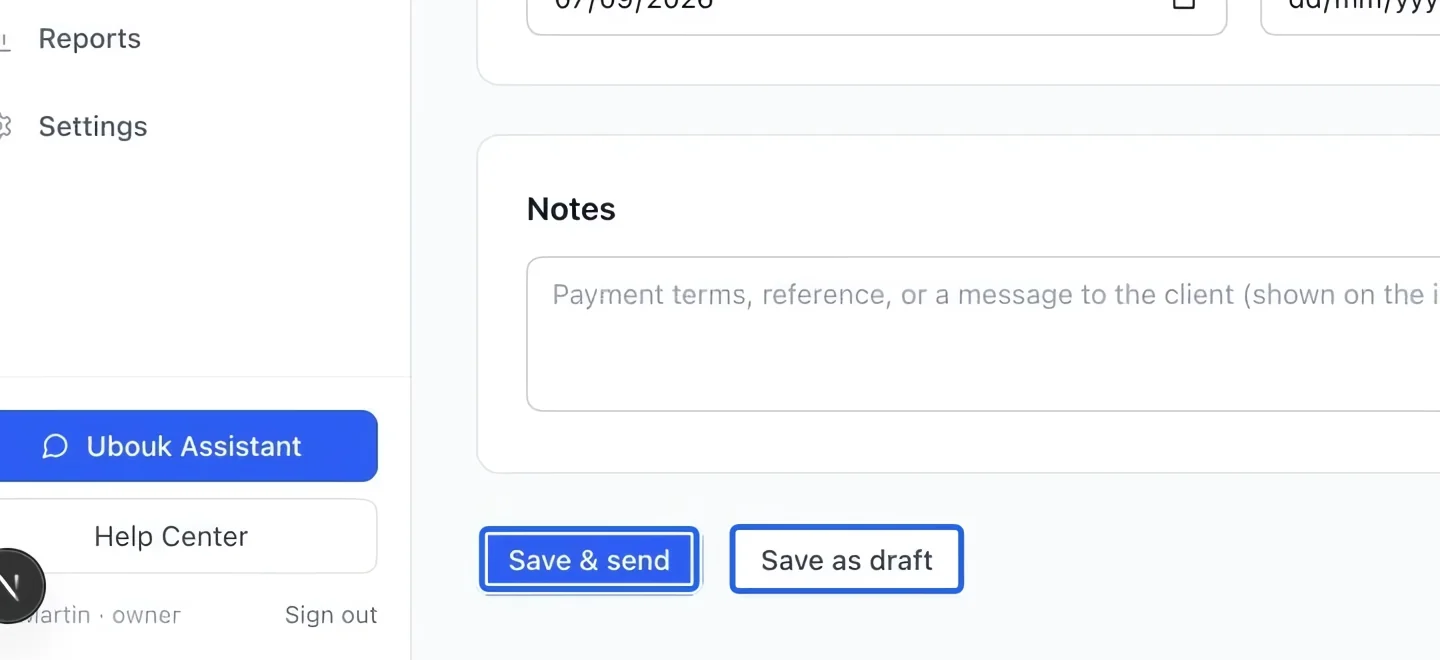
Select the screenshot to enlarge it. The blue outline marks the control to use.
- 7
Check payment status and documents
Check Paid and Balance due, alongside Partially paid, In instalments, Paid or Written off status. Record an offline or partial payment only for money actually received. Use invoice grouping and statements for participant layouts, PDFs and the family’s account history. Loyalty points become available only after the program ends, even if paid in full or by installments beforehand. Per-dollar rewards use eligible program payments minus refunds; each program in a mixed purchase waits for its own final date.
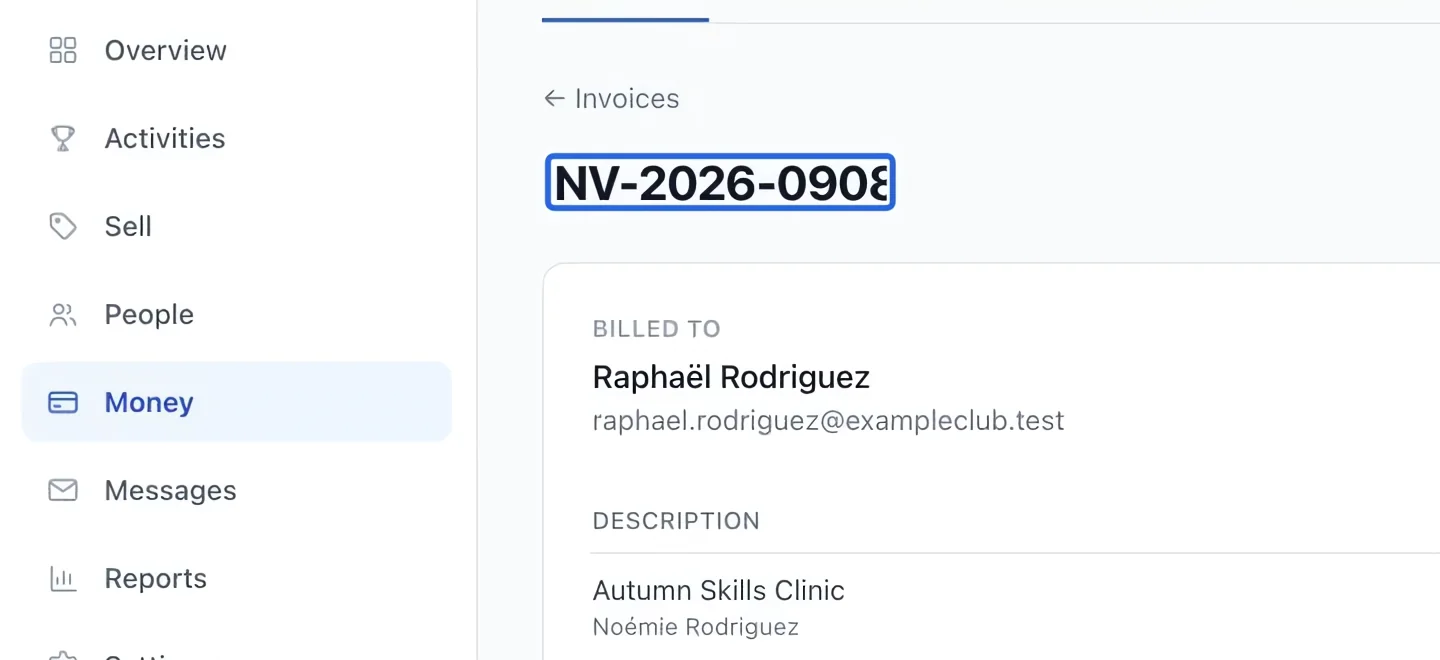
Select the screenshot to enlarge it. The blue outline marks the control to use.
- 8
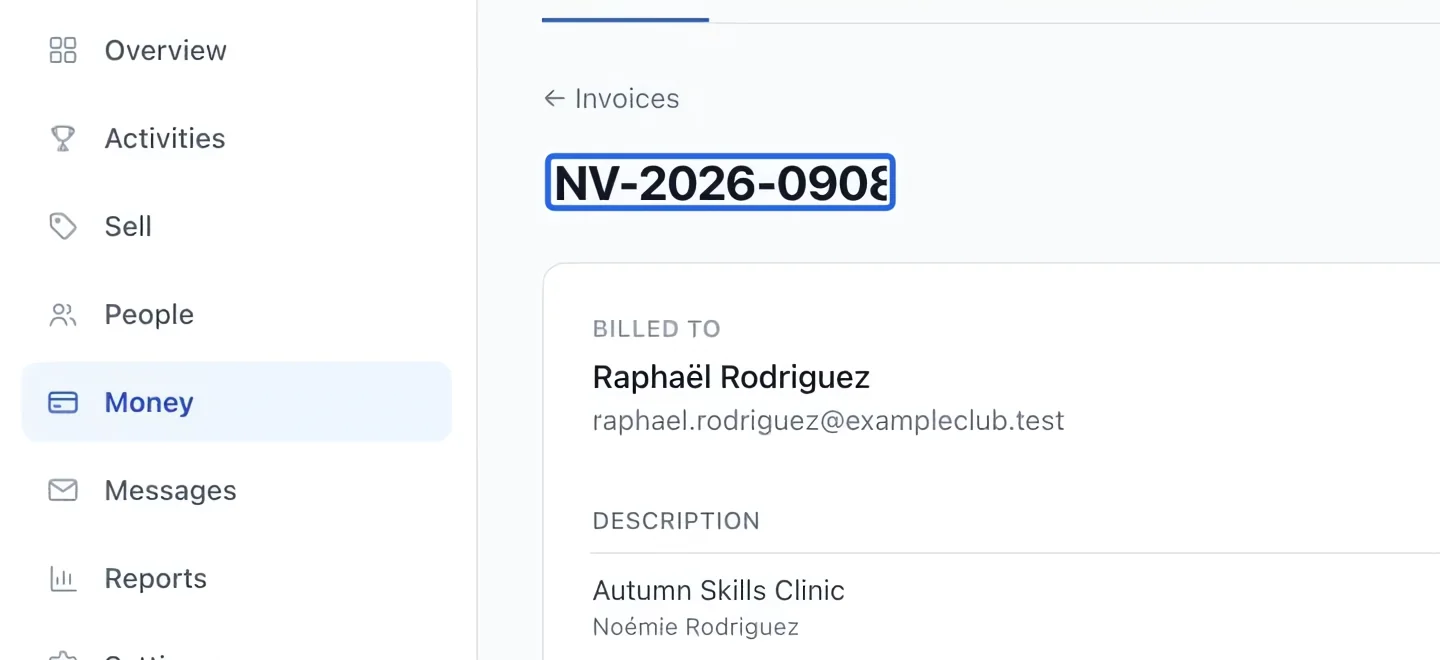
Review catalogue prices and the saved document
Select catalogue items and review their current prices, taxes, quantities, promotions and installment timing. Read any validation error before retrying. After saving, open the invoice and confirm its status and balance before sending or collecting it.
Keep going
Record cash, cheque, e-transfer or organization payments and verify the remaining invoice balance.
Money & invoicingChoose invoice grouping and generate a dated statement of account for a family.
Money & invoicingReverse part or all of an invoice (as account credit or a real card refund) with clean books.
Money & invoicingOffer discounted course payments in registration and family cart checkout, with a choice of before-start or after-start timing.