
Create a program
Publish a season, camp, league or clinic that families can register for on your portal.
- 1
Start a program
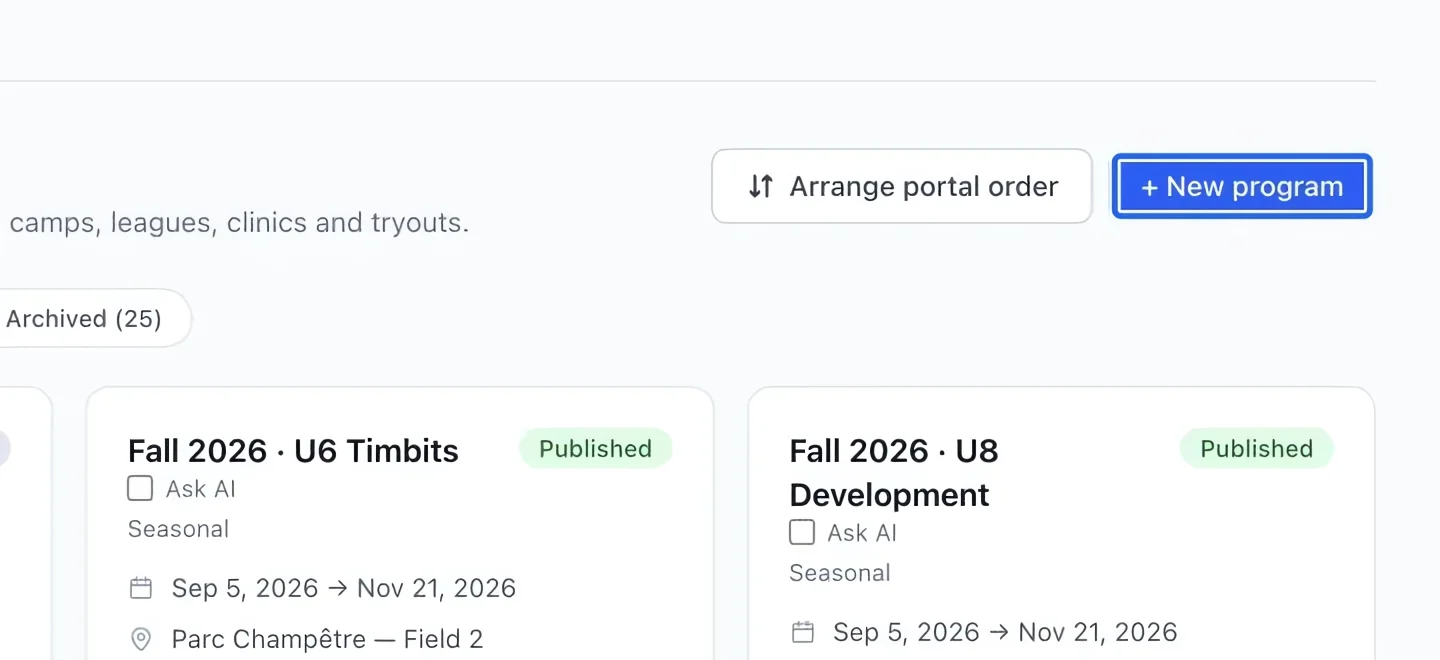
Open Programs and click + New program. A program is the activity families register for, such as a season, camp or clinic.
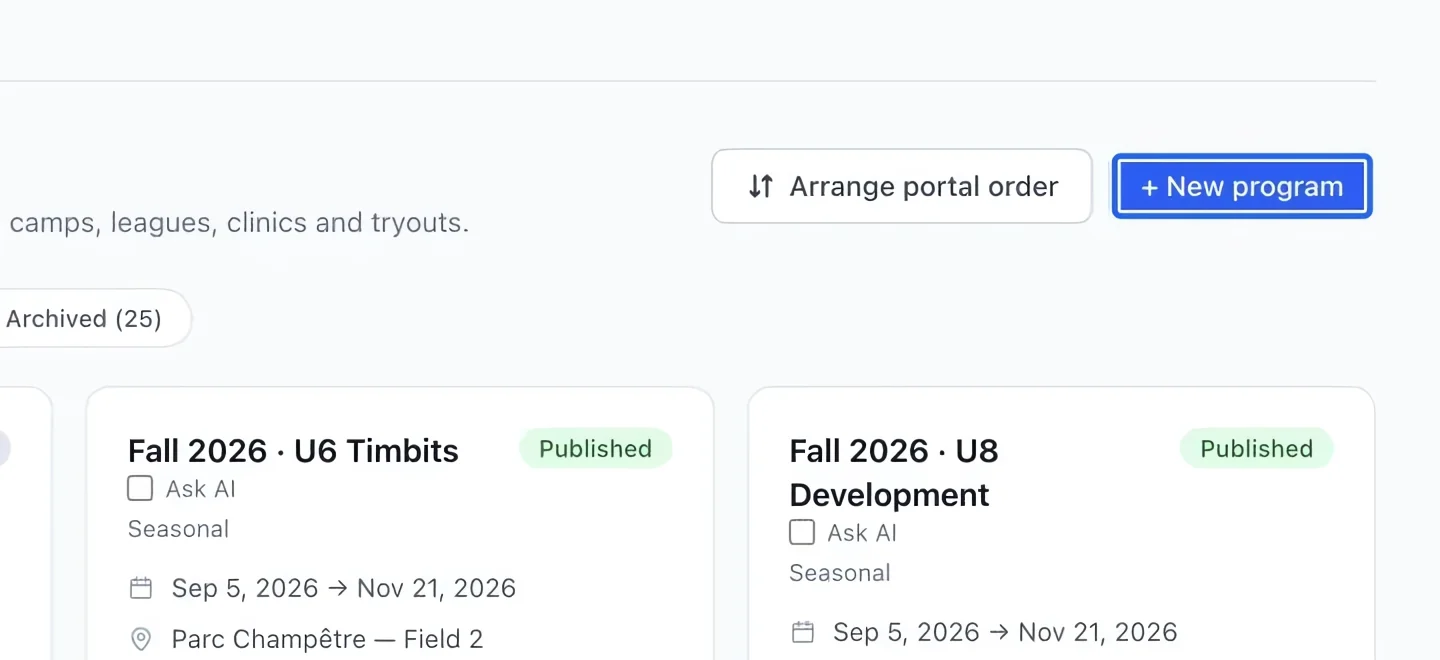
Select the screenshot to enlarge it. The blue outline marks the control to use.
- 2
Name and describe it
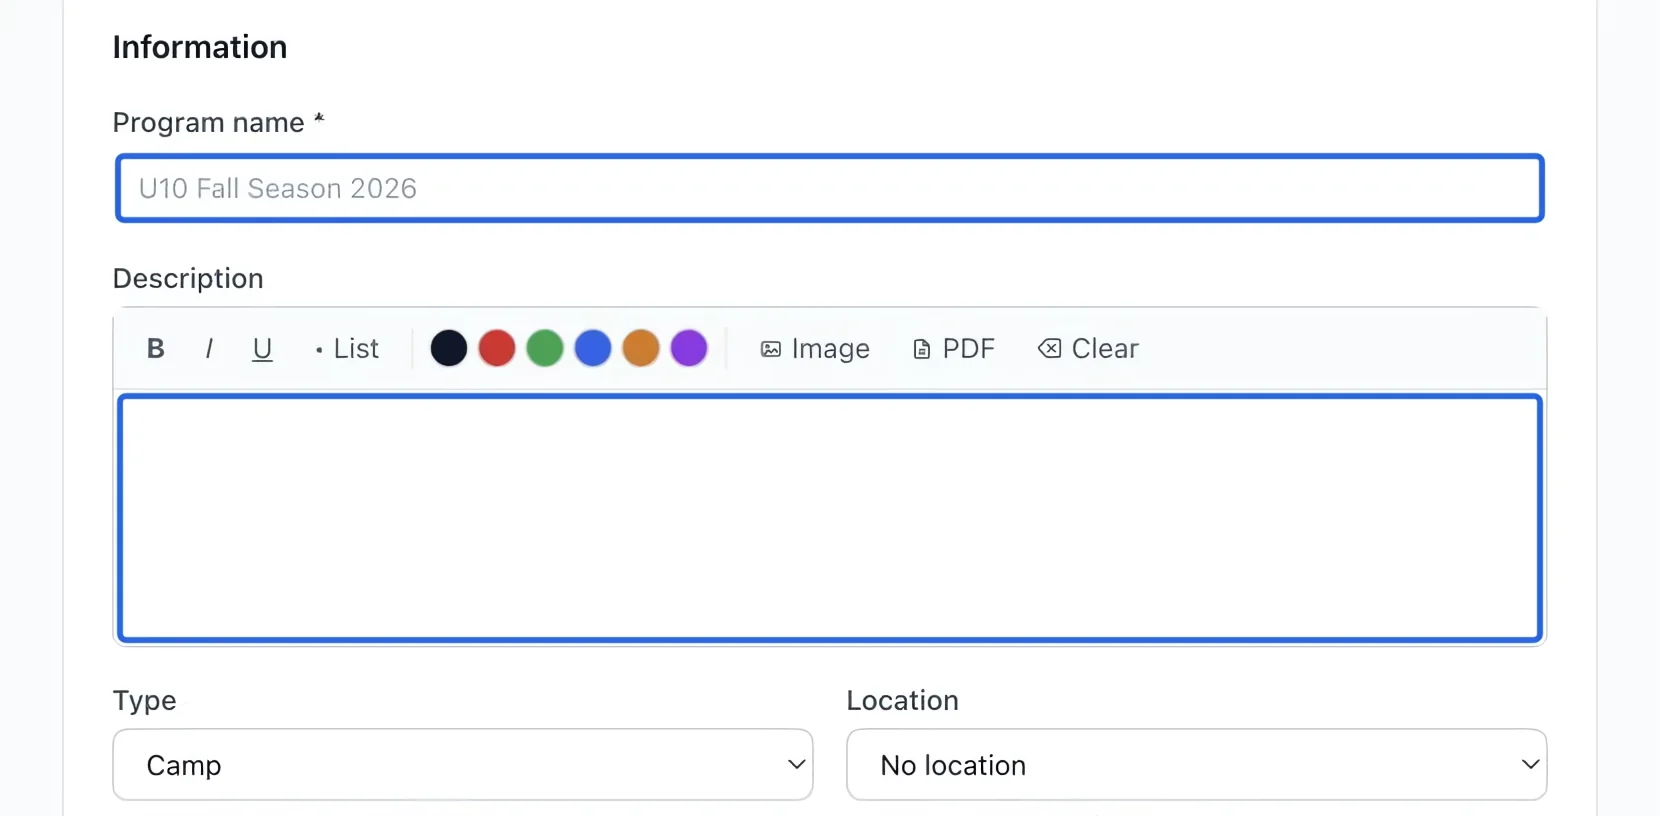
Enter Program name, then write the Description in the large editor. Use a recognizable name such as “U10 Fall Season 2027”; explain who it is for, what is included and what participants should bring.
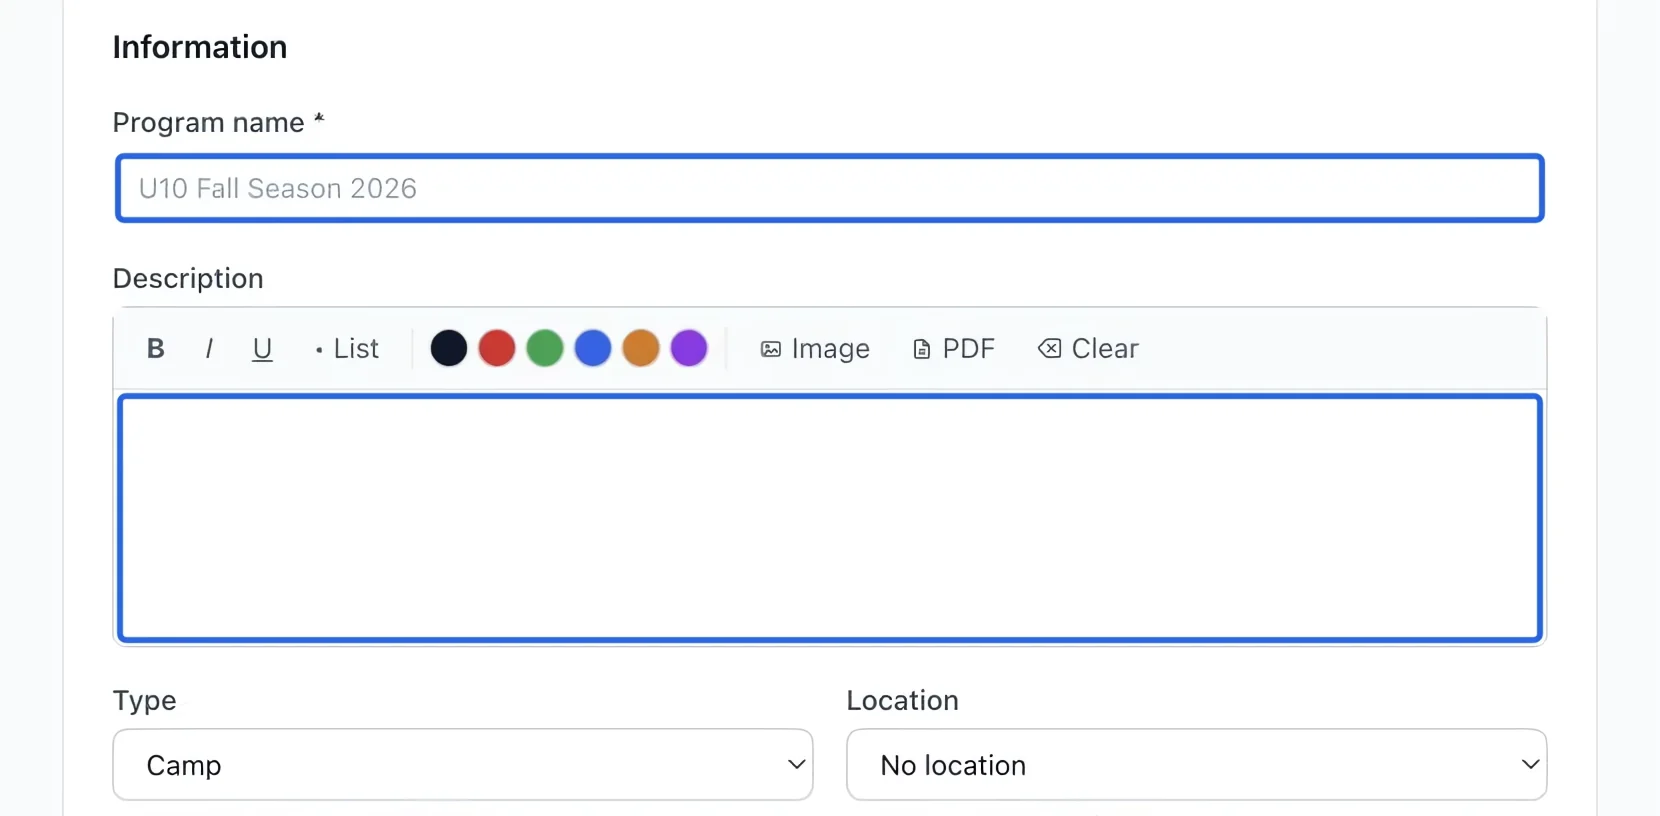
Select the screenshot to enlarge it. The blue outline marks the control to use.
- 3
Choose the type, venue and ages
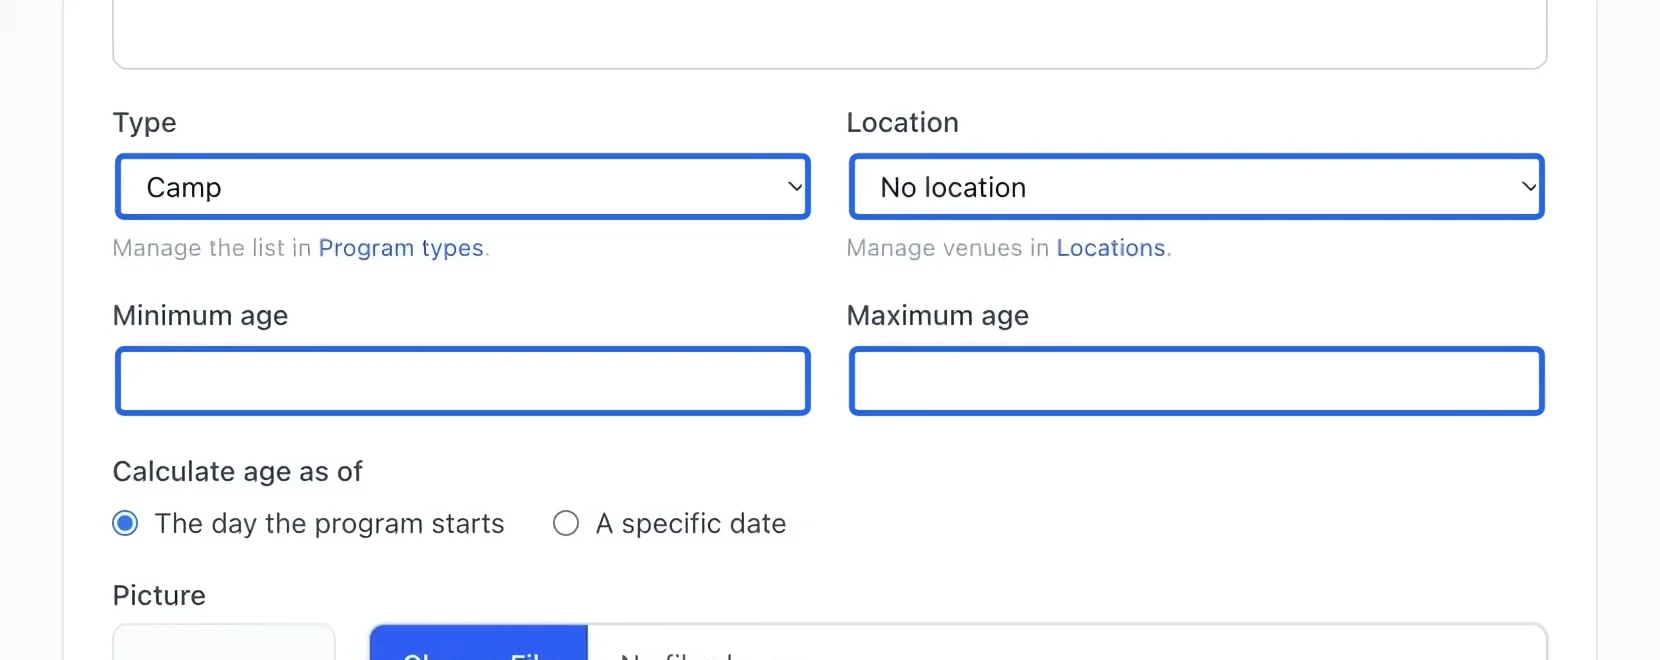
Select Type and Location. Use their manage-list links if an option is missing. Enter minimum and maximum ages only when needed, and check the age calculation date below those fields.
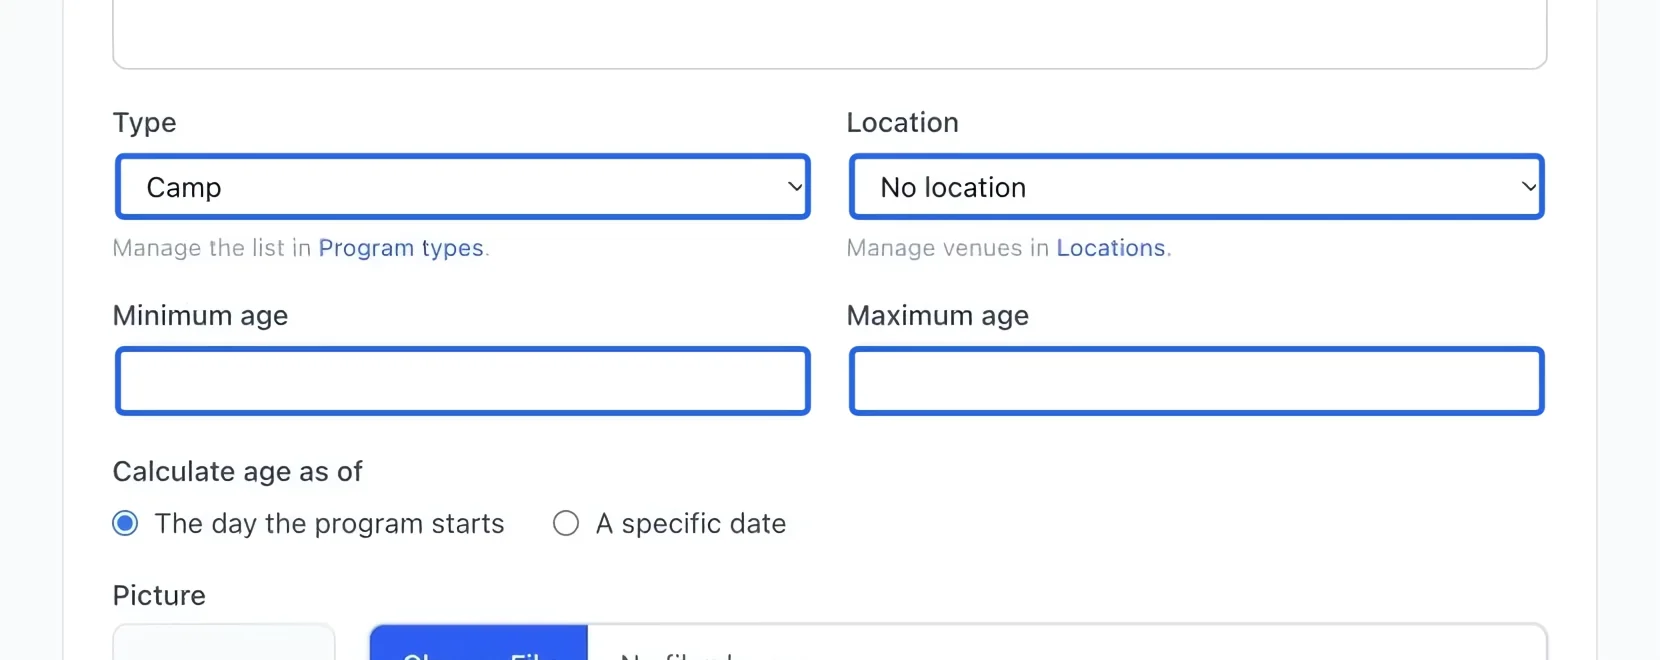
Select the screenshot to enlarge it. The blue outline marks the control to use.
- 4
Set the price and booking dates
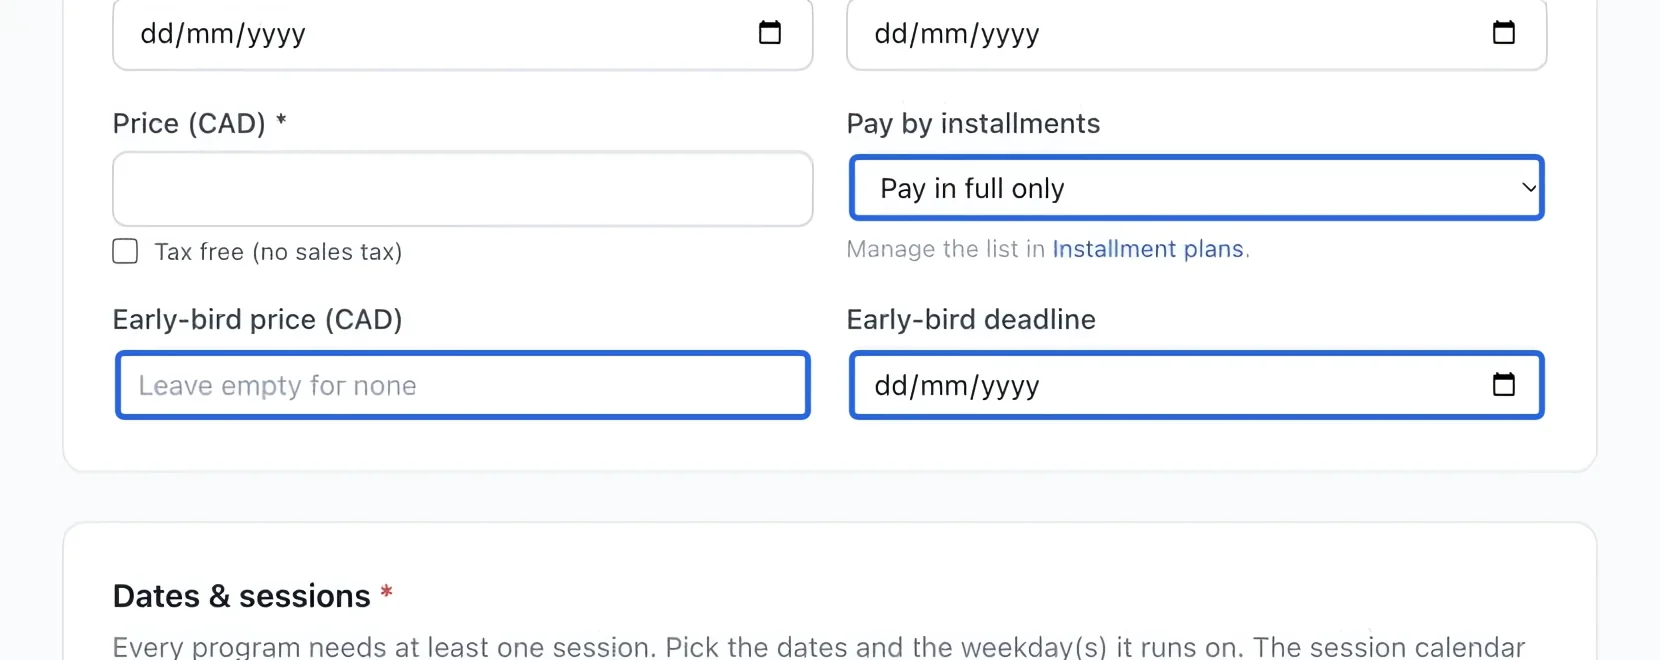
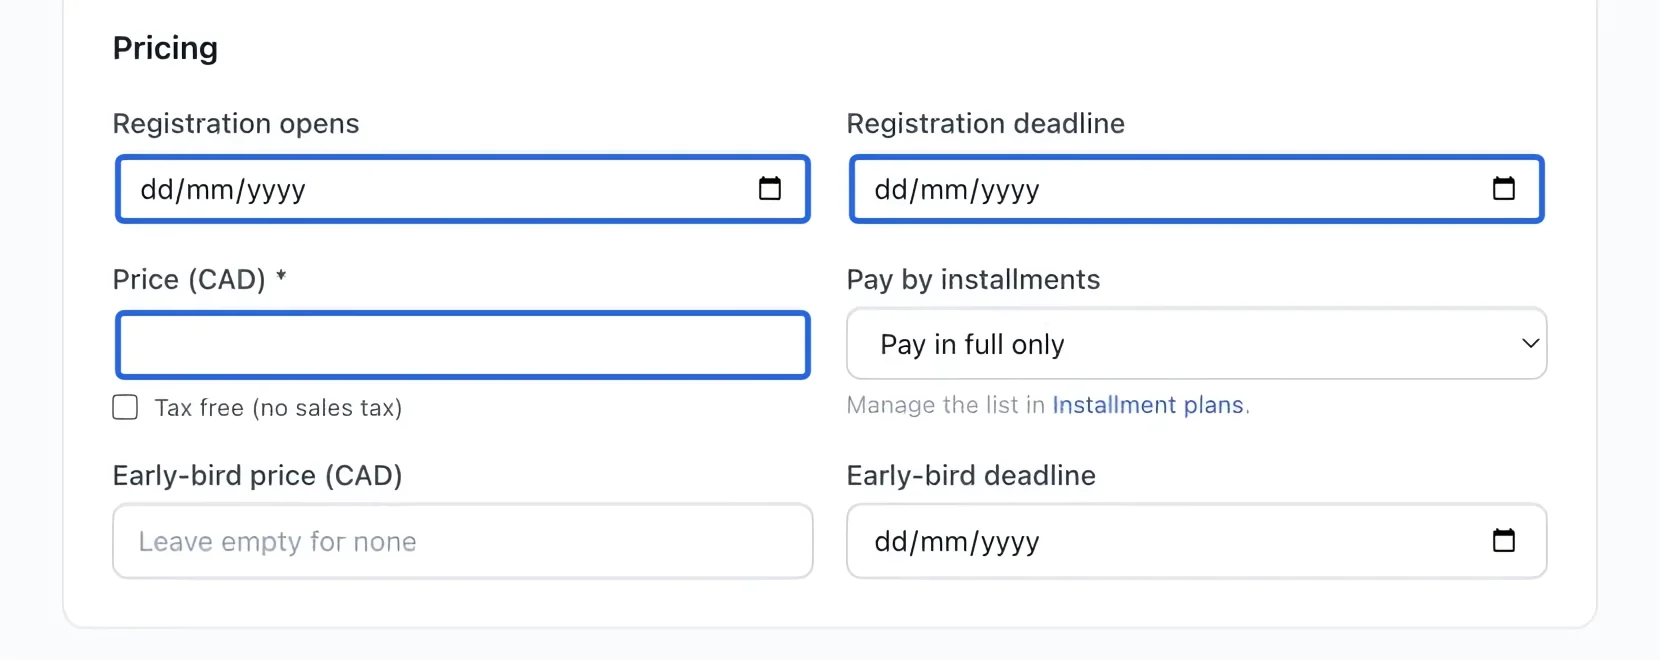
Under Pricing, enter Price in the displayed currency. Optionally set Registration opens and Registration deadline; opening must come before the deadline. Check tax treatment with the person responsible for your organization’s taxes.
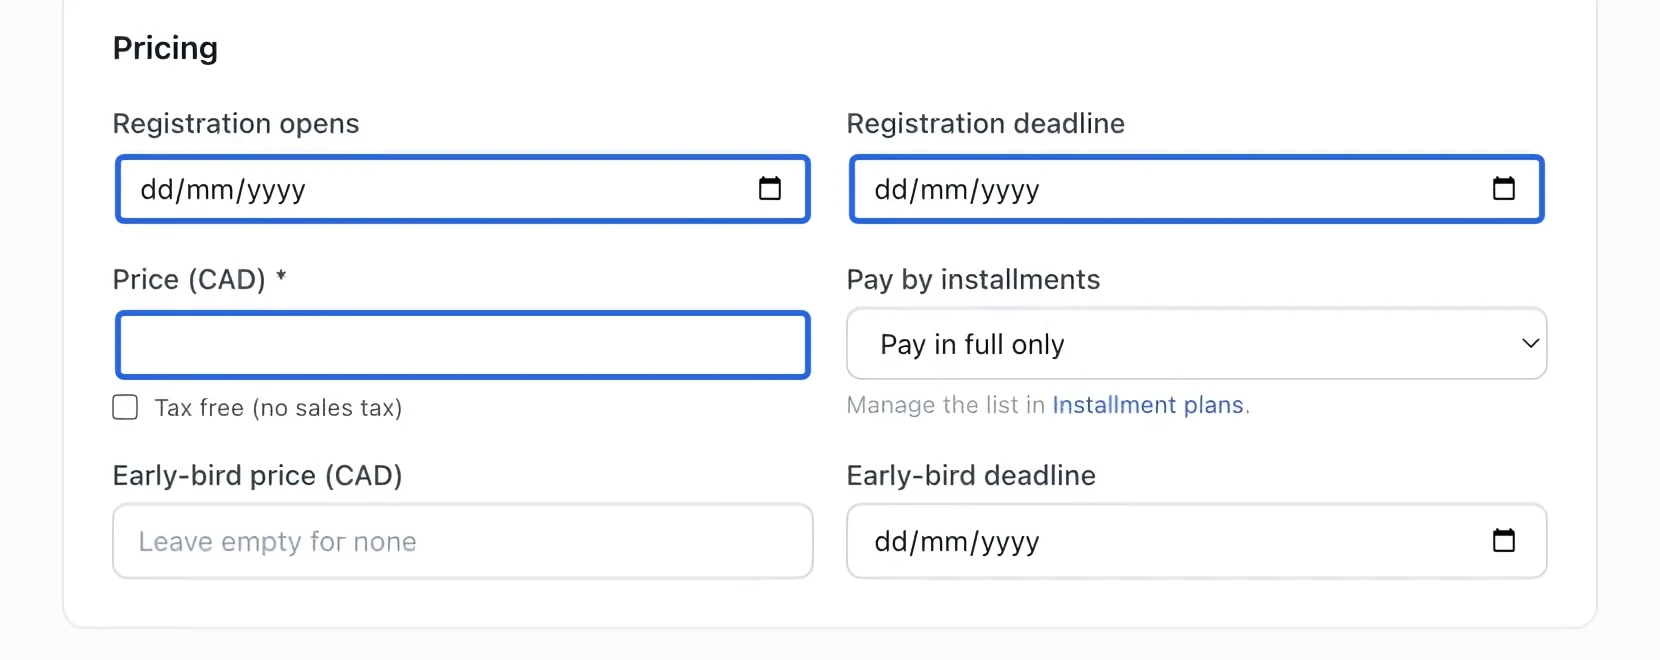
Select the screenshot to enlarge it. The blue outline marks the control to use.
- 5
Set optional payment choices
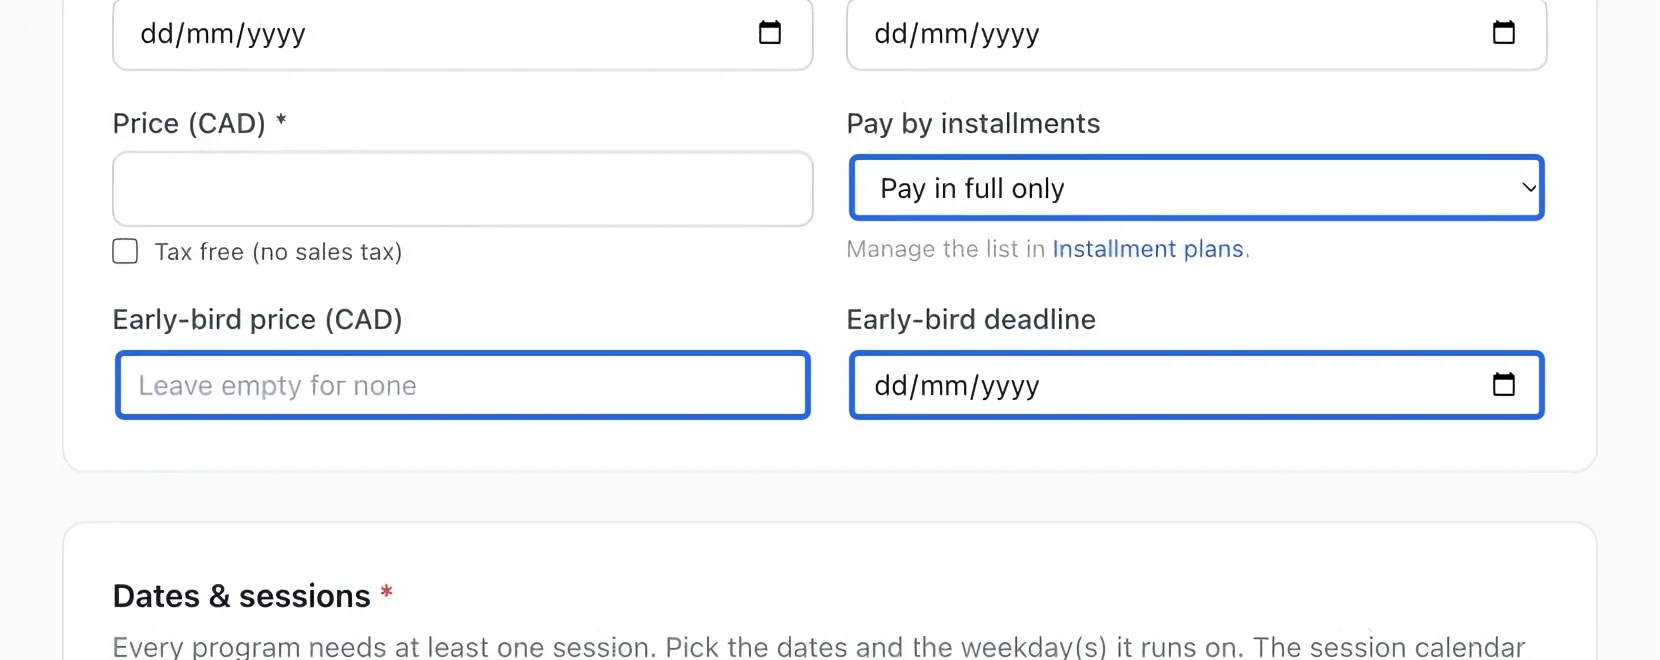
Leave Pay in full only selected unless you have configured an installment plan. Selecting a plan also enables eligible installment payments in the cart after discounts. The plan’s Payment timing decides whether payments must finish before the course starts or may continue afterward. For an early-bird offer, enter both the early-bird price and its deadline. Leave these optional fields empty when they do not apply.
Select the screenshot to enlarge it. The blue outline marks the control to use.
- 6
Choose the registration form
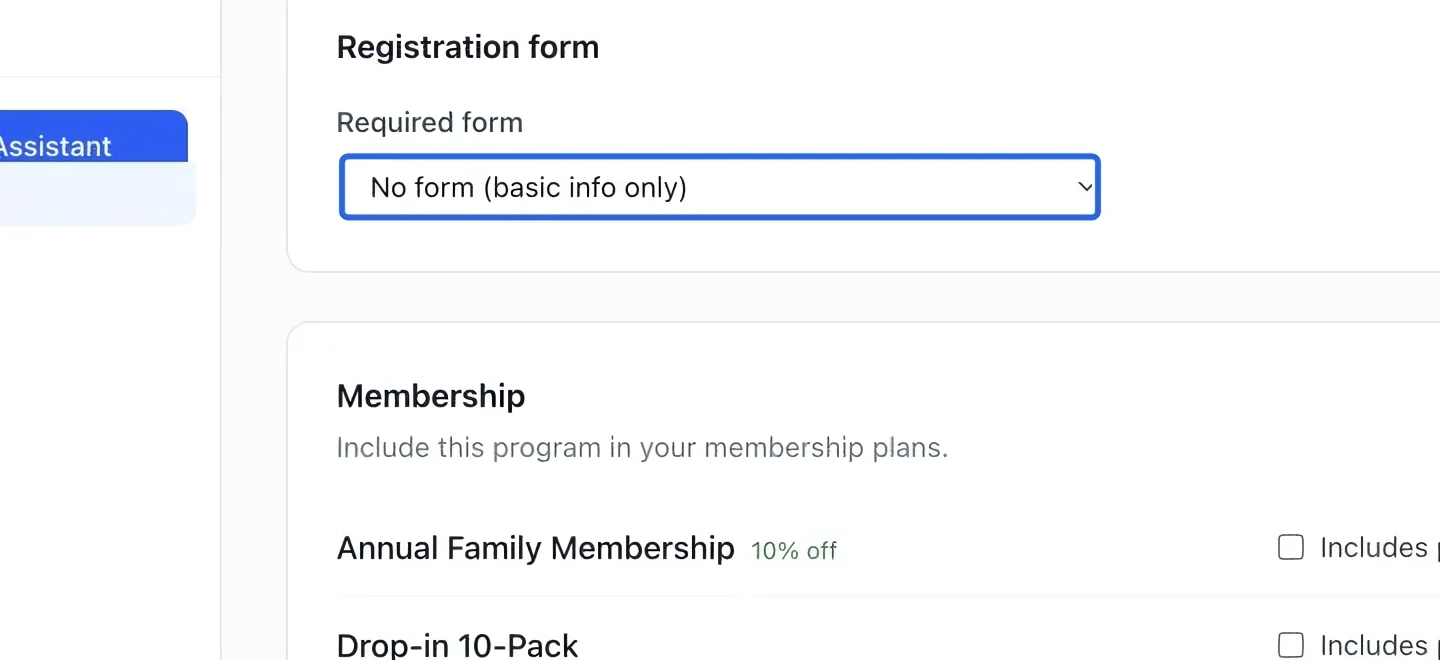
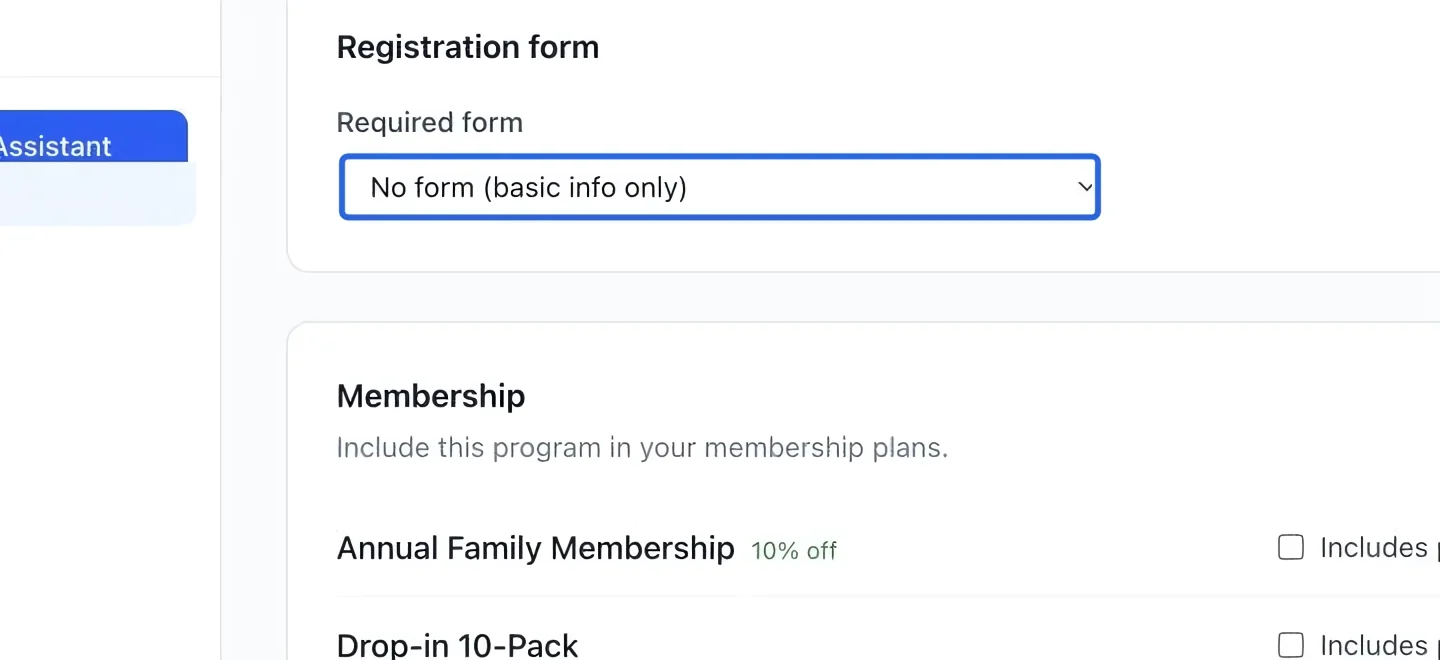
Under Registration form, choose the Required form. If the list is empty, first follow Build a registration form, then return here. Without a form, only basic participant information is collected.
Select the screenshot to enlarge it. The blue outline marks the control to use.
- 7
Build the schedule
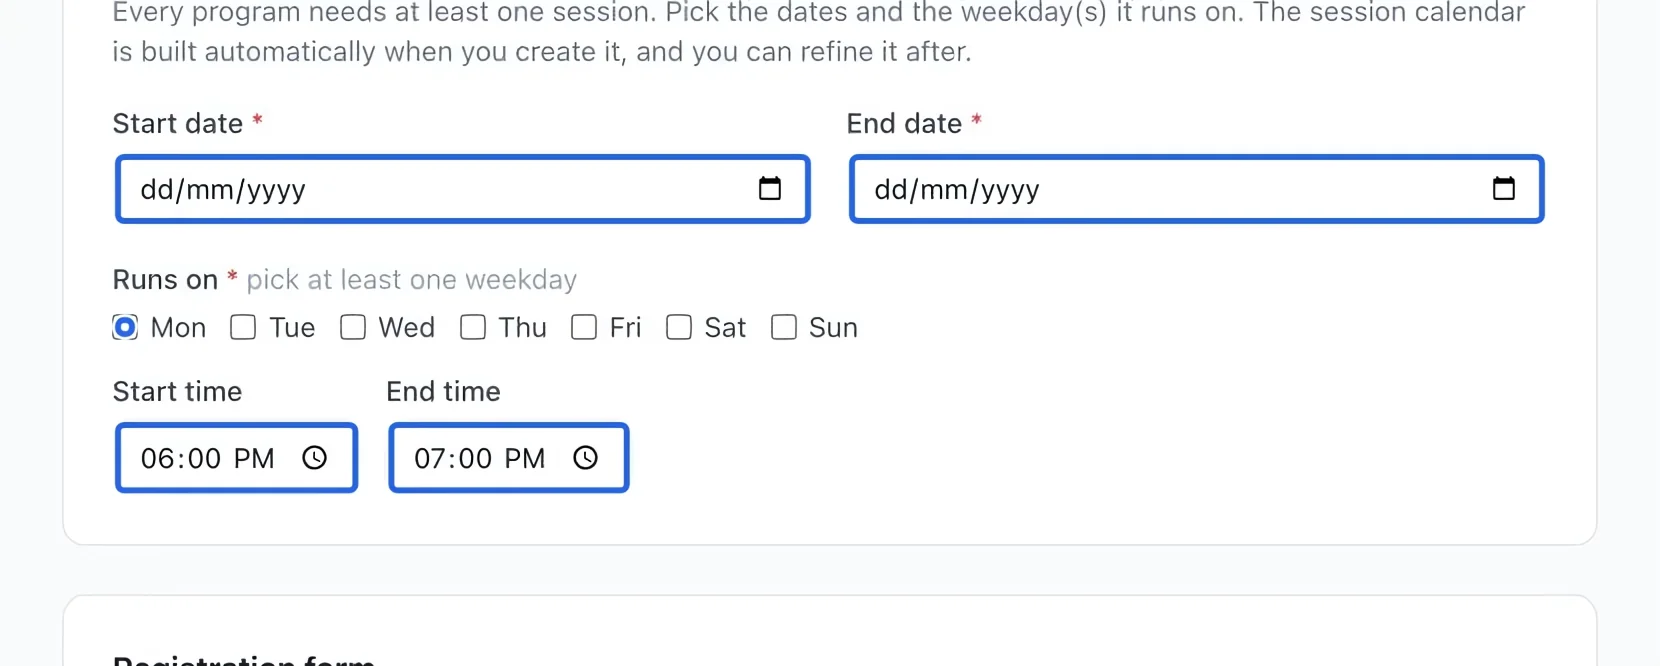
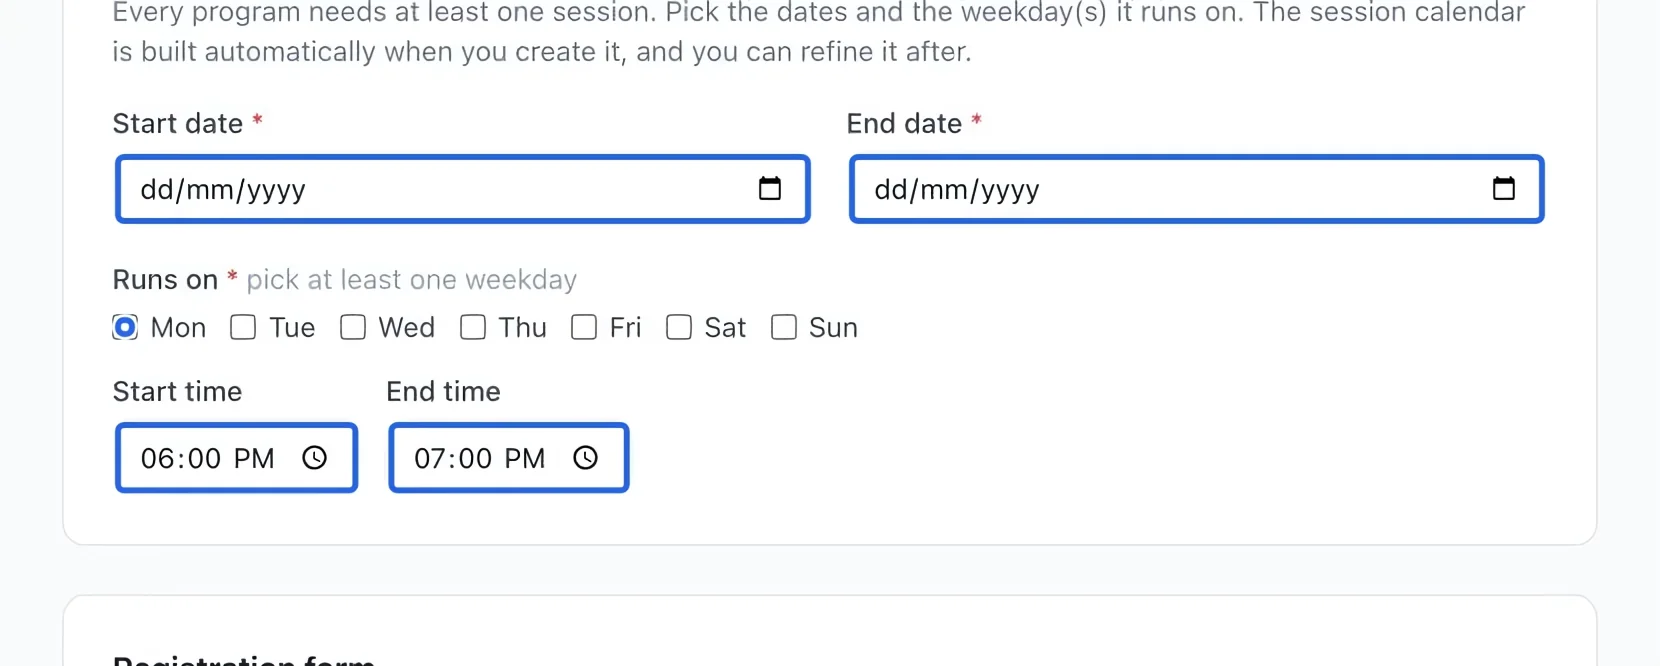
Under Dates & sessions, enter start and end dates, check each weekday the activity runs, then enter start and end times. Click Generate sessions to preview the calendar and remove any date you don't want, such as a holiday. Select at least one weekday within the date range so the program has a session. If loyalty rewards are enabled, points become available the day after the final program date in the organization’s timezone. Later option or session dates delay earning; programs without any end or session date do not earn points yet.
Select the screenshot to enlarge it. The blue outline marks the control to use.
- 8
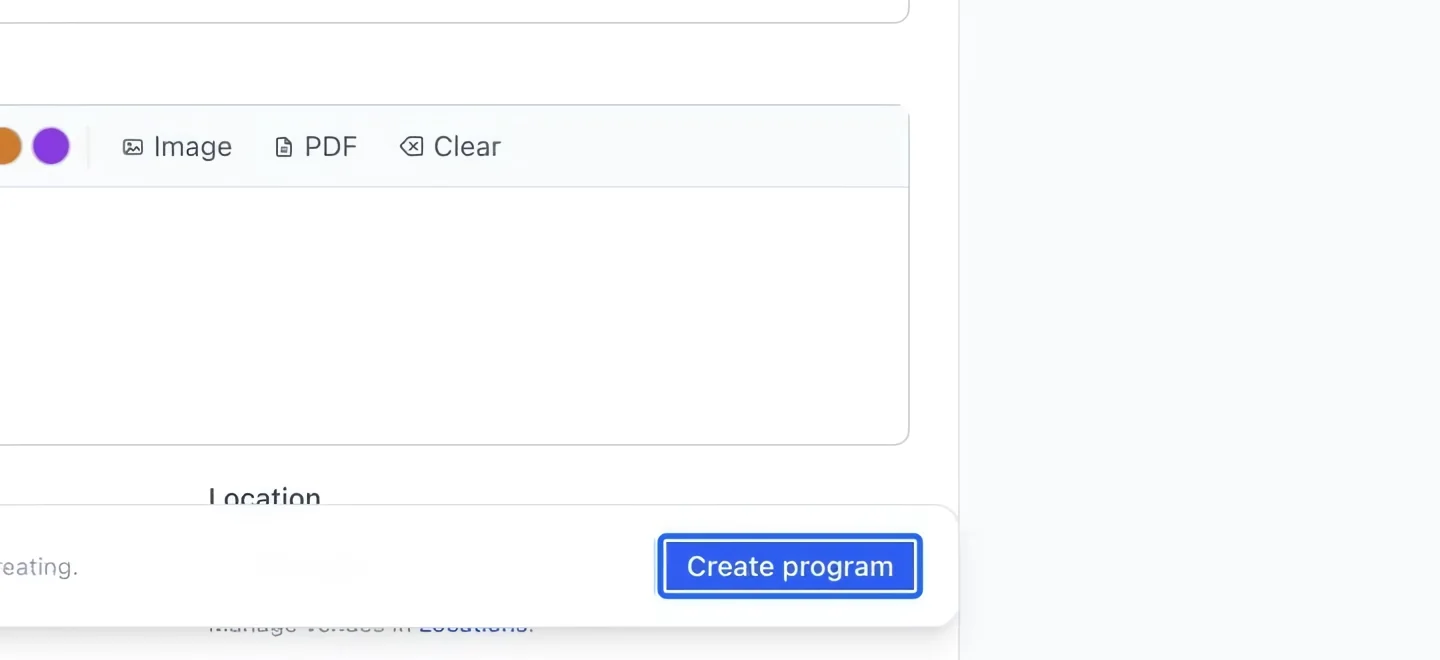
Save the draft
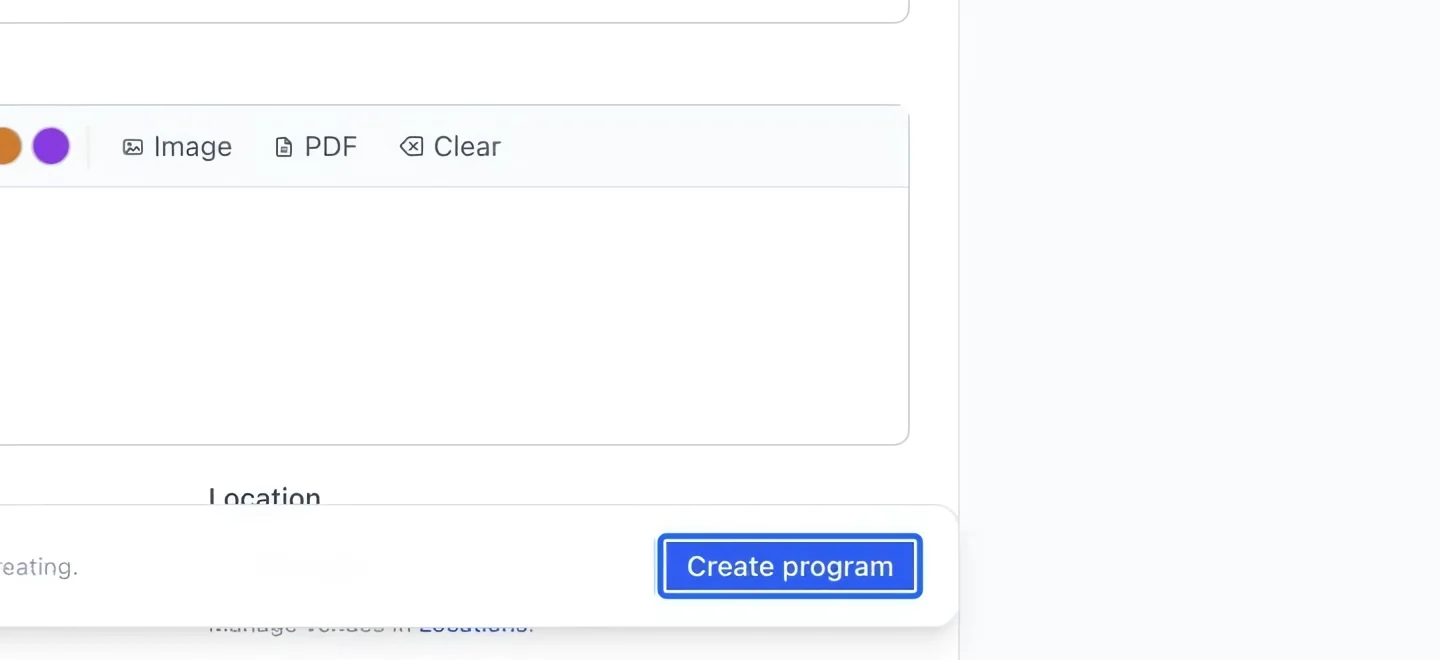
Review your entries and click Create program. If a field error appears, correct it and submit again. The saved program opens in its editor as a draft; families cannot browse it yet.
Select the screenshot to enlarge it. The blue outline marks the control to use.
- 9
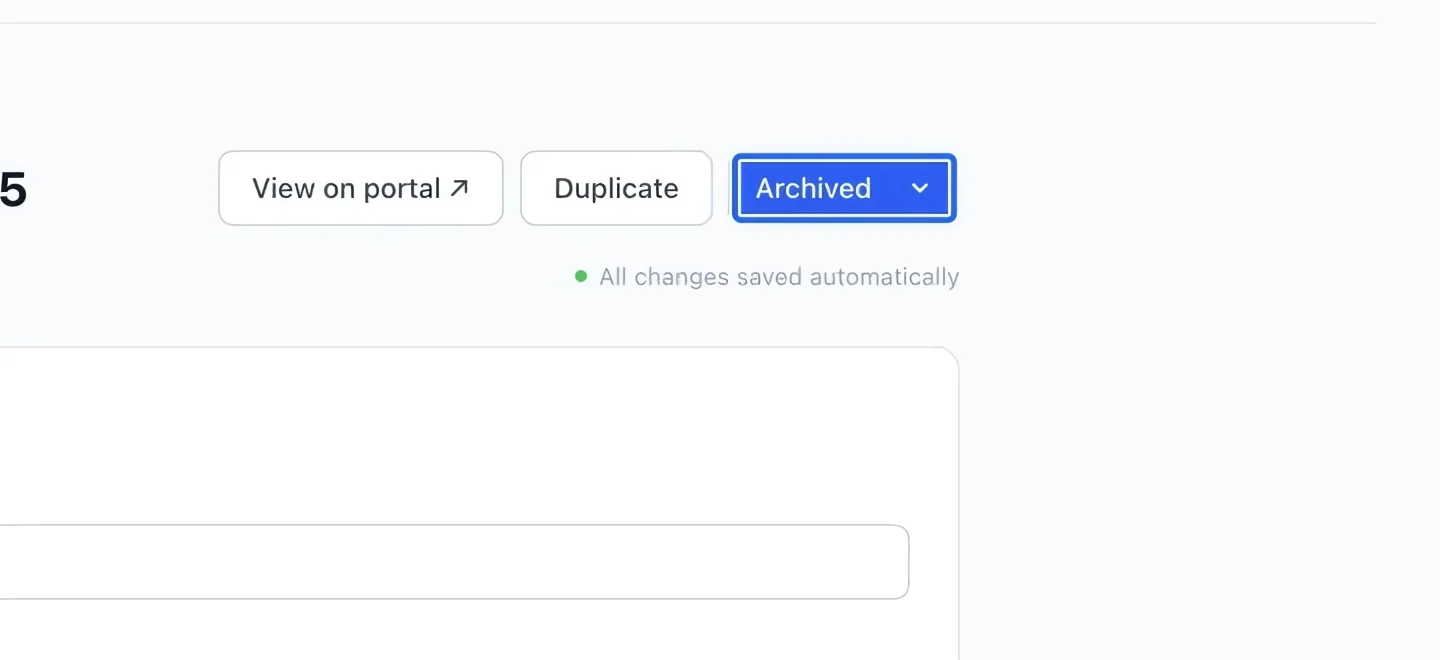
Publish when ready
In the saved program’s header, change Status to Published when its information and sessions are ready. Use View on portal to check the family-facing page. A draft stays hidden; Private uses a direct link. Before the first sale, map the program and any specific rates to their accounting accounts, especially when revenue should be deferred. Mapping changes apply to future entries.
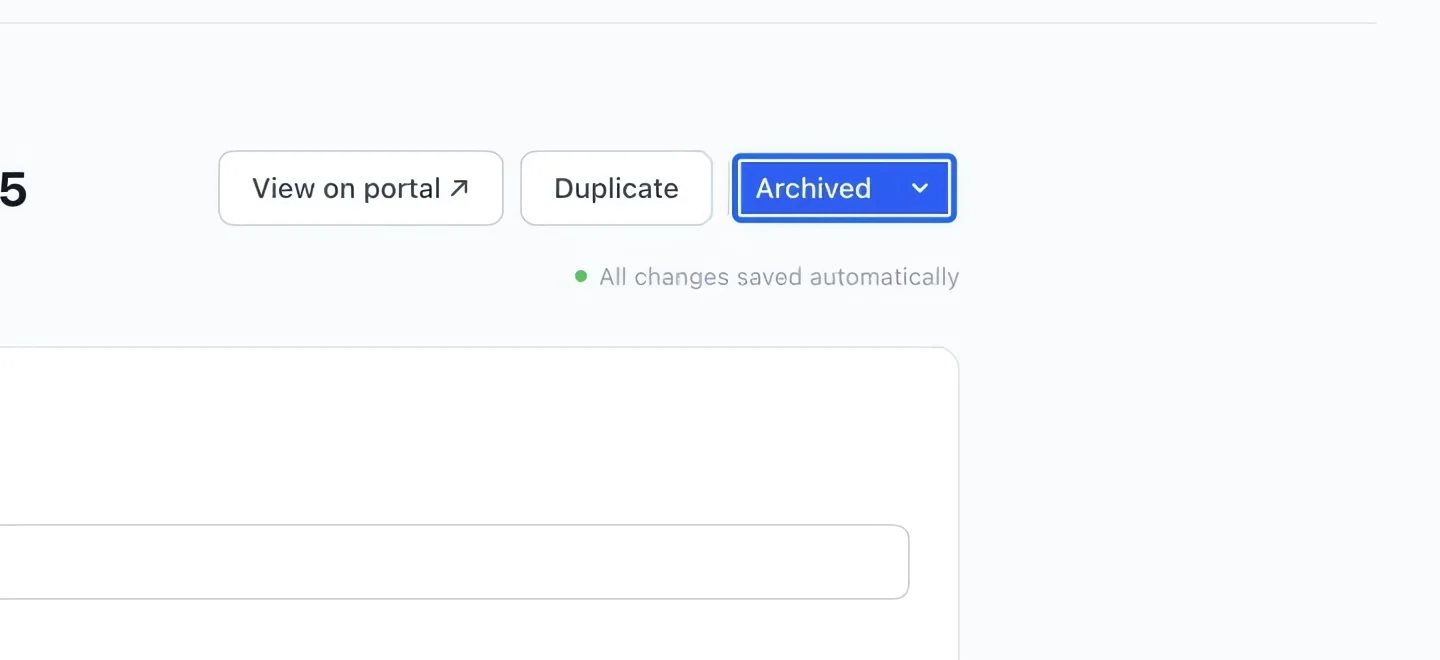
Select the screenshot to enlarge it. The blue outline marks the control to use.
- 10
Reuse a program and review its settings
Use Duplicate on the program to prepare another activity. Review dates, sessions, options, prices, forms and publication status before sharing it. Bulk credits is a separate operation for existing paid registrations; duplicating a program does not copy its participants. To prepare a whole season, use Duplicate a period.
Keep going
Collect medical info, emergency contacts and signed waivers with reusable form templates.
Programs & activitiesCamp weeks, time slots or divisions: one program, several options families choose between.
Accounting & financial reportsRoute programs, rates, memberships, products and payment methods to the right accounts.