
Build a registration form or waiver
Collect medical info, emergency contacts and signed waivers with reusable form templates.
- 1
Start a form
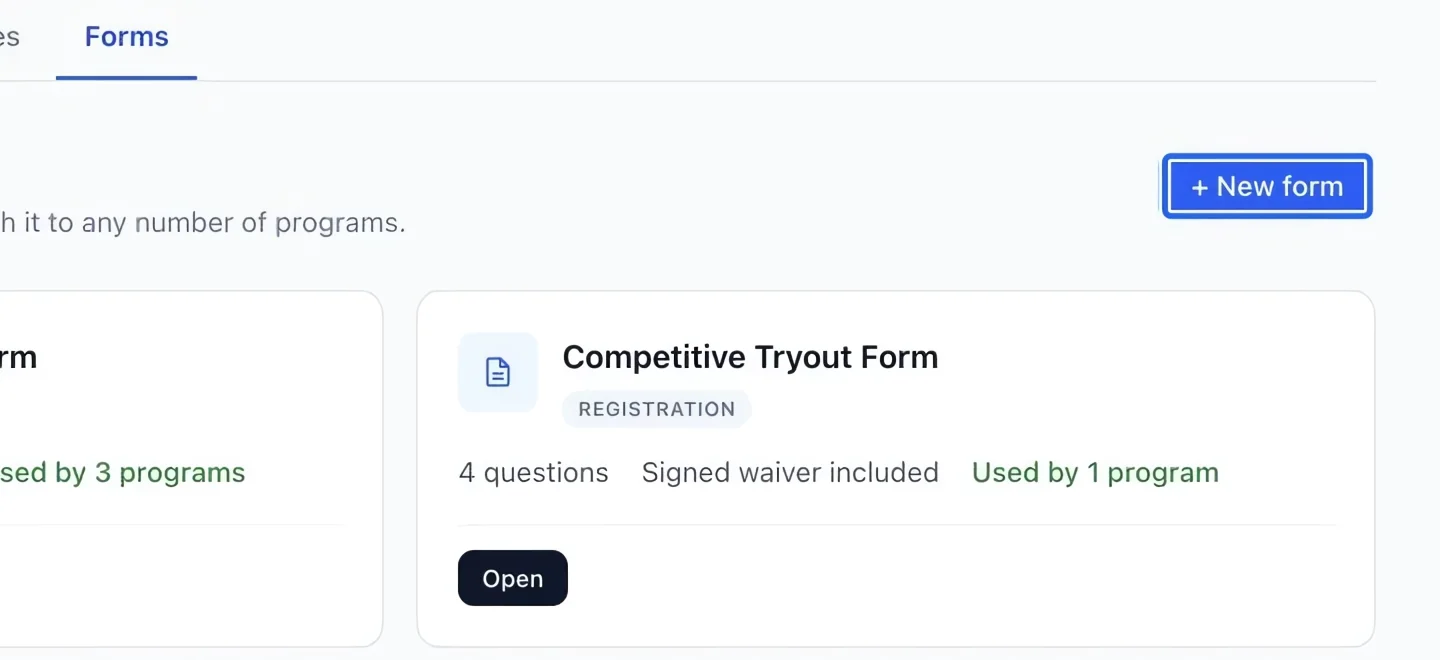
Open Planning → Forms and choose the new-form action. A form is a reusable set of questions; you can attach the same form to several programs.
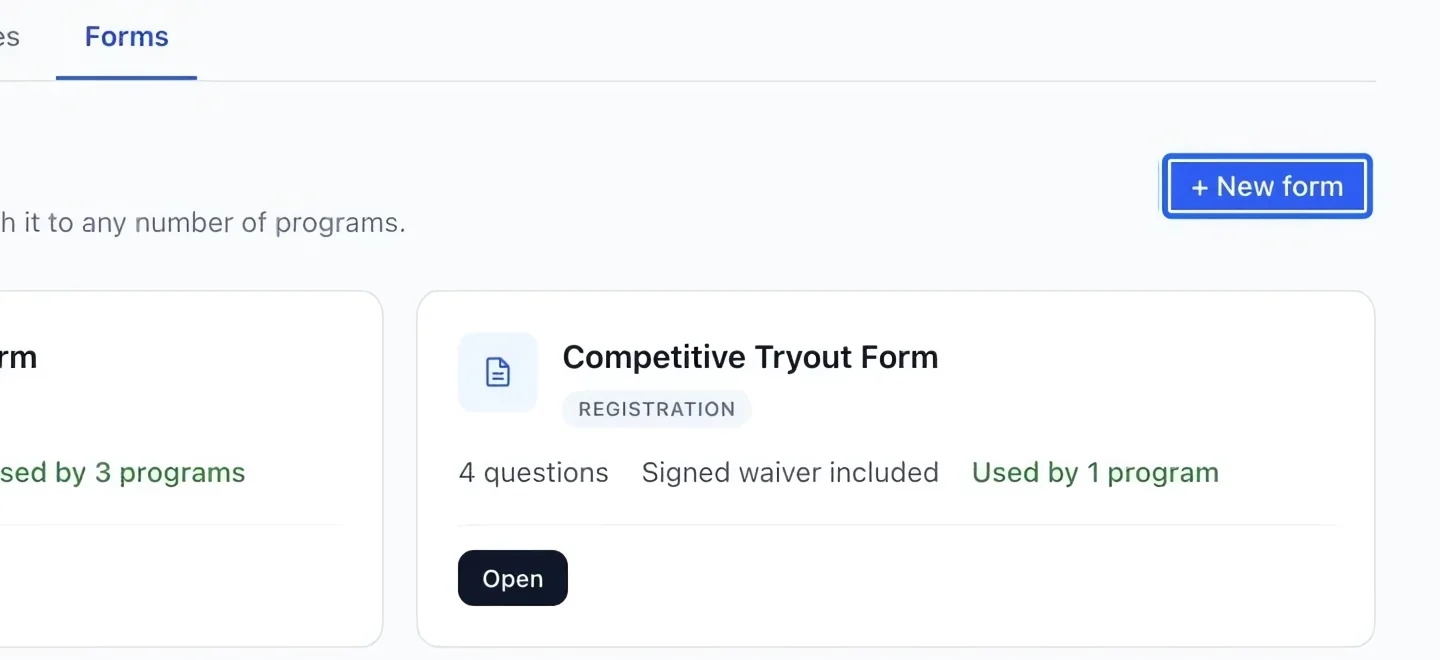
Select the screenshot to enlarge it. The blue outline marks the control to use.
- 2
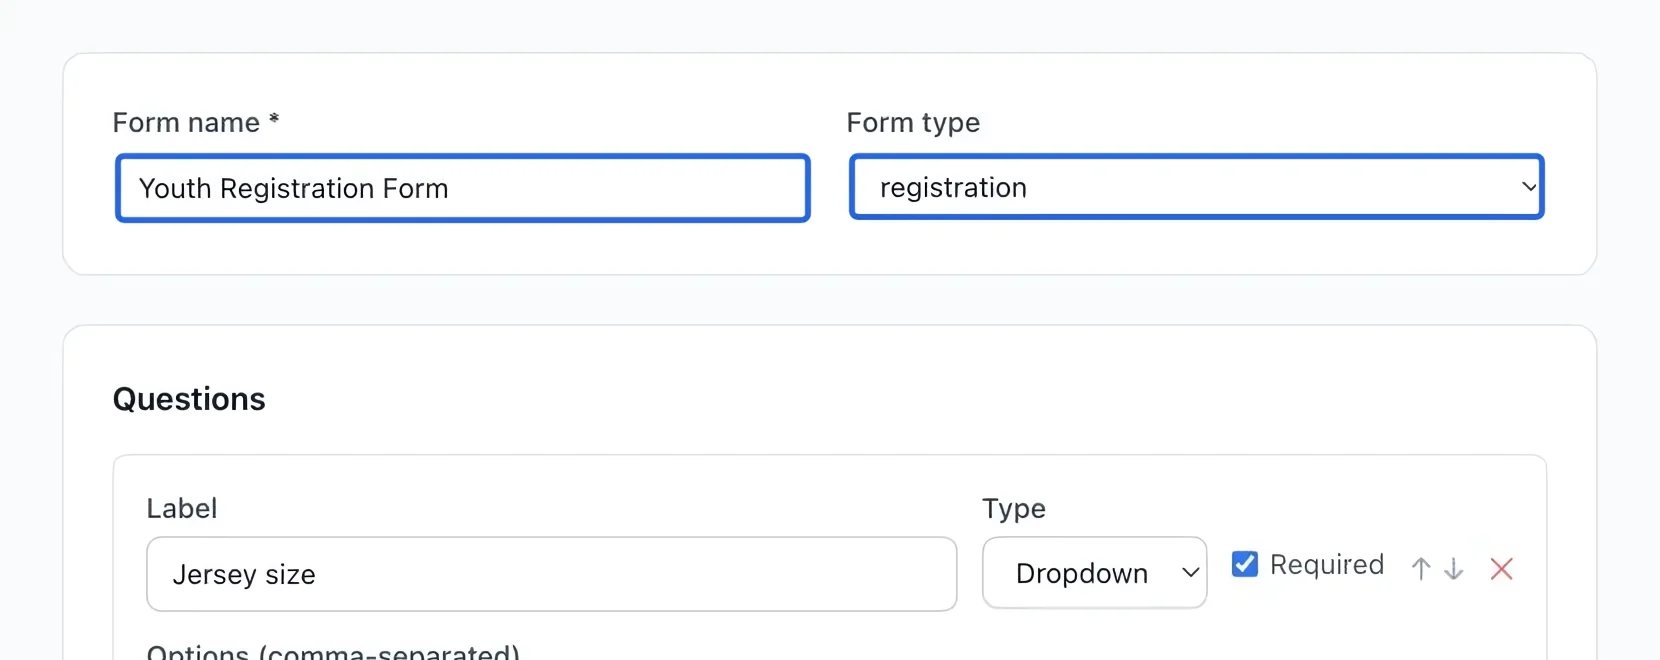
Name and classify the form
At the top of the builder, enter Form name and choose Form type. Use a descriptive name such as “Youth registration and consent” so staff can find it later.
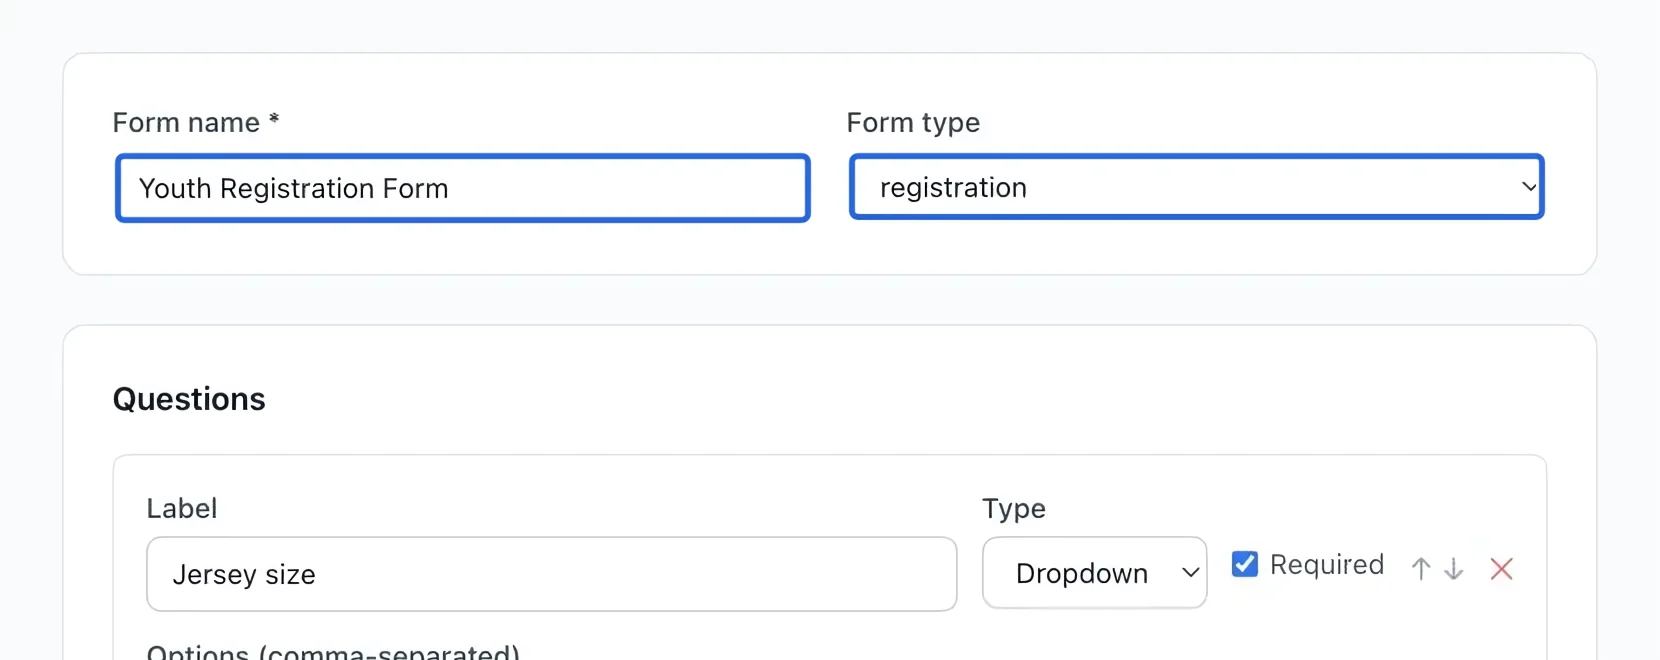
Select the screenshot to enlarge it. The blue outline marks the control to use.
- 3
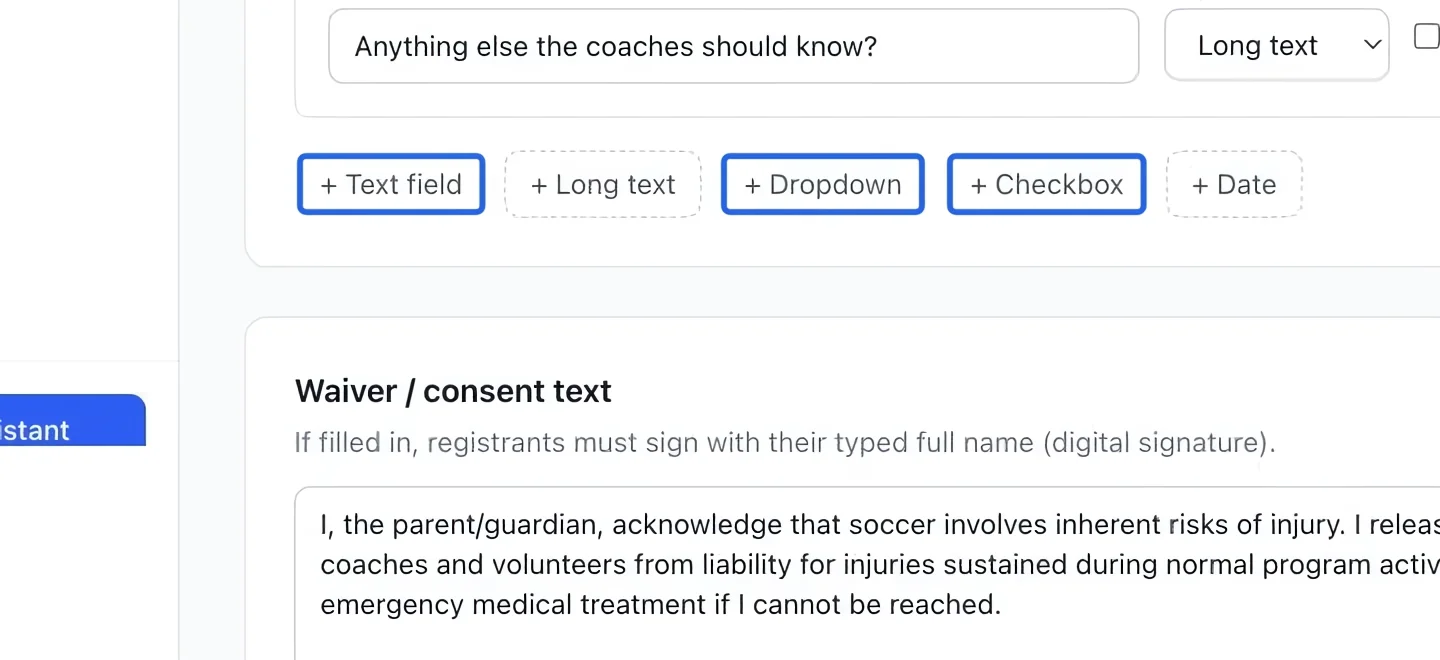
Add a question
Under Questions, click the field type you need: Text field, Long text, Dropdown, Checkbox, or Date. Repeat for each question. Use a dropdown when families should choose from a fixed list.
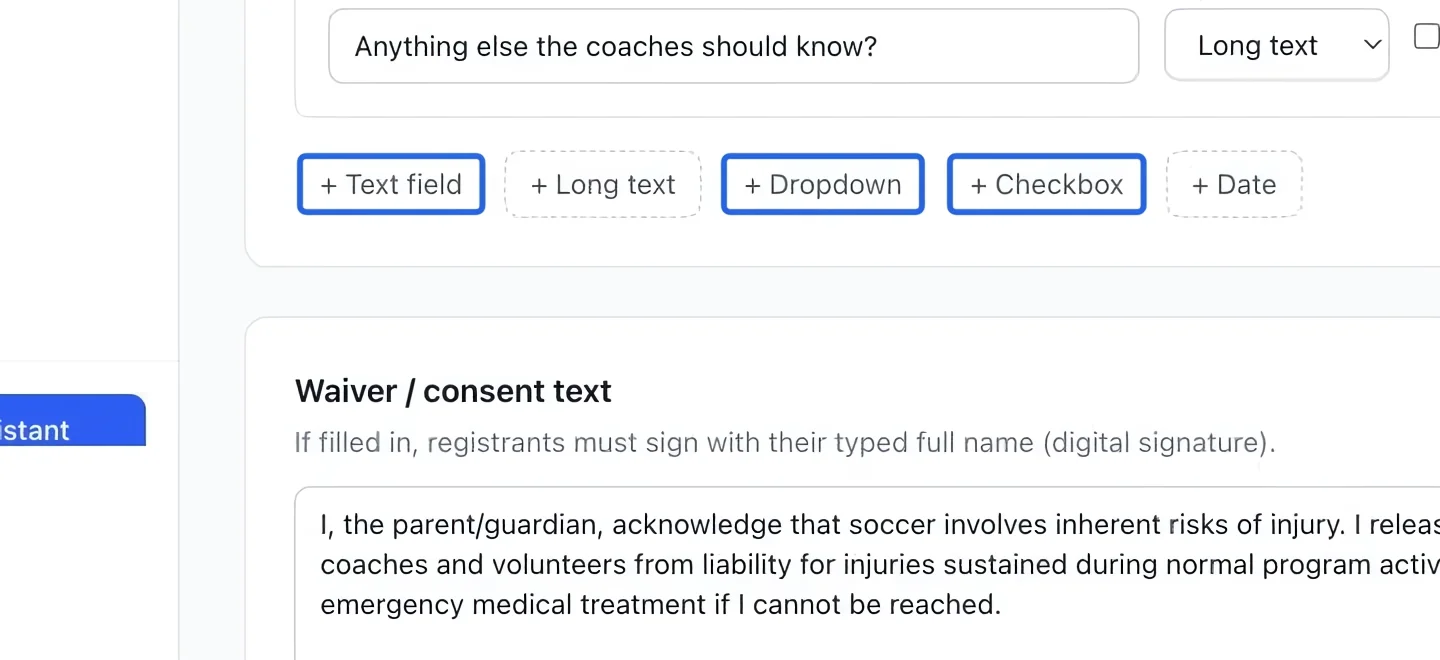
Select the screenshot to enlarge it. The blue outline marks the control to use.
- 4
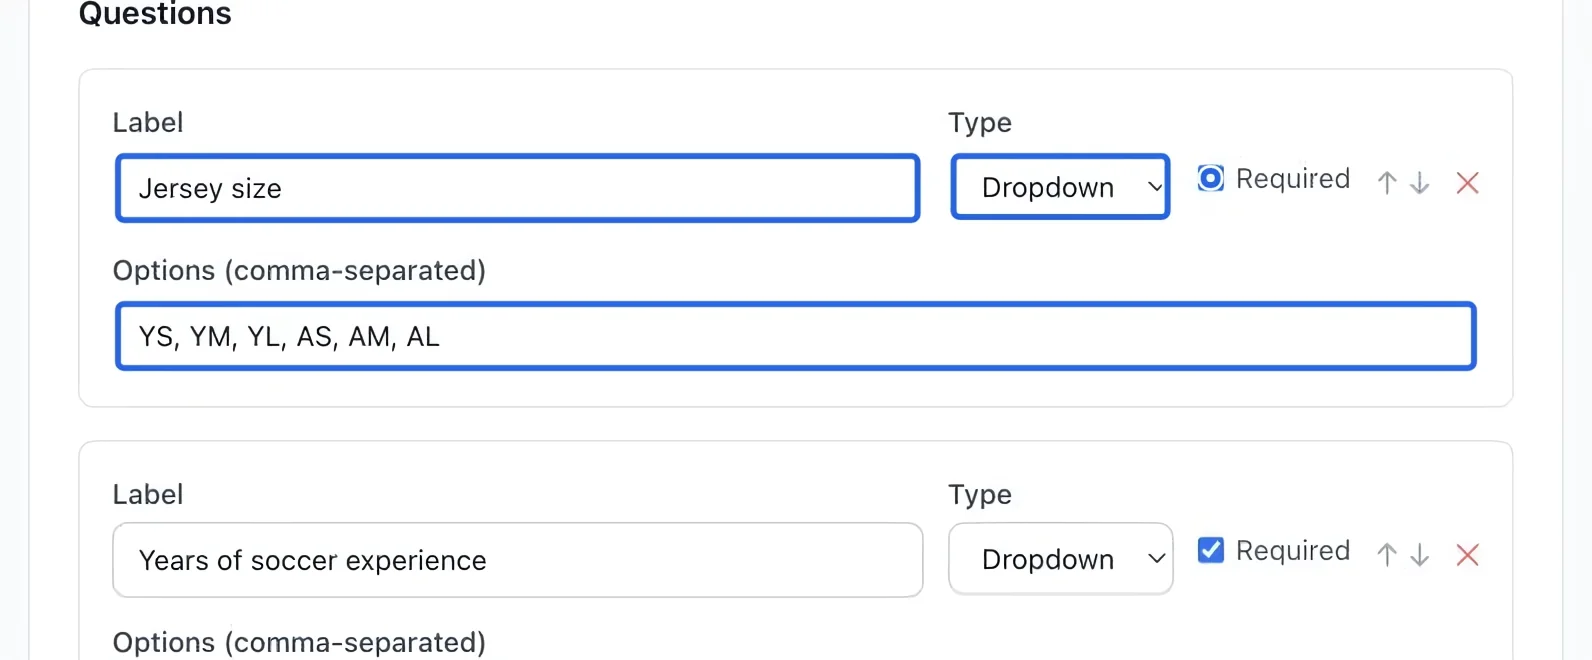
Configure the question
Enter the question’s Label, check Required only when an answer is necessary, and enter comma-separated choices for a dropdown. Use the up/down arrows to order questions.
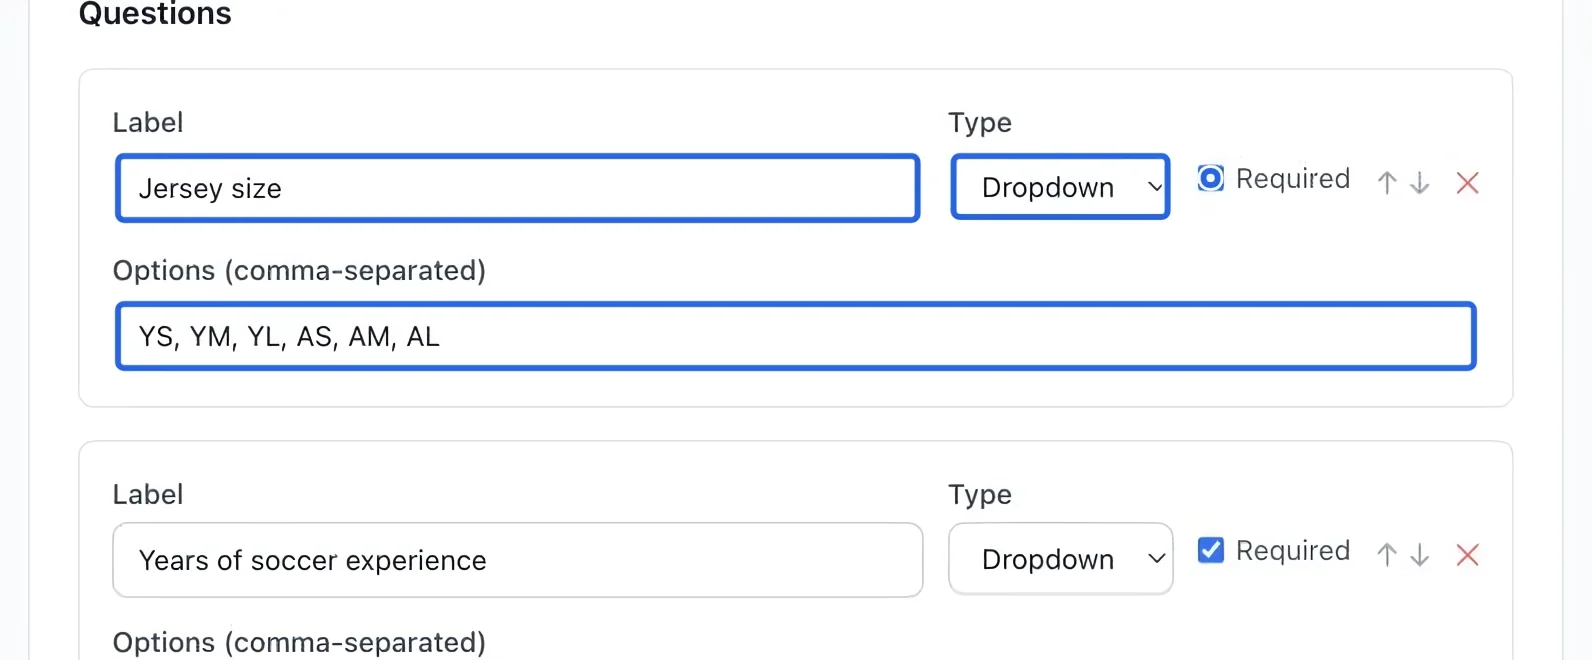
Select the screenshot to enlarge it. The blue outline marks the control to use.
- 5
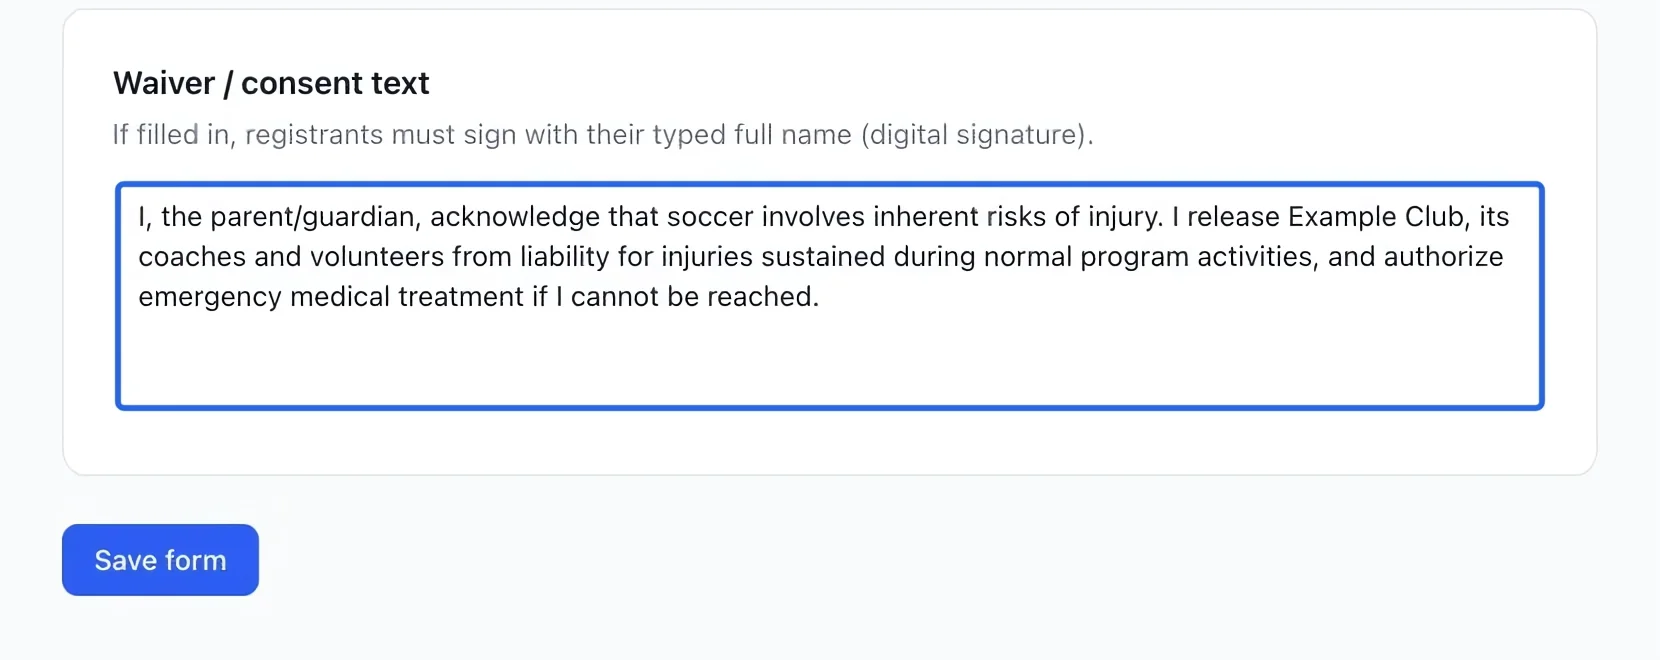
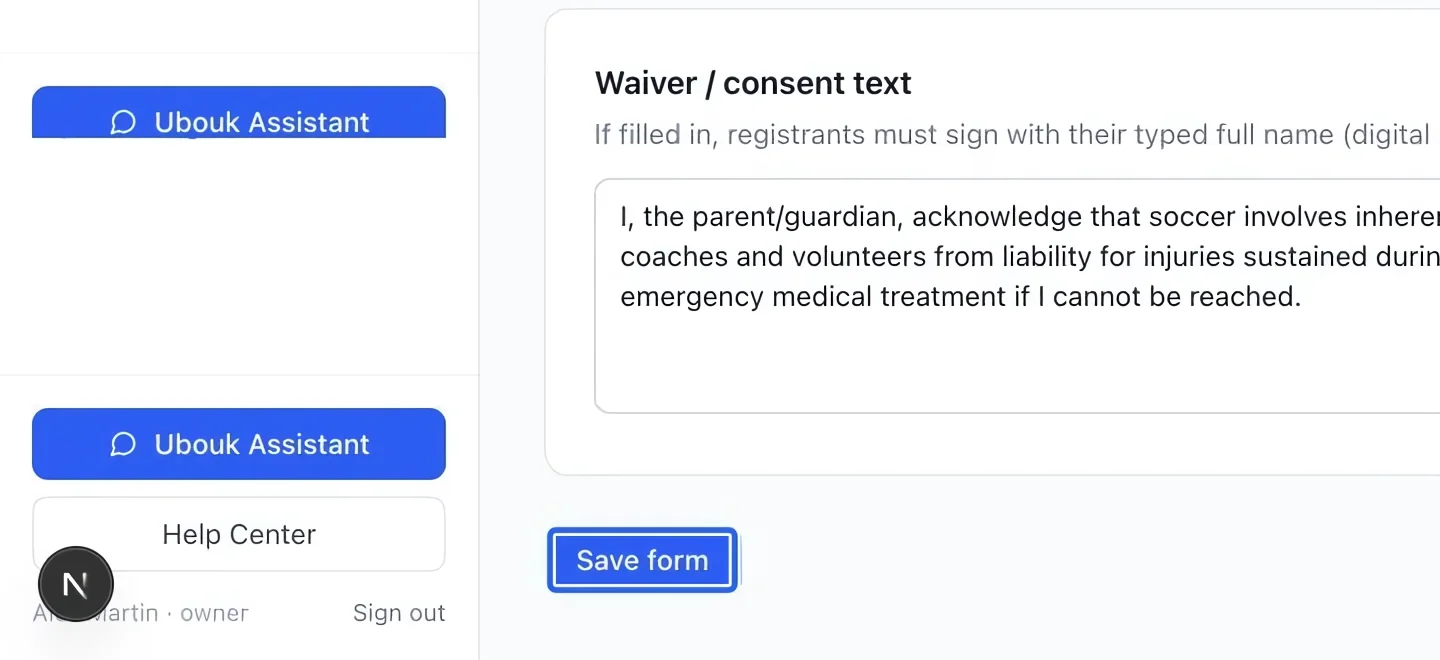
Add waiver text if needed
For a signed acknowledgement, enter the text under Waiver / consent text. When this field is filled, registrants are asked to sign with their typed full name. Have your organization approve the wording before use. After registrations, authorized finance staff can inspect saved form answers in Detailed sales, using the invoice-line ID to identify each line.
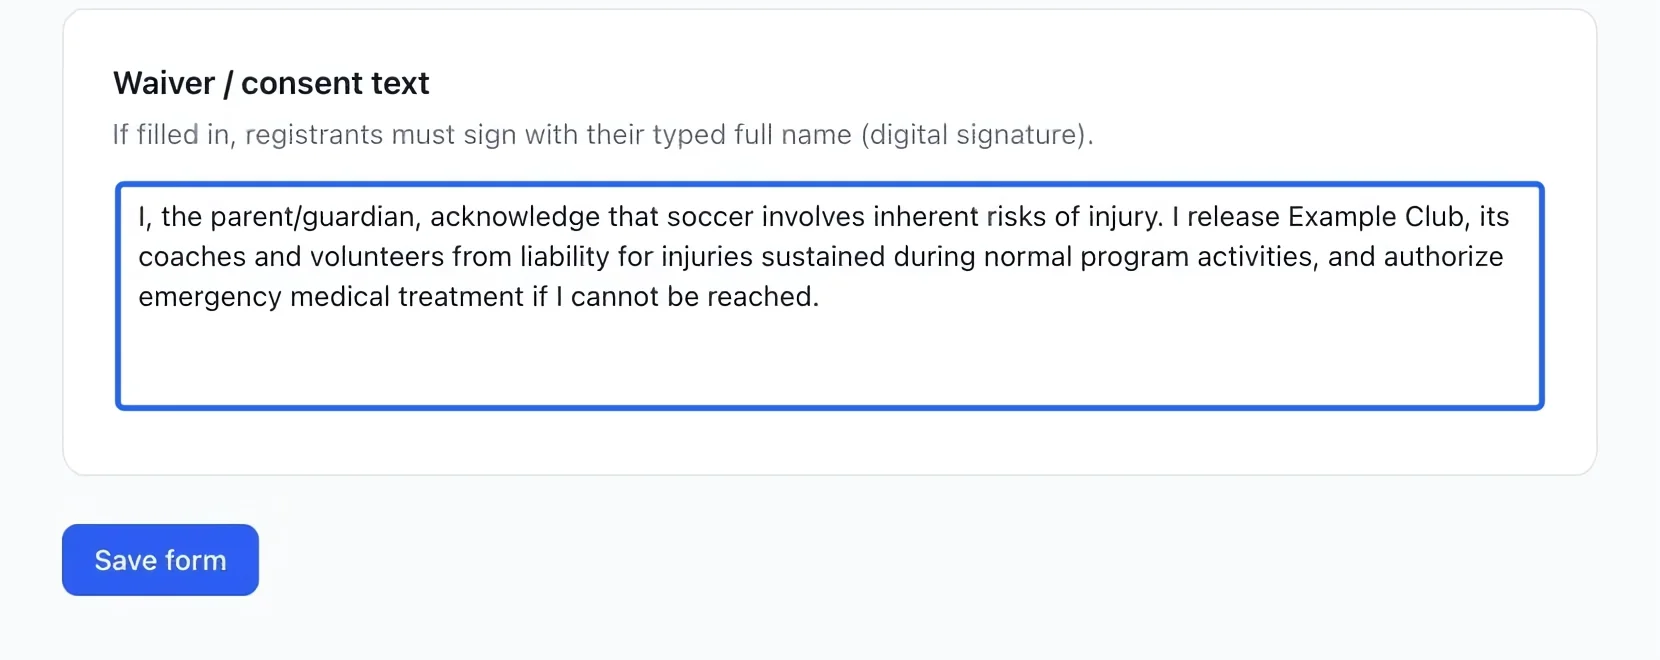
Select the screenshot to enlarge it. The blue outline marks the control to use.
- 6
Save the form
Click Save form. Confirm that the form appears in your forms list before leaving. Creating the template alone does not attach it to a program.
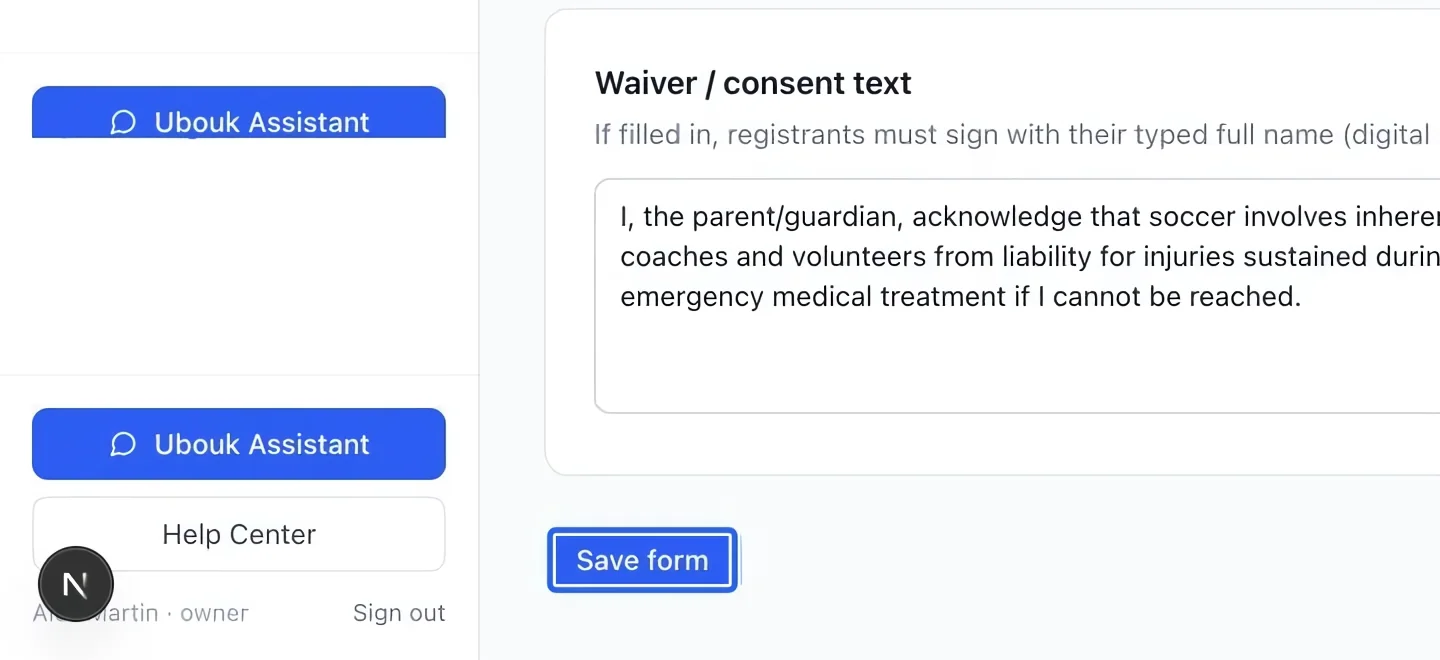
Select the screenshot to enlarge it. The blue outline marks the control to use.
- 7
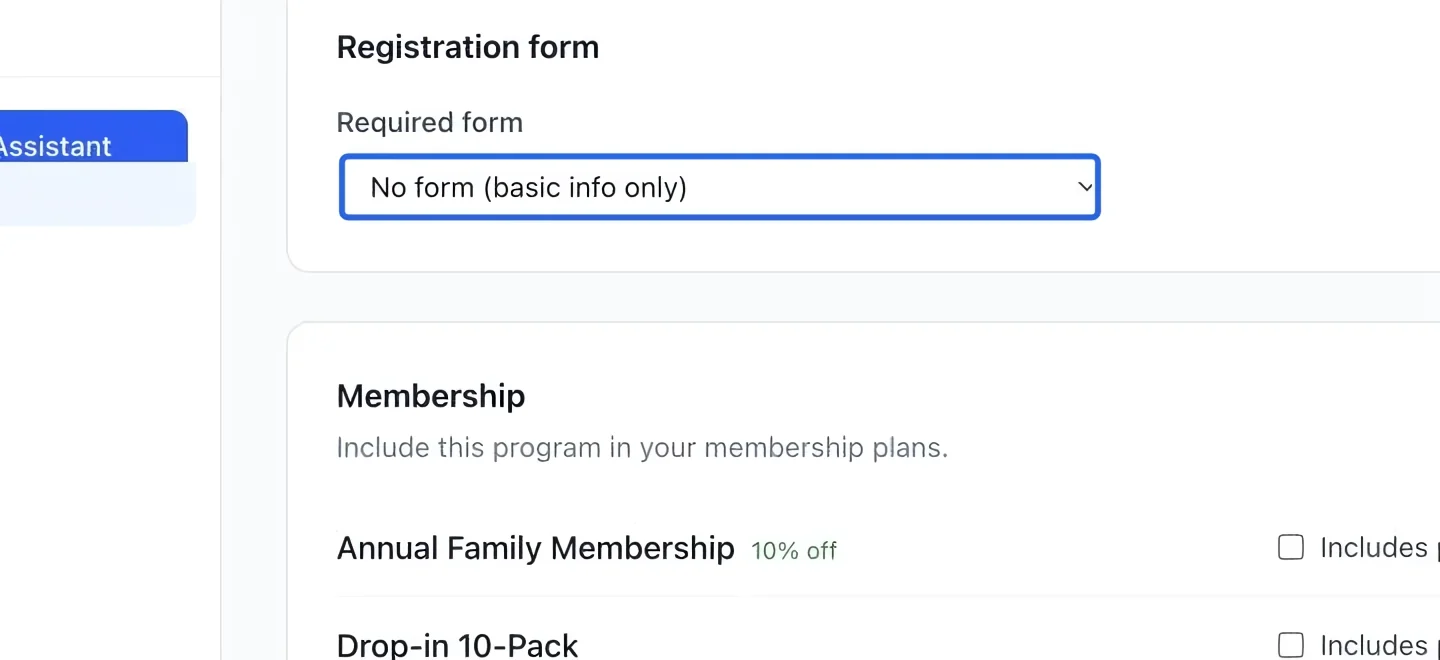
Attach it to an activity
Open the program and choose this form under Registration form → Required form. Save or wait for the editor’s save confirmation. New registrations for that program will use this form.
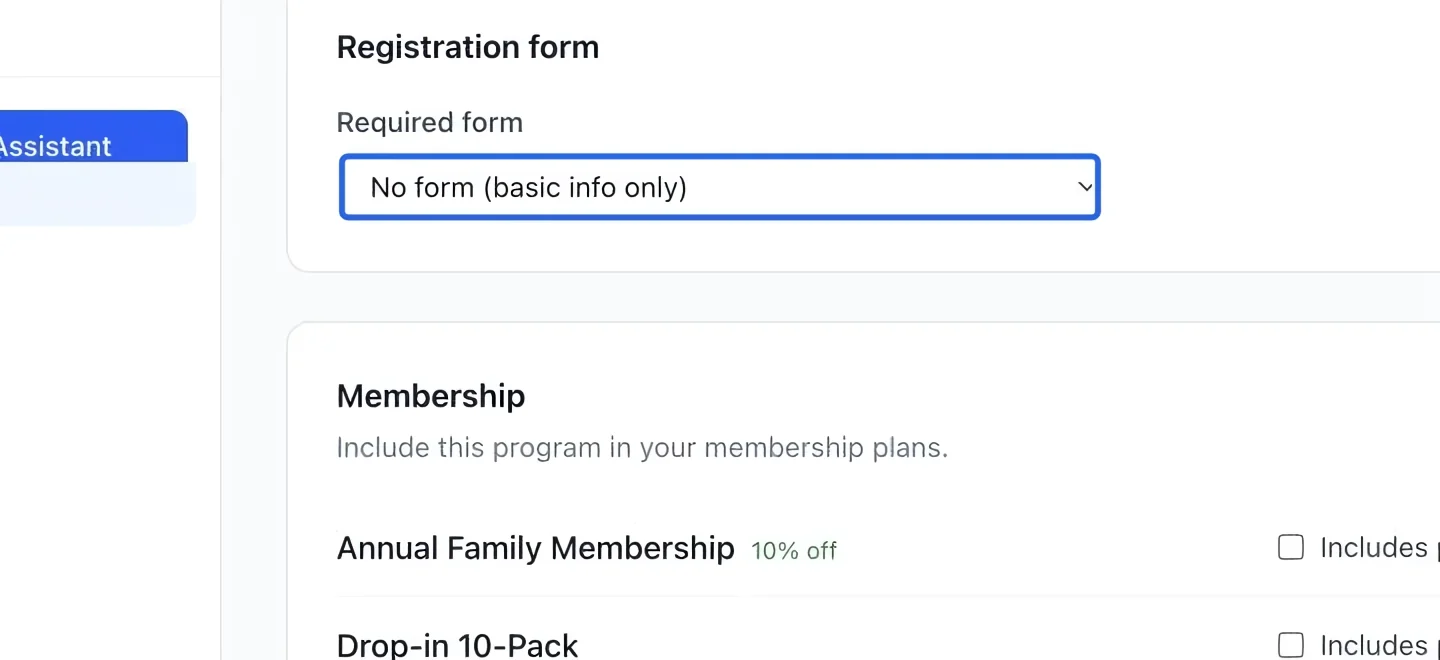
Select the screenshot to enlarge it. The blue outline marks the control to use.
- 8
Check both languages and real answers
Preview the form in each language enabled for your portal. Required answers, valid select choices, dates and the waiver are checked when the family submits. The accepted waiver text is retained with the registration even if you edit the form later.
Keep going
Publish a season, camp, league or clinic that families can register for on your portal.
Clients & attendanceEvery family in one place: registrations, invoices, memberships, documents, notes and history.
Accounting & financial reportsInspect invoice lines, credit notes, receipts, participants and form answers.