
Sell products in your store
Jerseys, equipment and fan gear: list items on your portal, take payment online, fulfill in person.
- 1
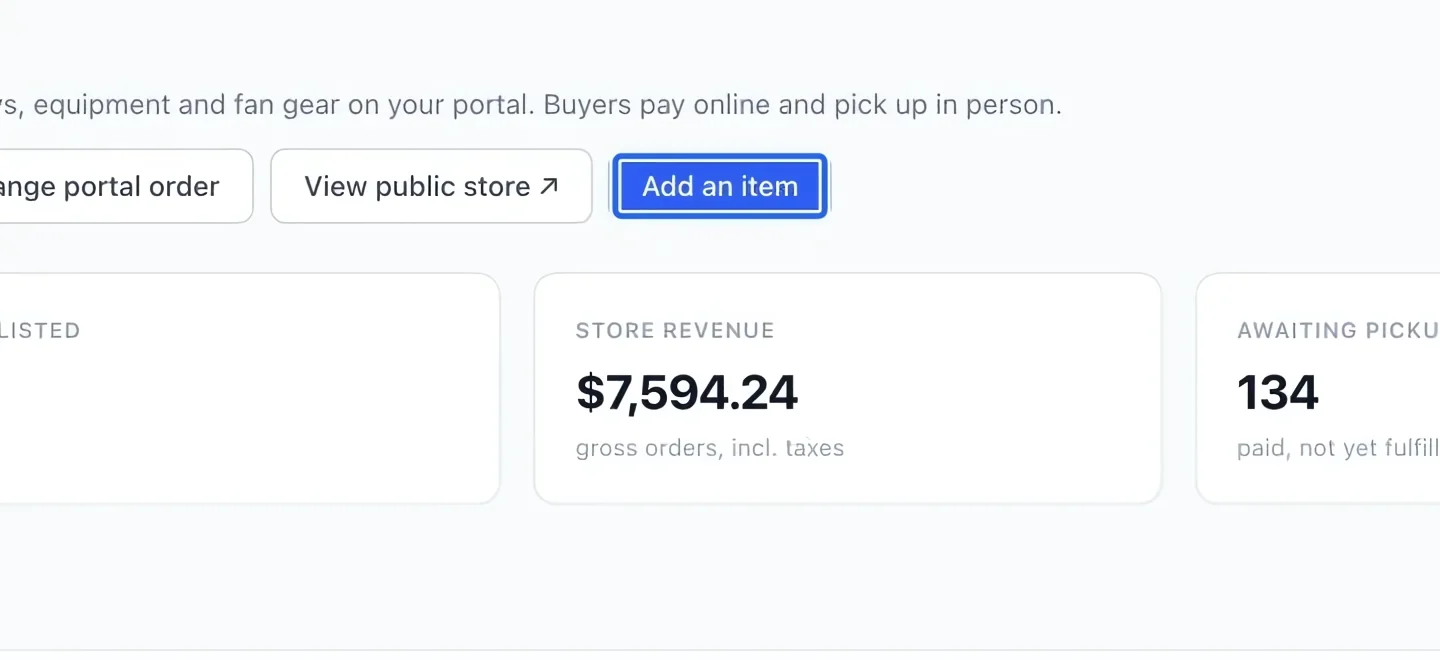
Open a new item
Open Programs → Store, then click Add an item. Prepare a name, price, stock count and photos before entering the item.
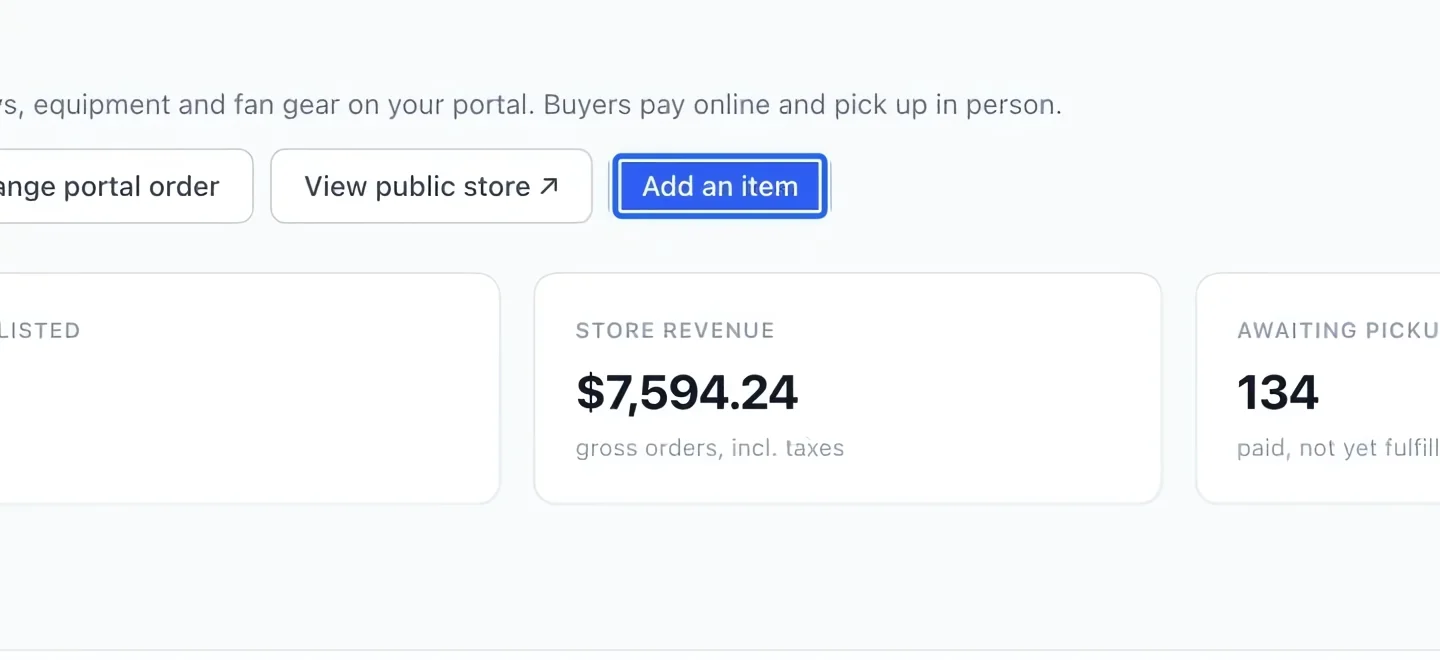
Select the screenshot to enlarge it. The blue outline marks the control to use.
- 2
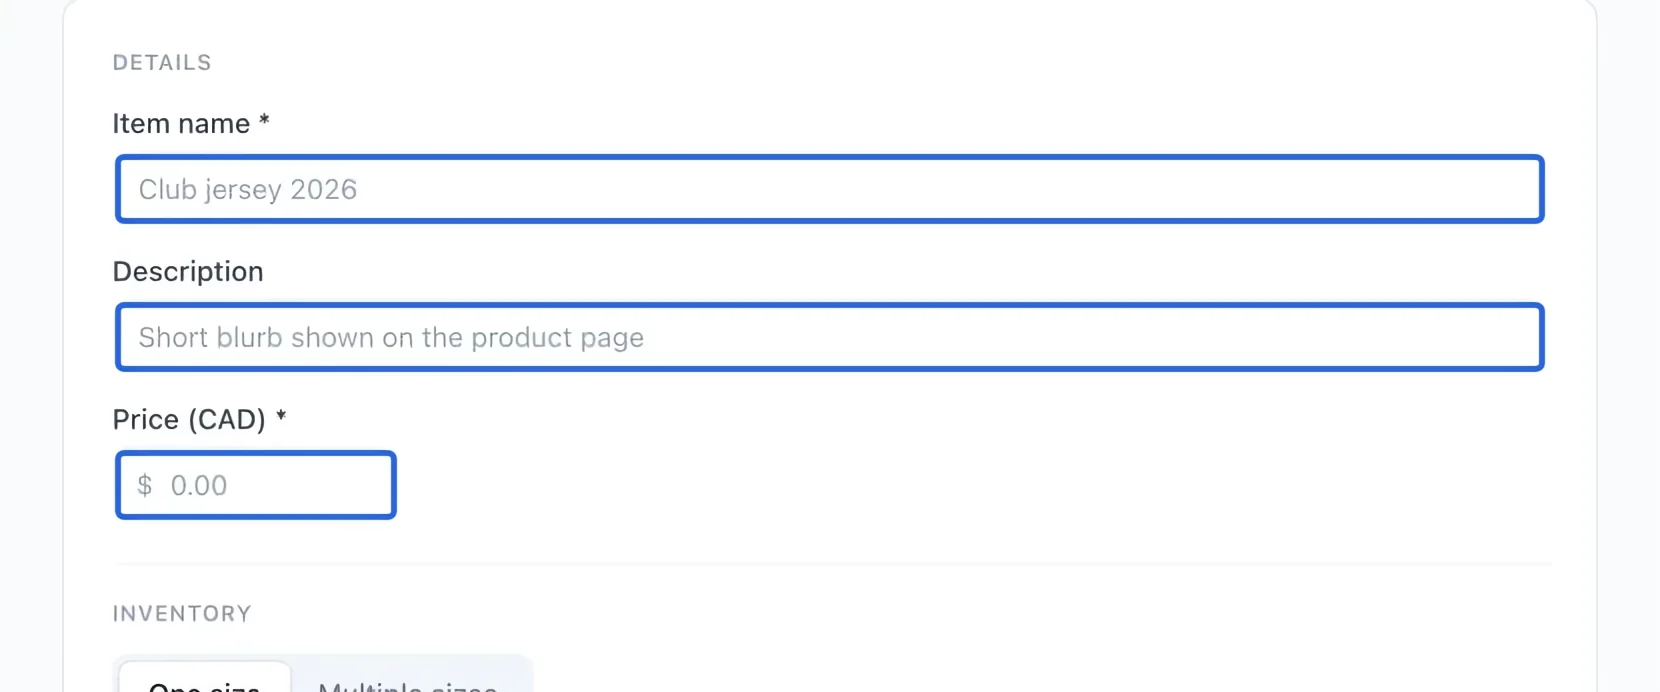
Describe and price the item
Enter the item name, short description and price. Prices use the currency displayed in your organization settings. Explain exactly what the buyer receives.
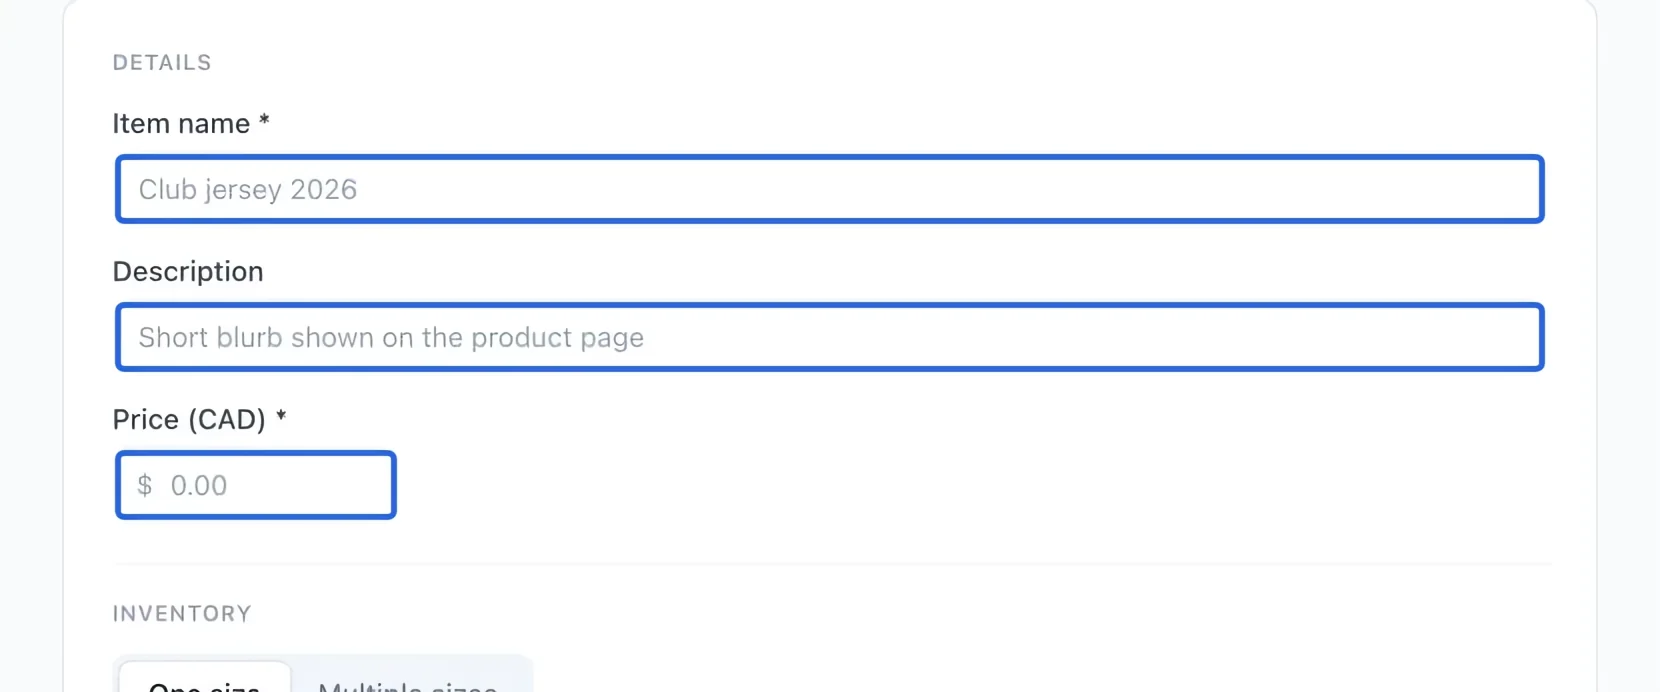
Select the screenshot to enlarge it. The blue outline marks the control to use.
- 3
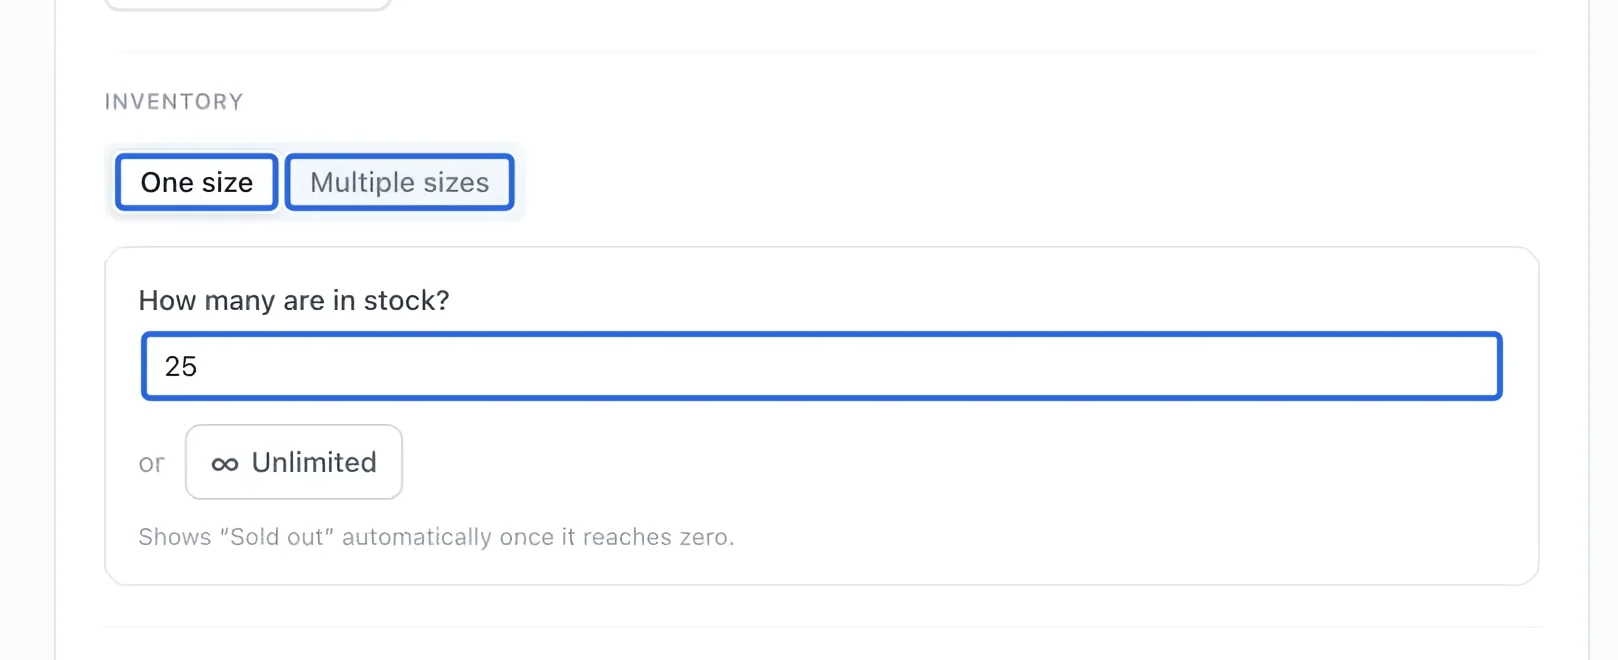
Choose sizes and stock
Choose One size or Multiple sizes. Enter the available quantity for each size, or use Unlimited when you do not track stock. Review quantities before making the item active.
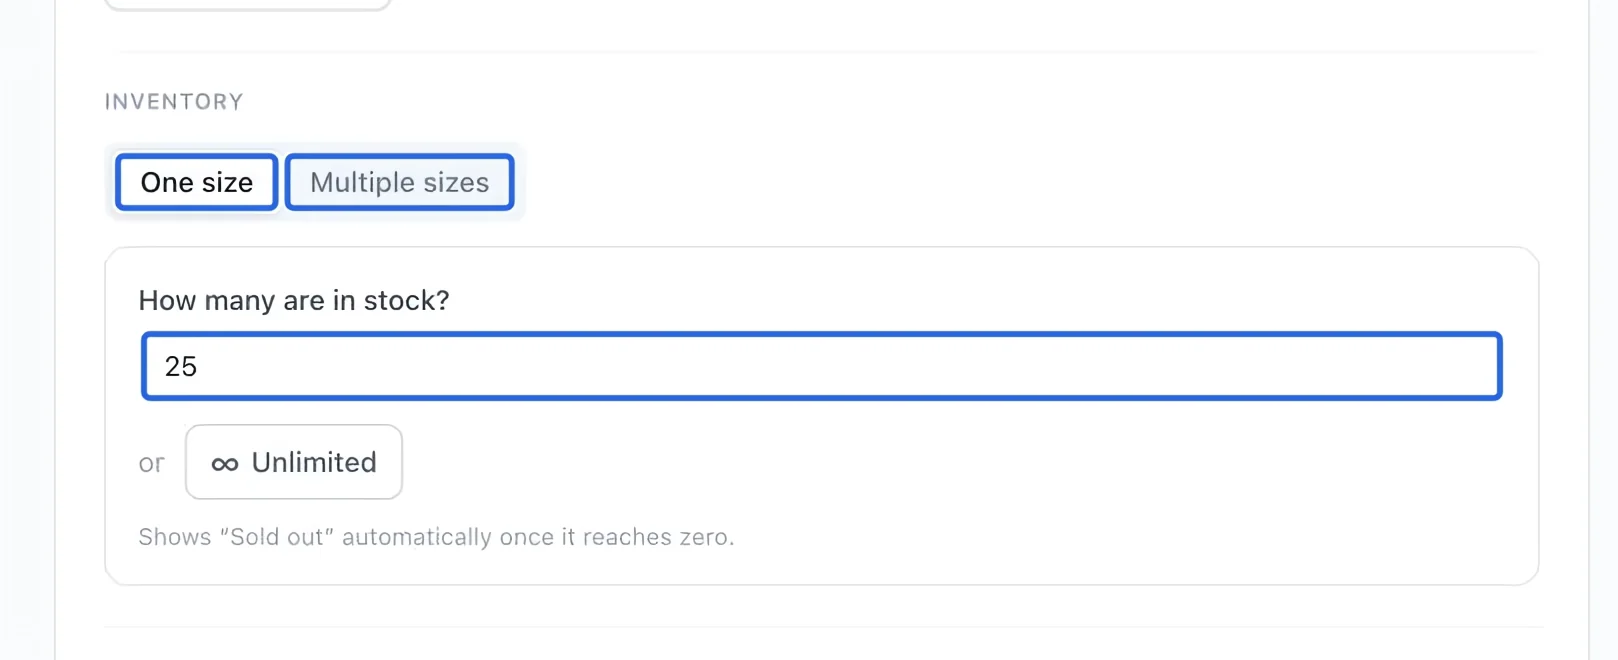
Select the screenshot to enlarge it. The blue outline marks the control to use.
- 4
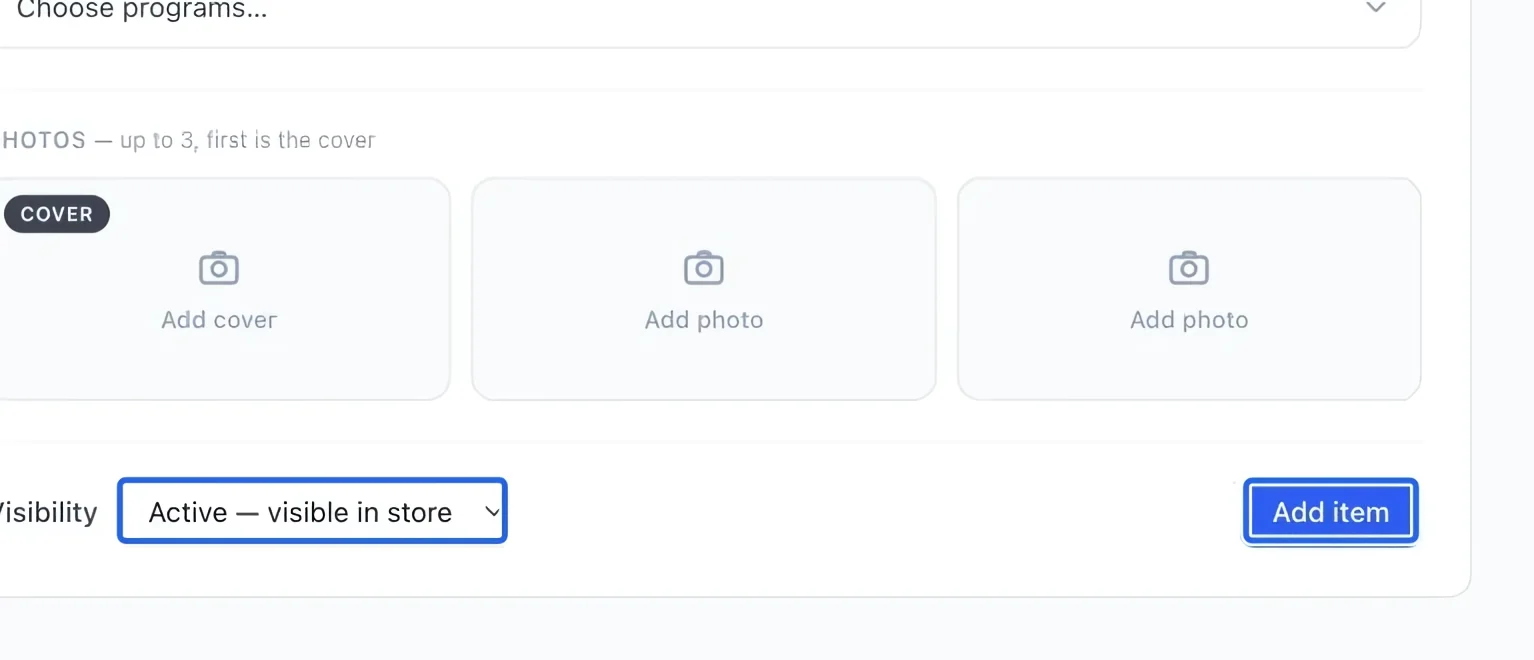
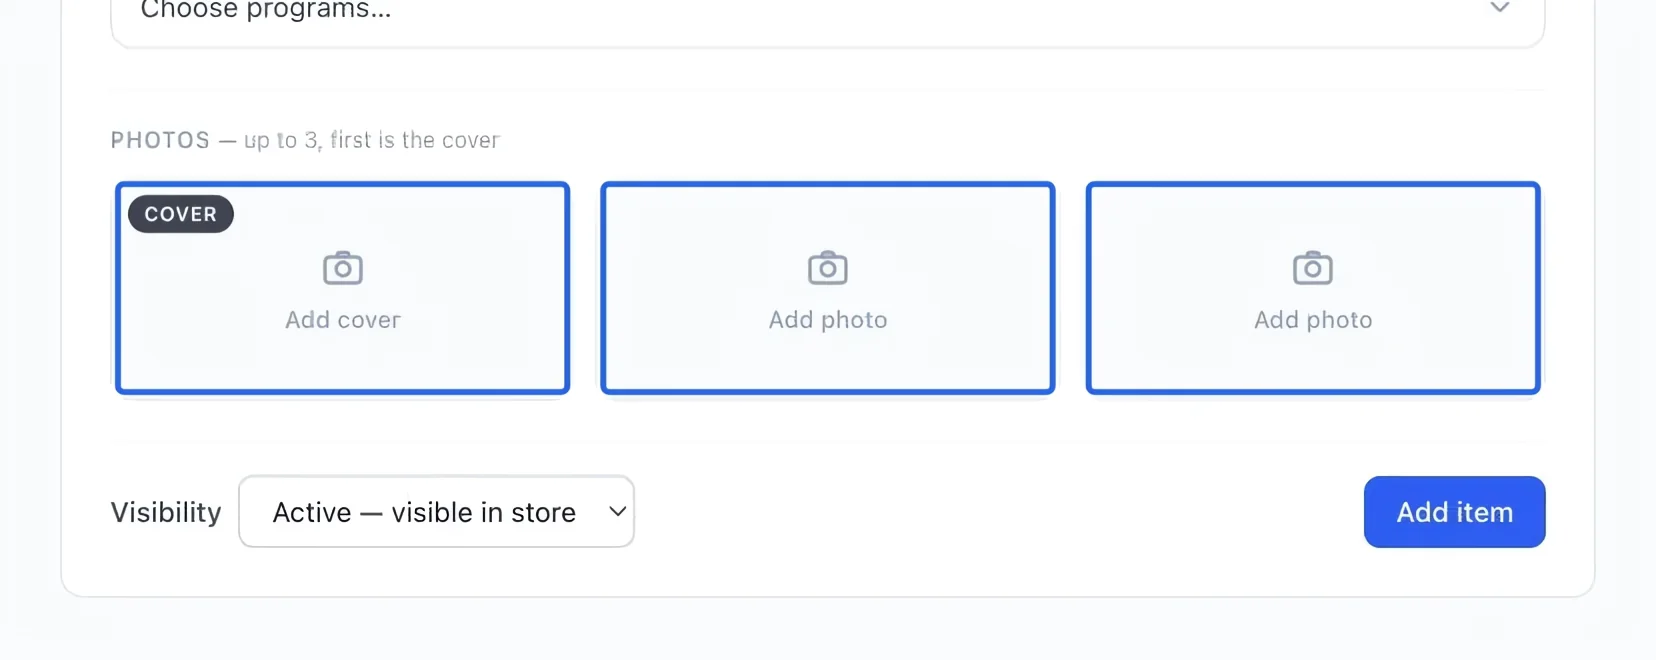
Add product photos
Choose up to three image files. The first image is used on the portal card. Use photos that clearly show the actual item and any size or color differences.
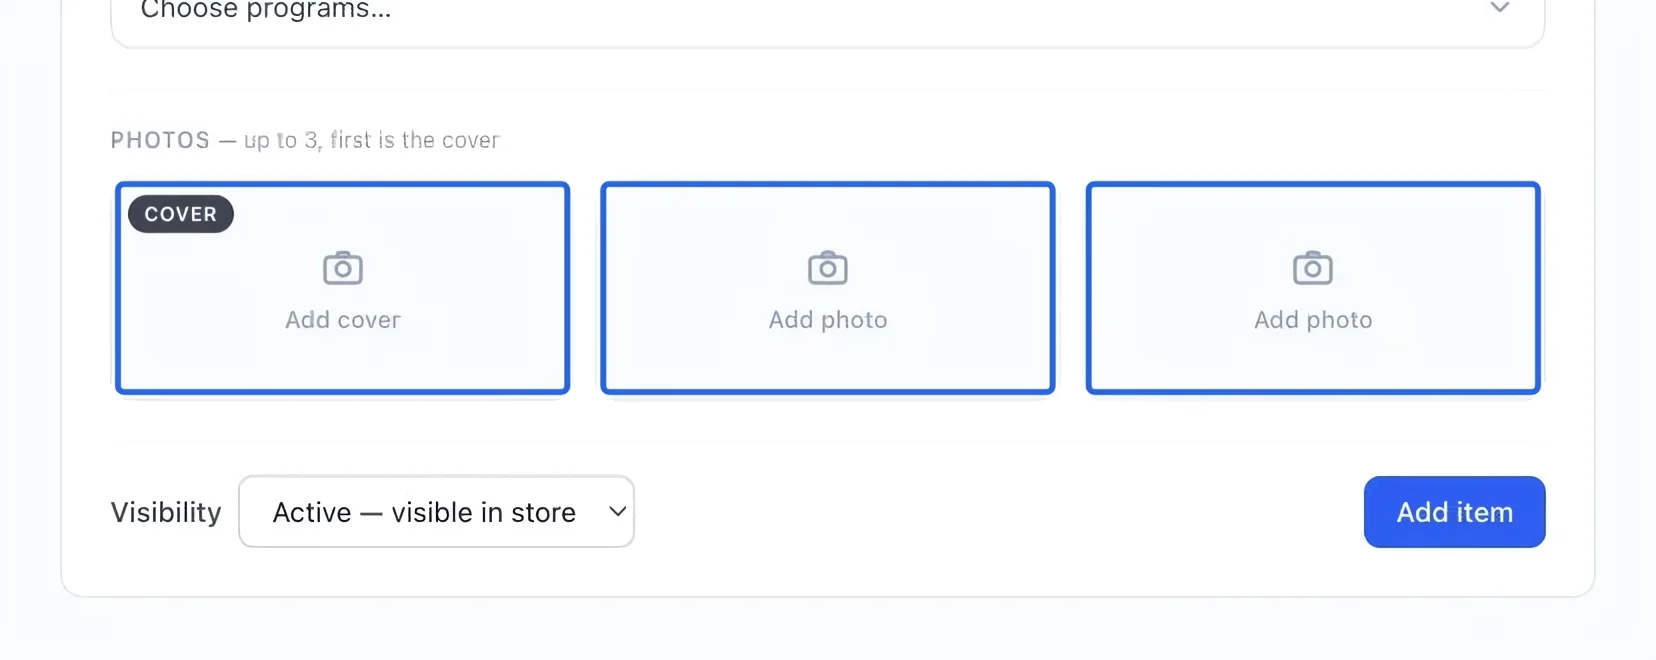
Select the screenshot to enlarge it. The blue outline marks the control to use.
- 5
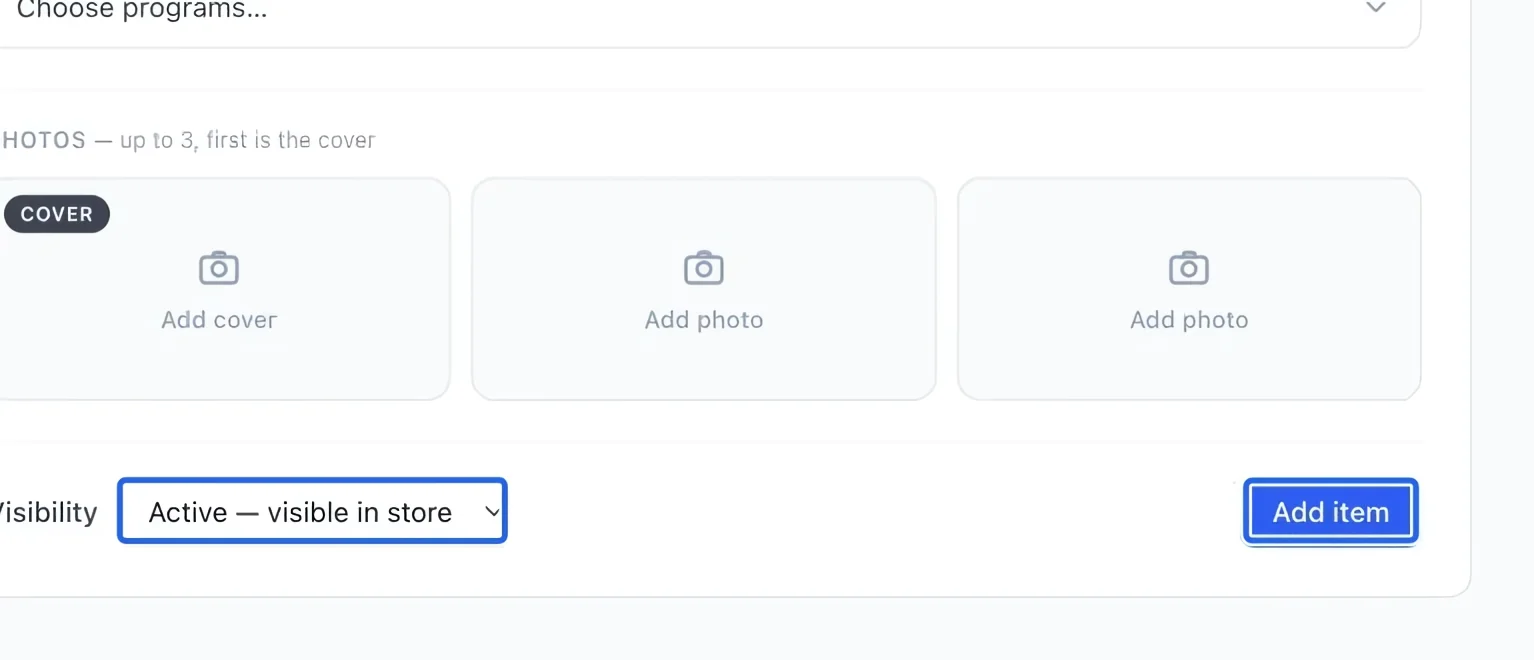
Save the item
Choose Active — visible in store when ready to sell, or Hidden while preparing it. Click Add item, then check that it appears in the catalog with the intended status. Before the first sale, map the product to its revenue account if the default sales account is unsuitable. Later mapping changes do not rewrite earlier sales. Store products do not count toward automatic multi-course discount tiers, even when purchased with courses. Store purchases also do not earn program loyalty points. In a mixed invoice, only the payment share for an eligible completed program earns per-dollar rewards.
Select the screenshot to enlarge it. The blue outline marks the control to use.
- 6
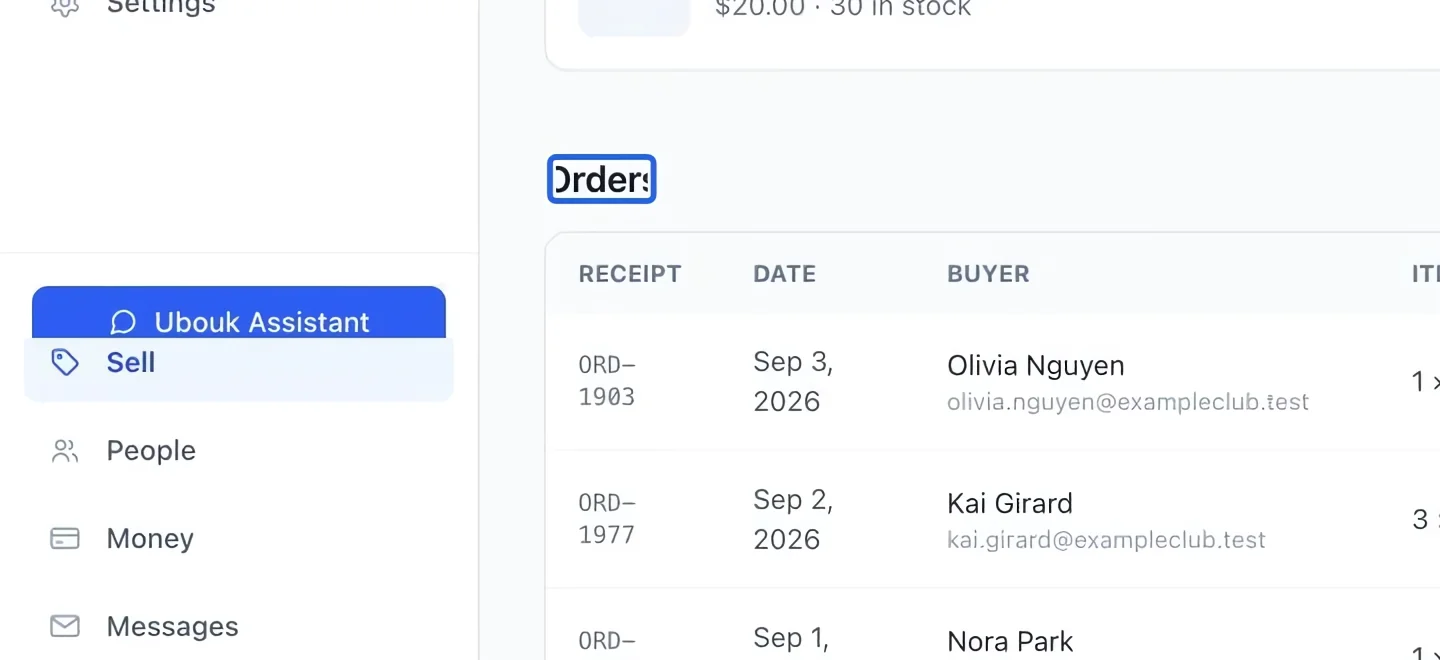
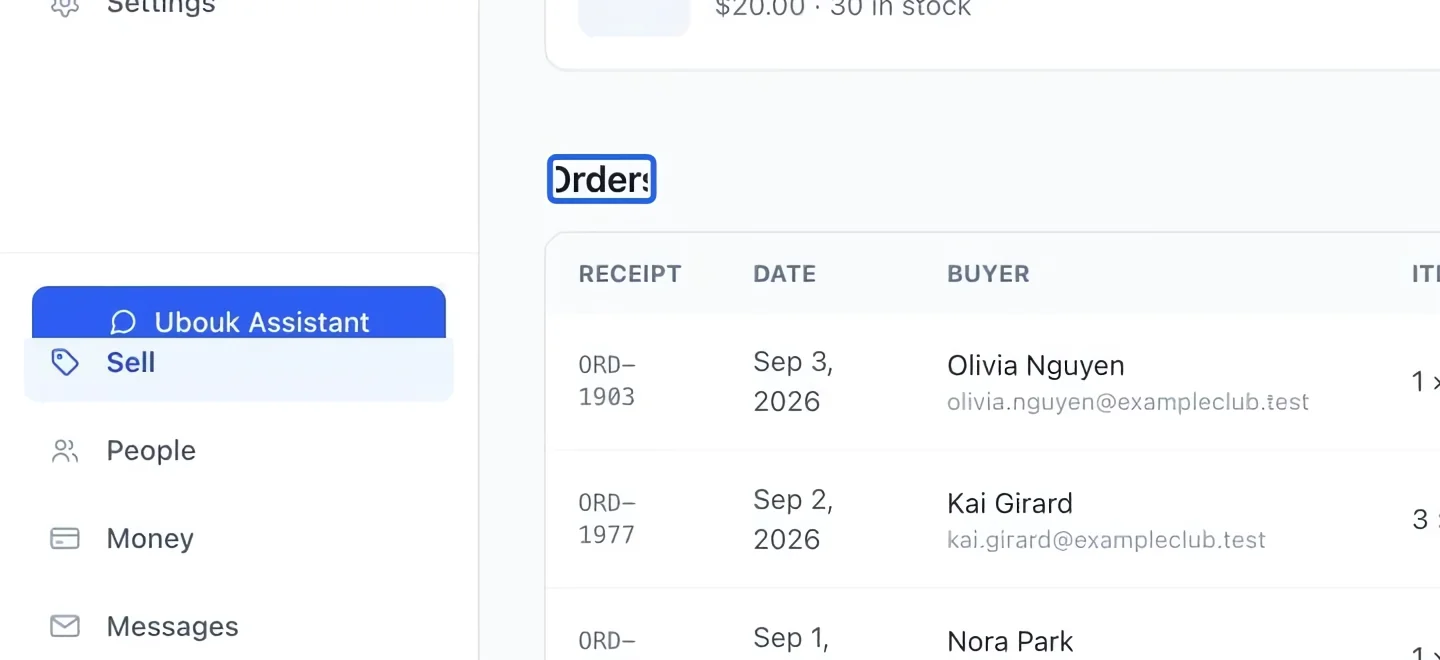
Follow orders
Return to the Store page and review Orders. Check the paid order and its size before handing over merchandise, then use the fulfillment action on that order. Review cancellation and refund details before cancelling an order.
Select the screenshot to enlarge it. The blue outline marks the control to use.
Keep going
Select a client and catalog items, review the total, then save or send an invoice.
Accounting & financial reportsRoute programs, rates, memberships, products and payment methods to the right accounts.
Accounting & financial reportsInspect invoice lines, credit notes, receipts, participants and form answers.