Handle change requests
When a family asks to cancel, transfer or update a registration from their account, it lands here for your decision.
- 1
Open the request queue
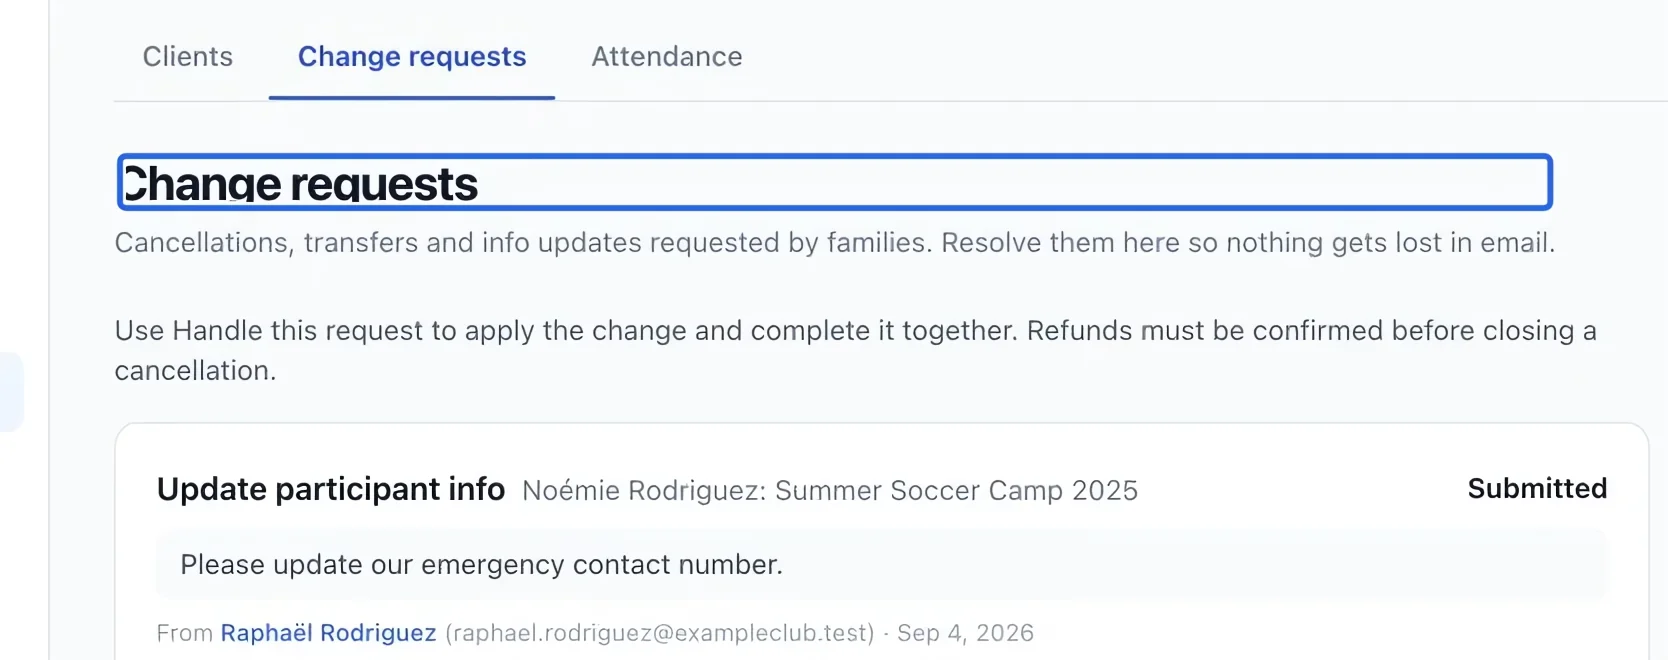
Open People → Change requests. Read the participant name, program, request type and family’s reason. Nothing should be changed until you have checked the correct registration. A cancellation keeps the amounts already billed; it does not retroactively remove a multi-course discount from the family’s other courses. Cancelled registrations do not earn loyalty points, even after the program ends. Active registrations qualify after the final date without attendance records; a no-show alone does not remove eligibility.
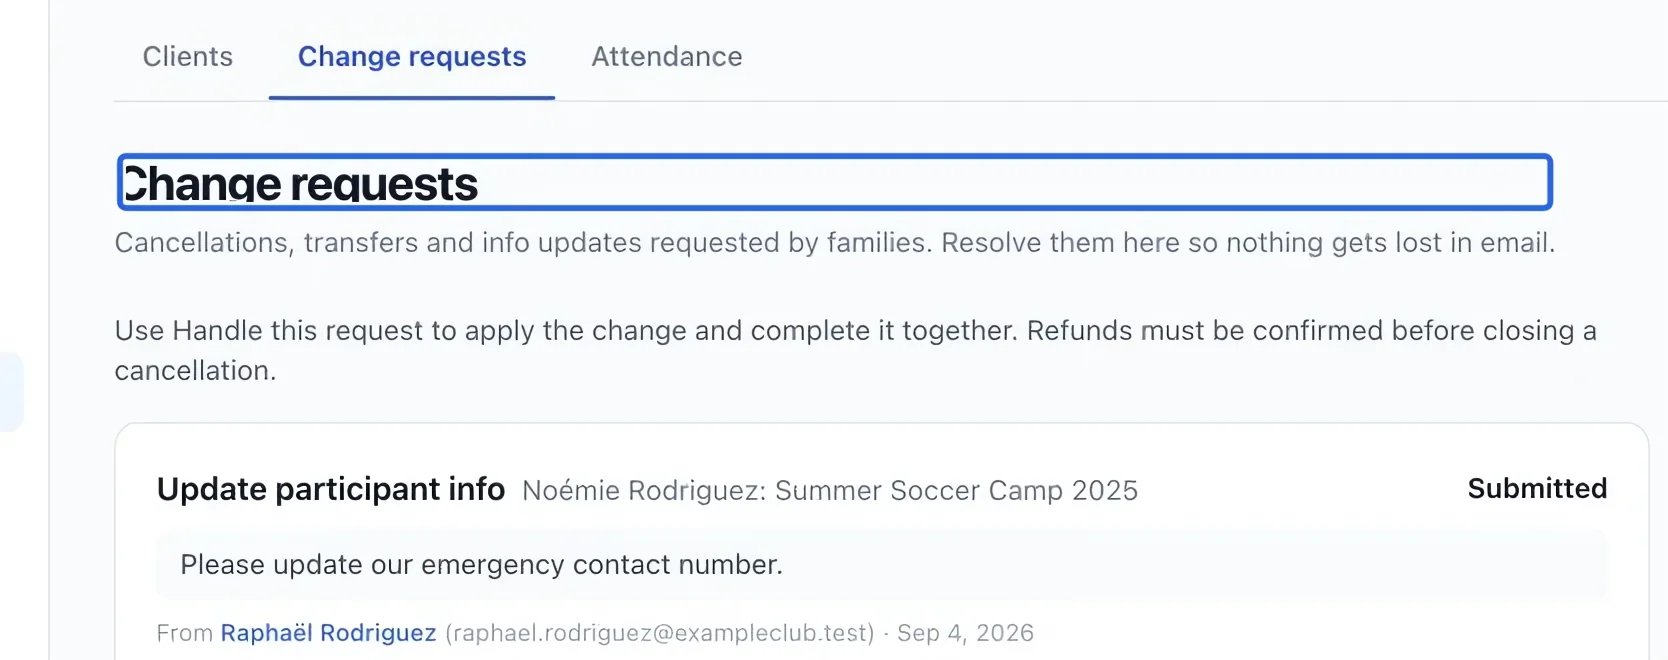
Select the screenshot to enlarge it. The blue outline marks the control to use.
- 2
Open the guided action
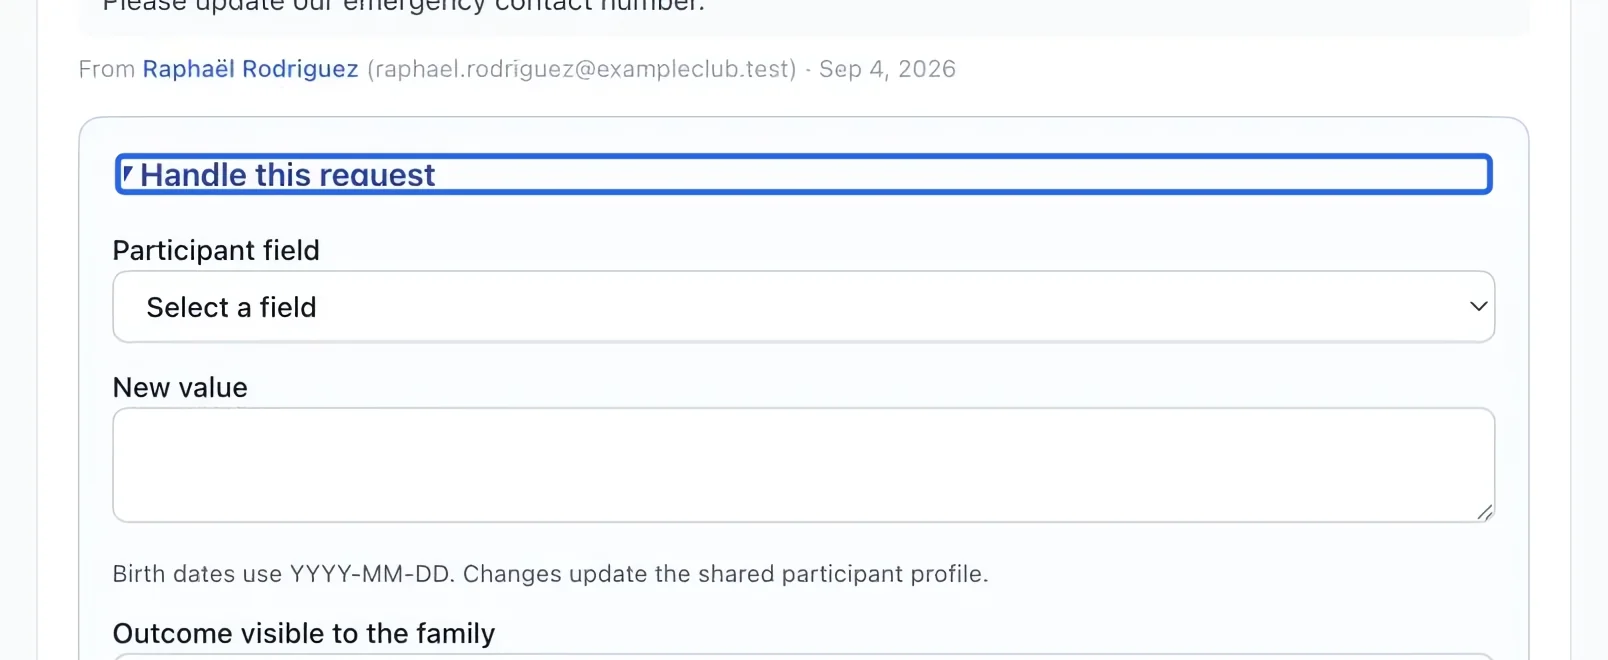
Expand Handle this request on the request you are processing. The fields depend on its type: information update, transfer or cancellation. Use this workflow to apply the change and complete the request together.
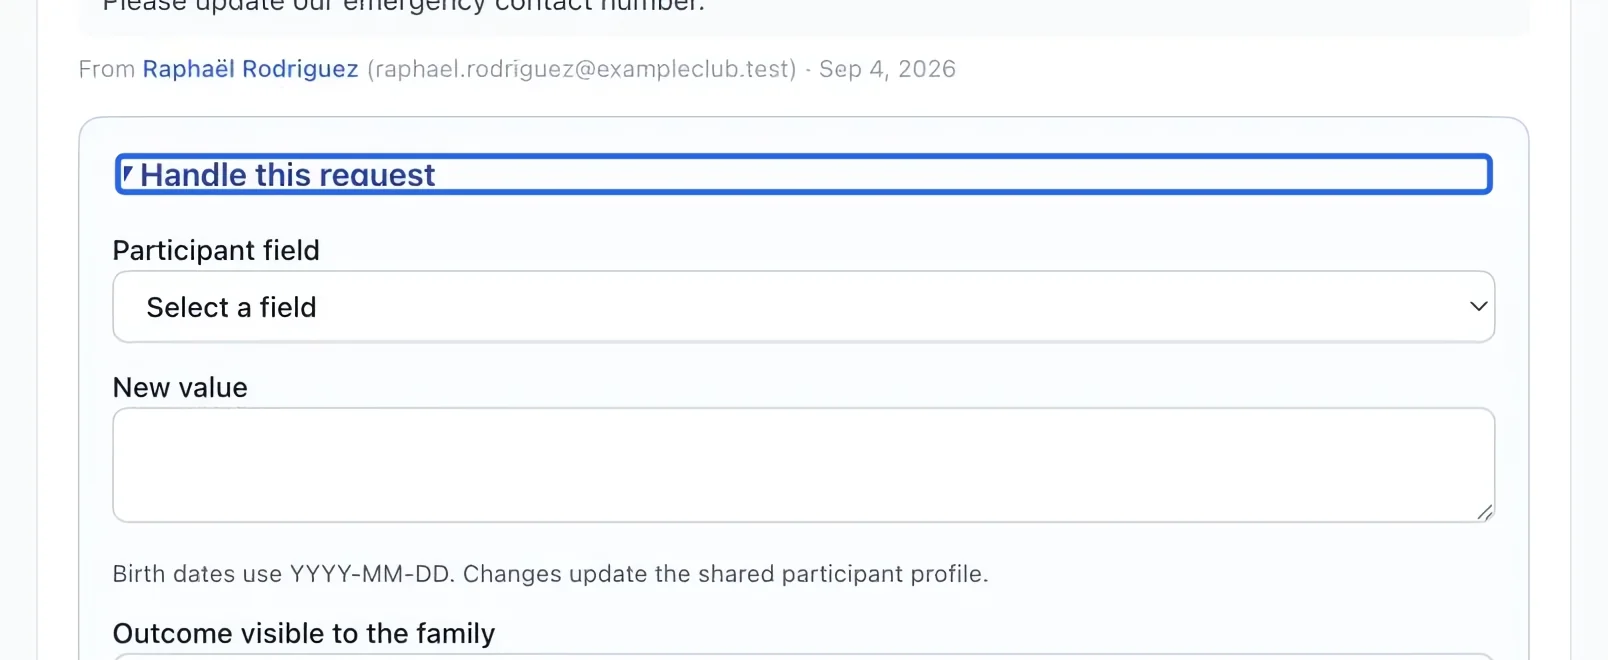
Select the screenshot to enlarge it. The blue outline marks the control to use.
- 3
Enter the requested change
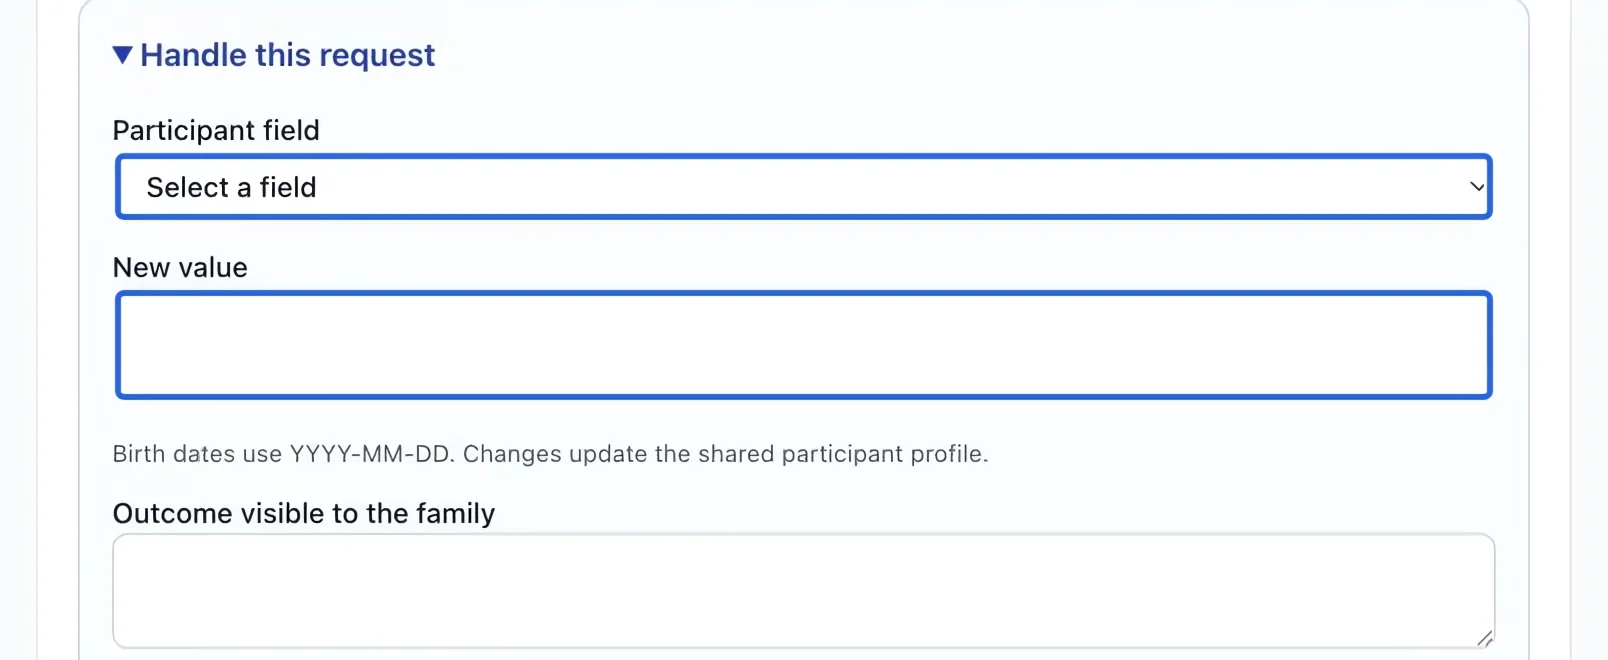
For an information update, choose Participant field and enter New value. For a transfer or cancellation, review the choices shown in that request instead. Confirm any required refund before closing a cancellation.
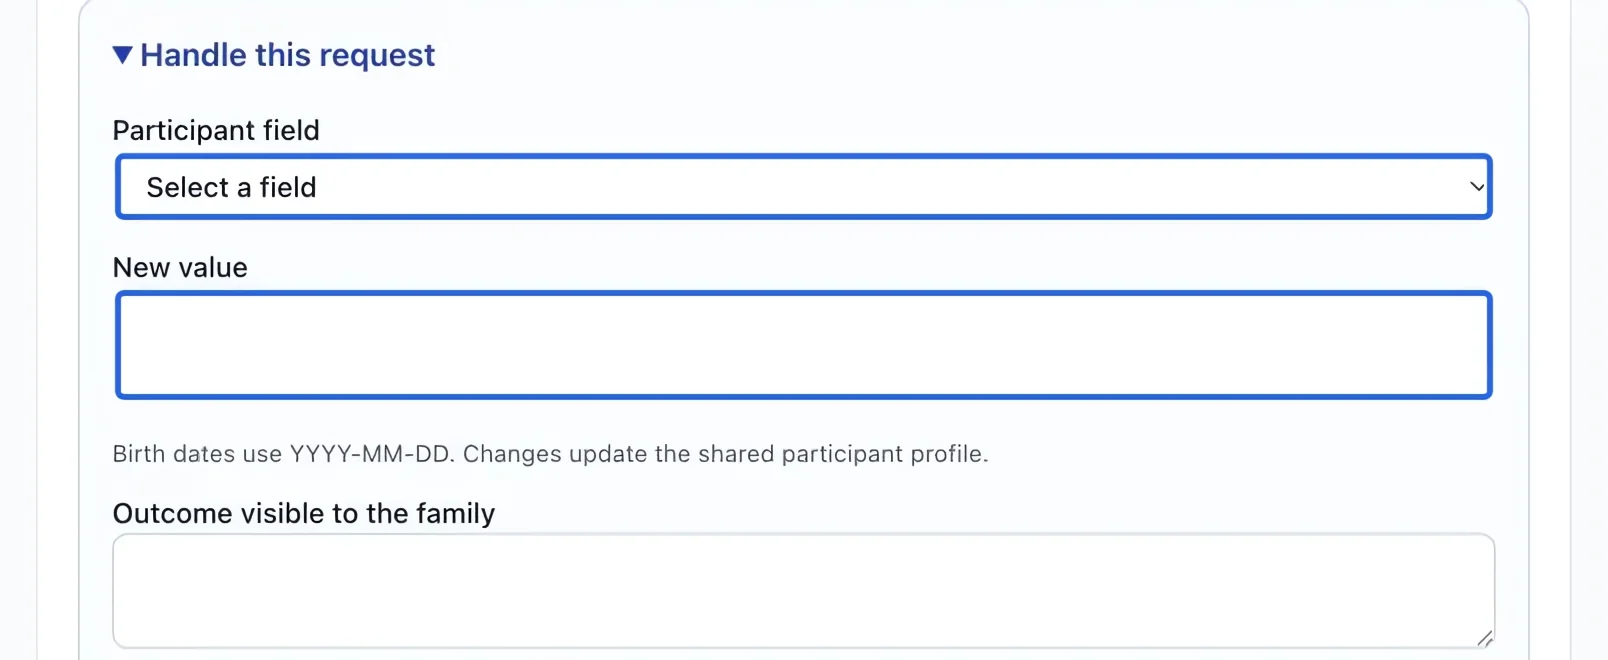
Select the screenshot to enlarge it. The blue outline marks the control to use.
- 4
Record the outcome and finish
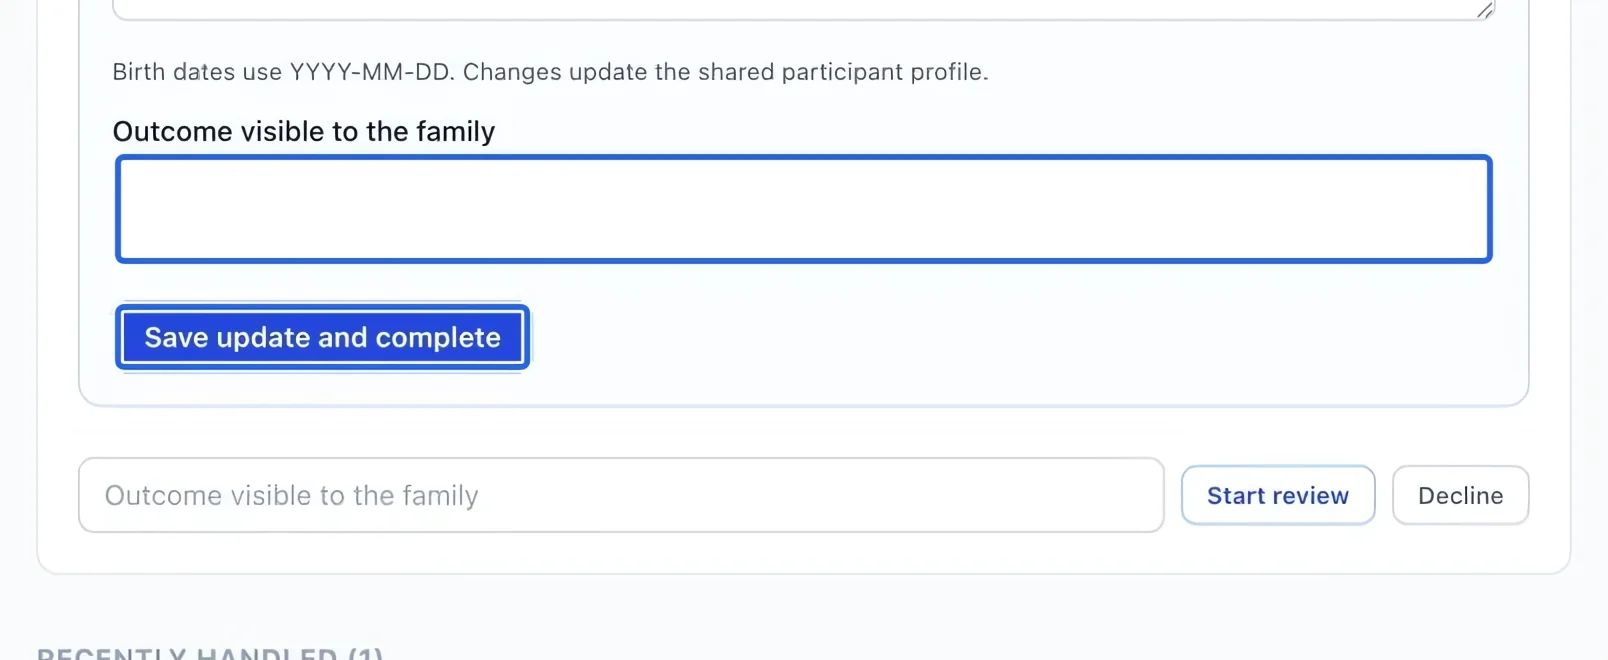
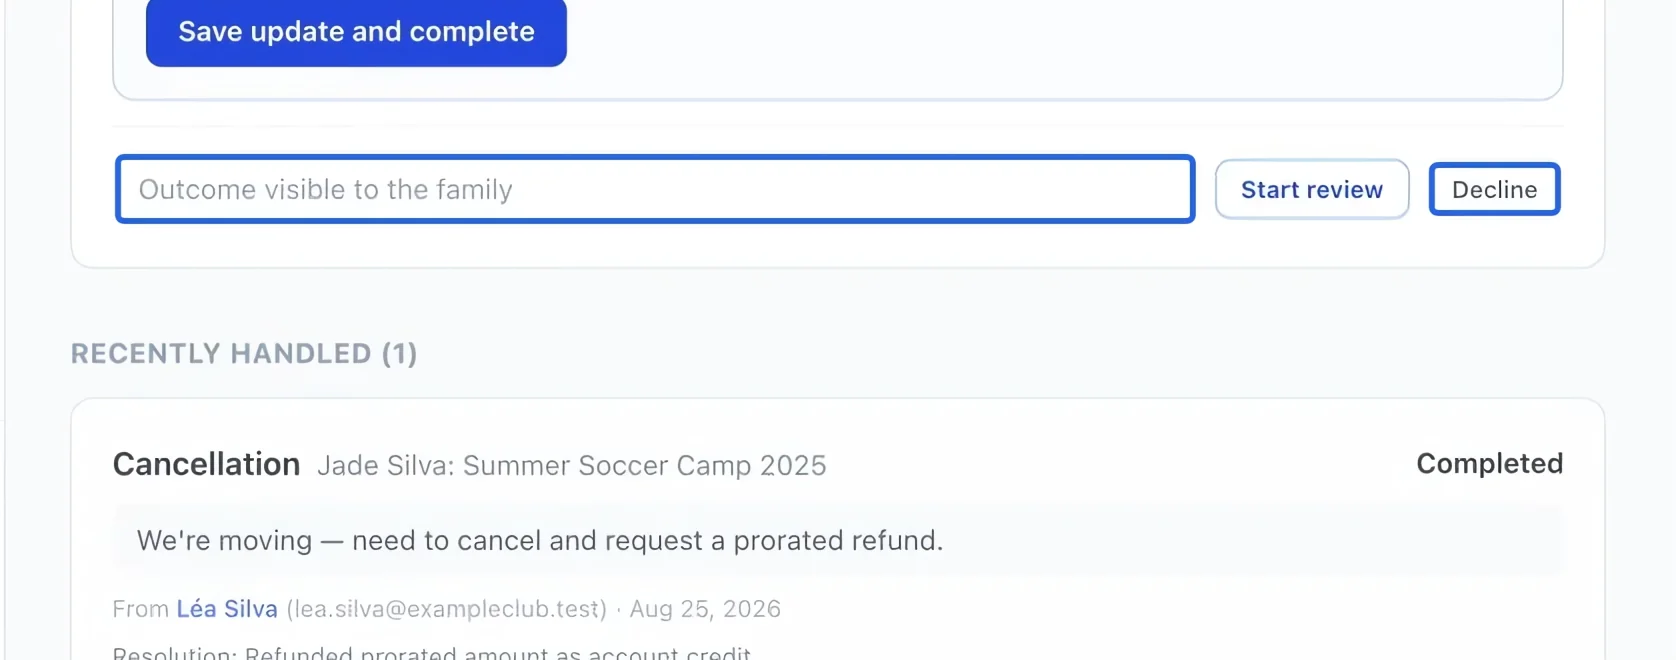
Write a clear Outcome visible to the family, then use the completion button after checking the change. For this update example, it is Save update and complete. Verify that the request moves to the handled list.
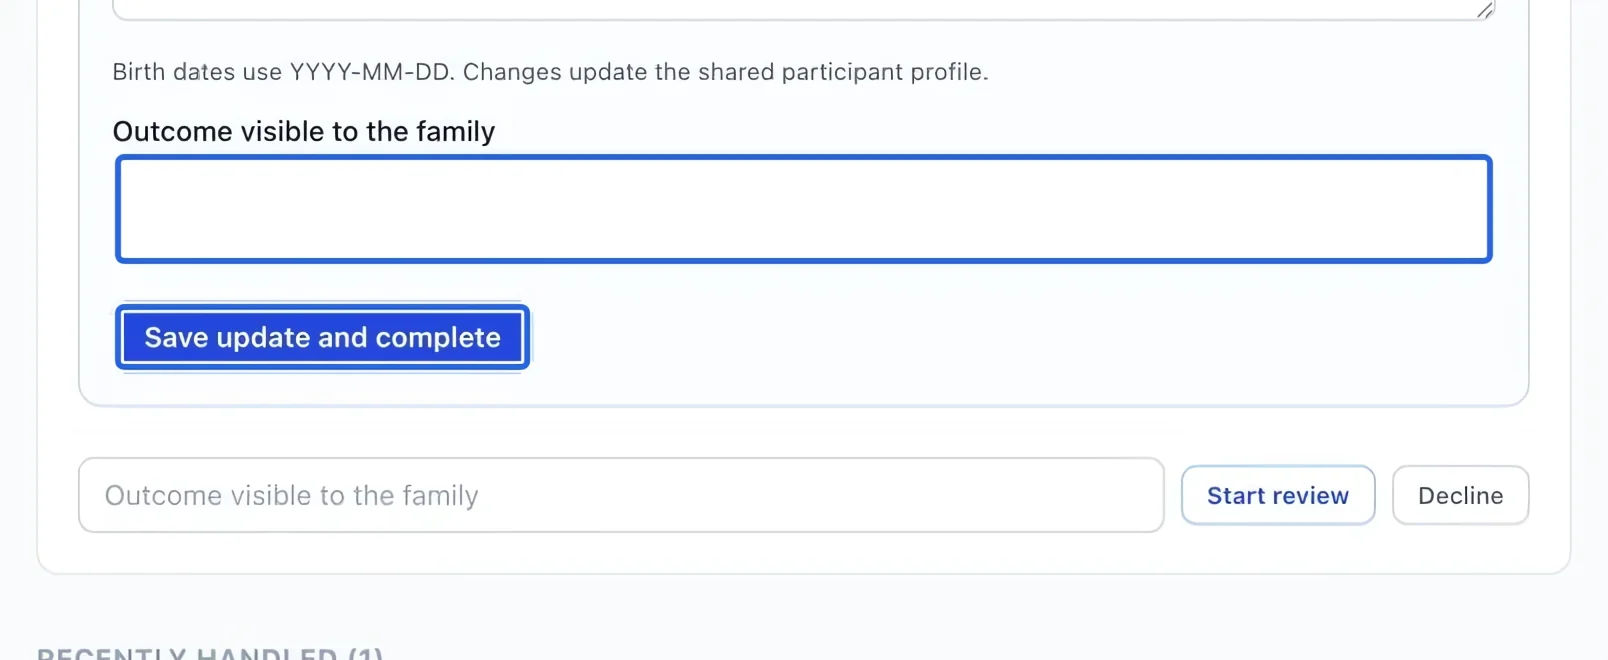
Select the screenshot to enlarge it. The blue outline marks the control to use.
- 5
Decline when appropriate
If you cannot approve the request, enter an explanation in the outcome field beside the review actions, then click Decline. Do not manually change the registration and leave its request unanswered.
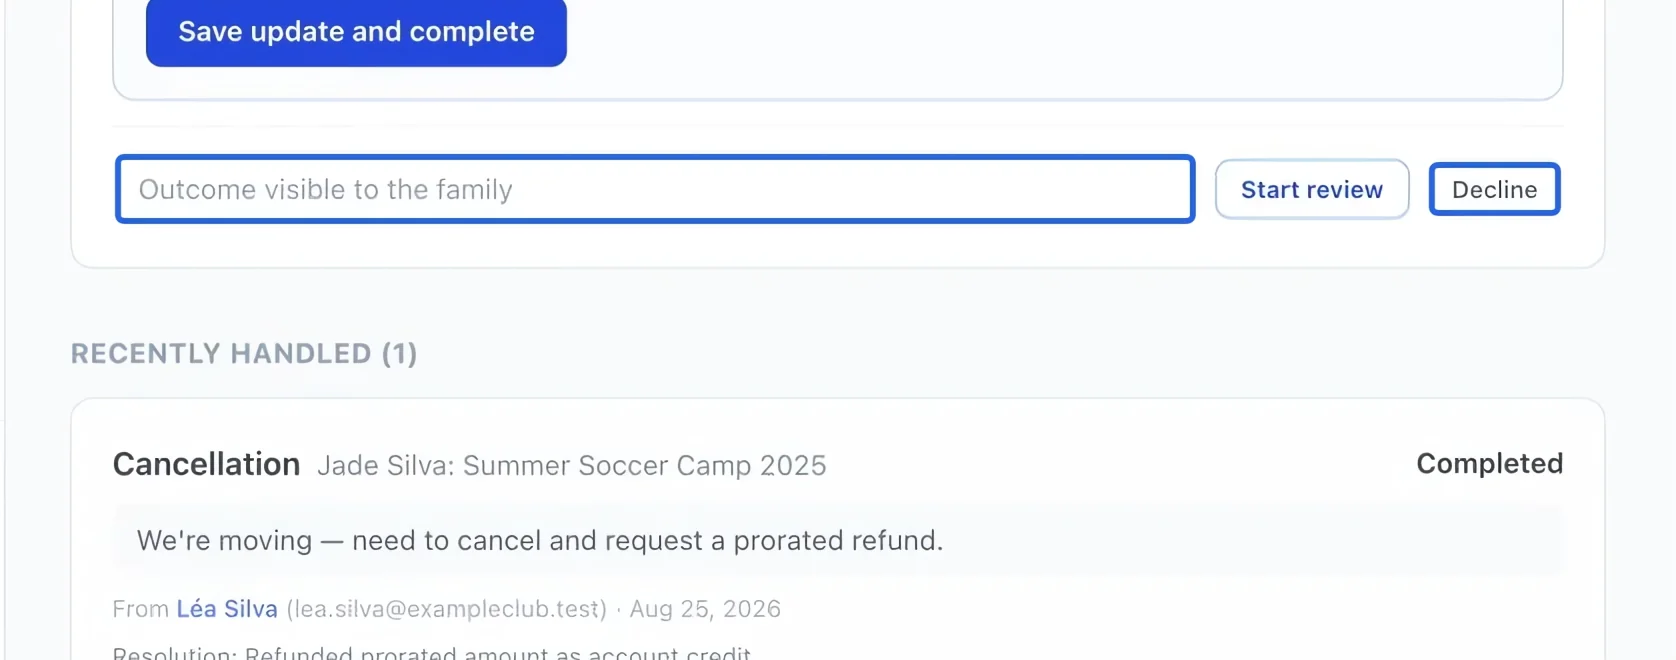
Select the screenshot to enlarge it. The blue outline marks the control to use.
- 6
Distinguish a transfer, credit and cancellation
For a direct group move, use Transfer to another group. Review financial adjustments separately. Issuing credit does not necessarily cancel a registration; for several programs, review the explicit unenrollment option in bulk credits.