
Finish the setup guide
The guided checklist that takes a brand-new organization to its first registration.
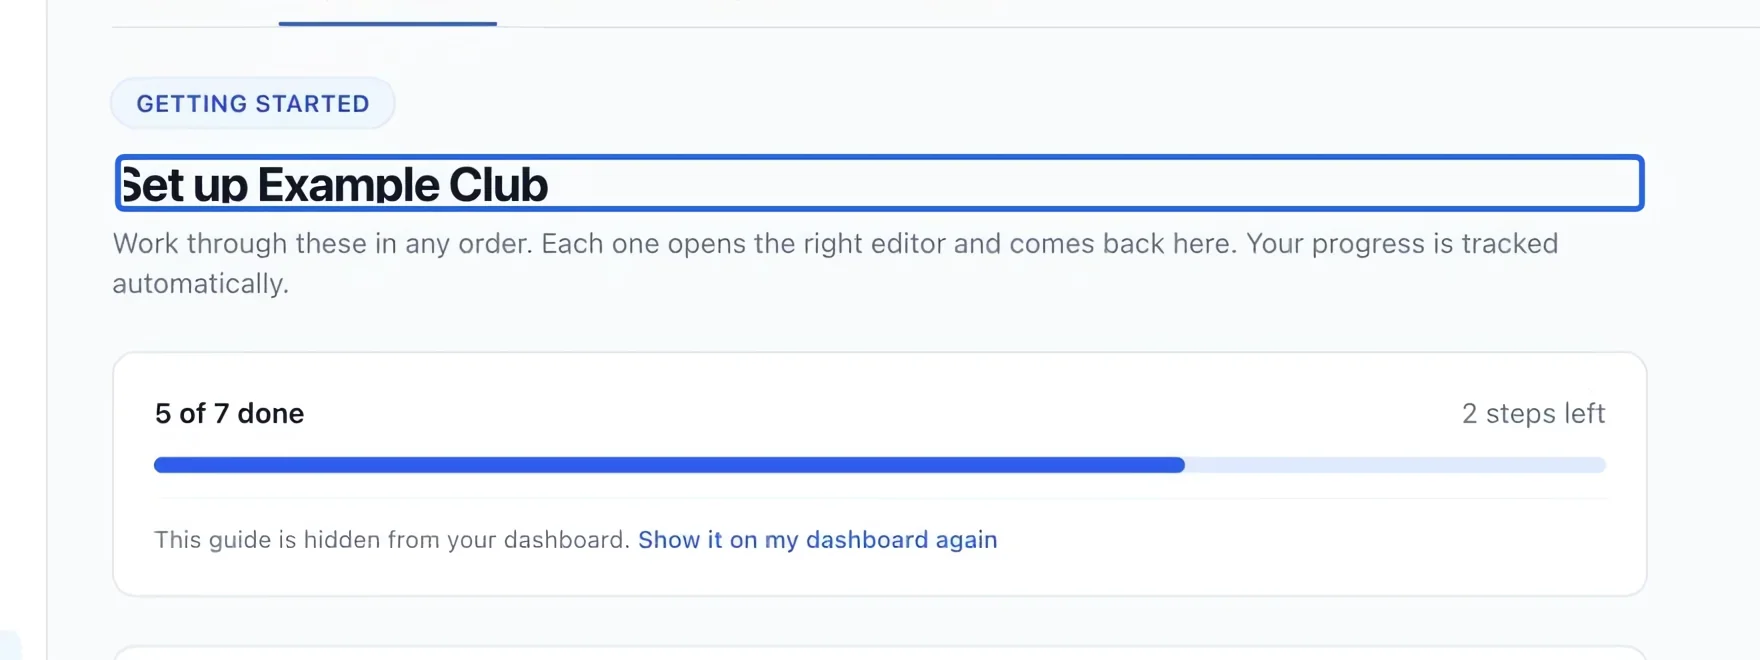
- 1
Open the checklist
In Registrations, open Settings → Setup guide. Review the seven cards. Each card links to the page where you complete that part of setup.
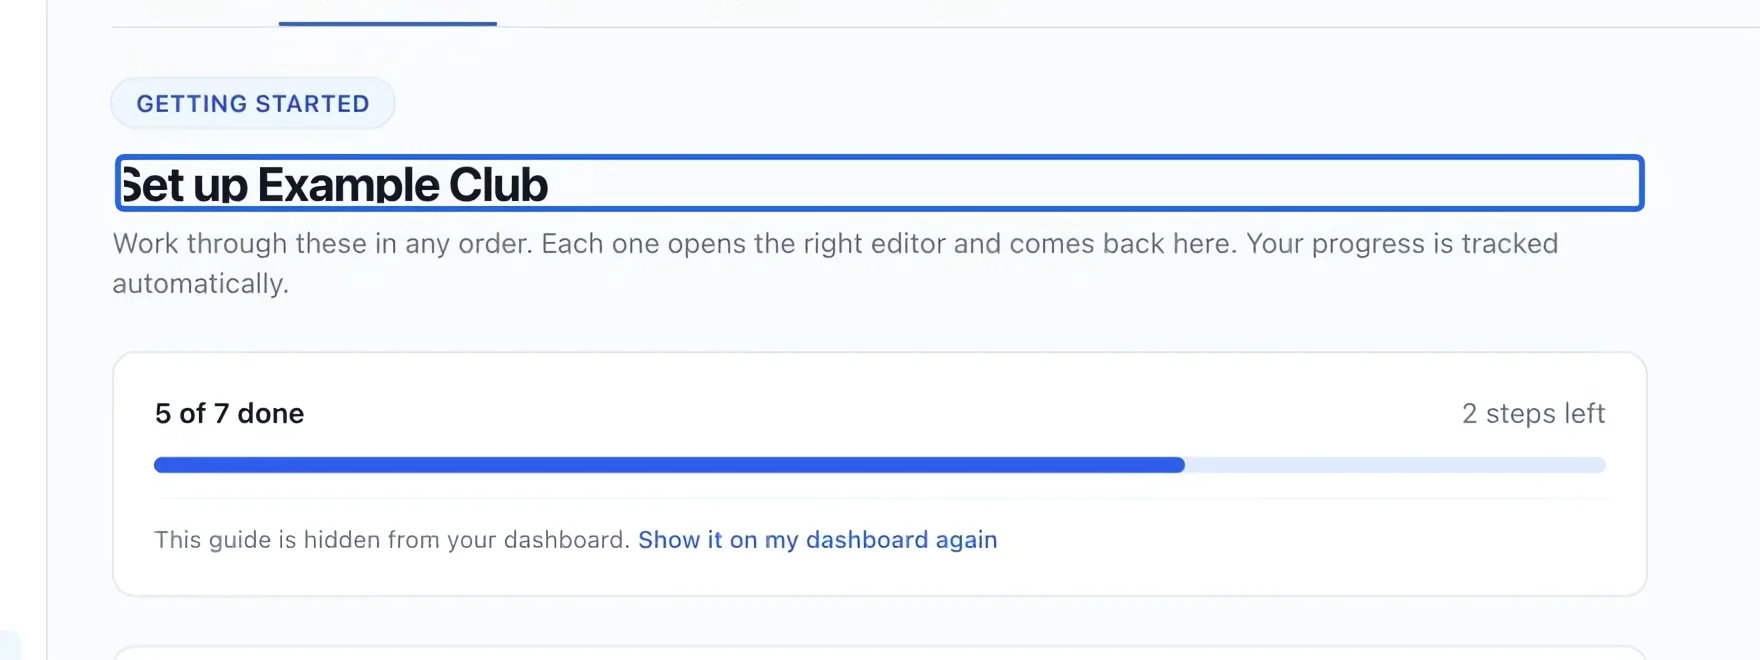
Select the screenshot to enlarge it. The blue outline marks the control to use.
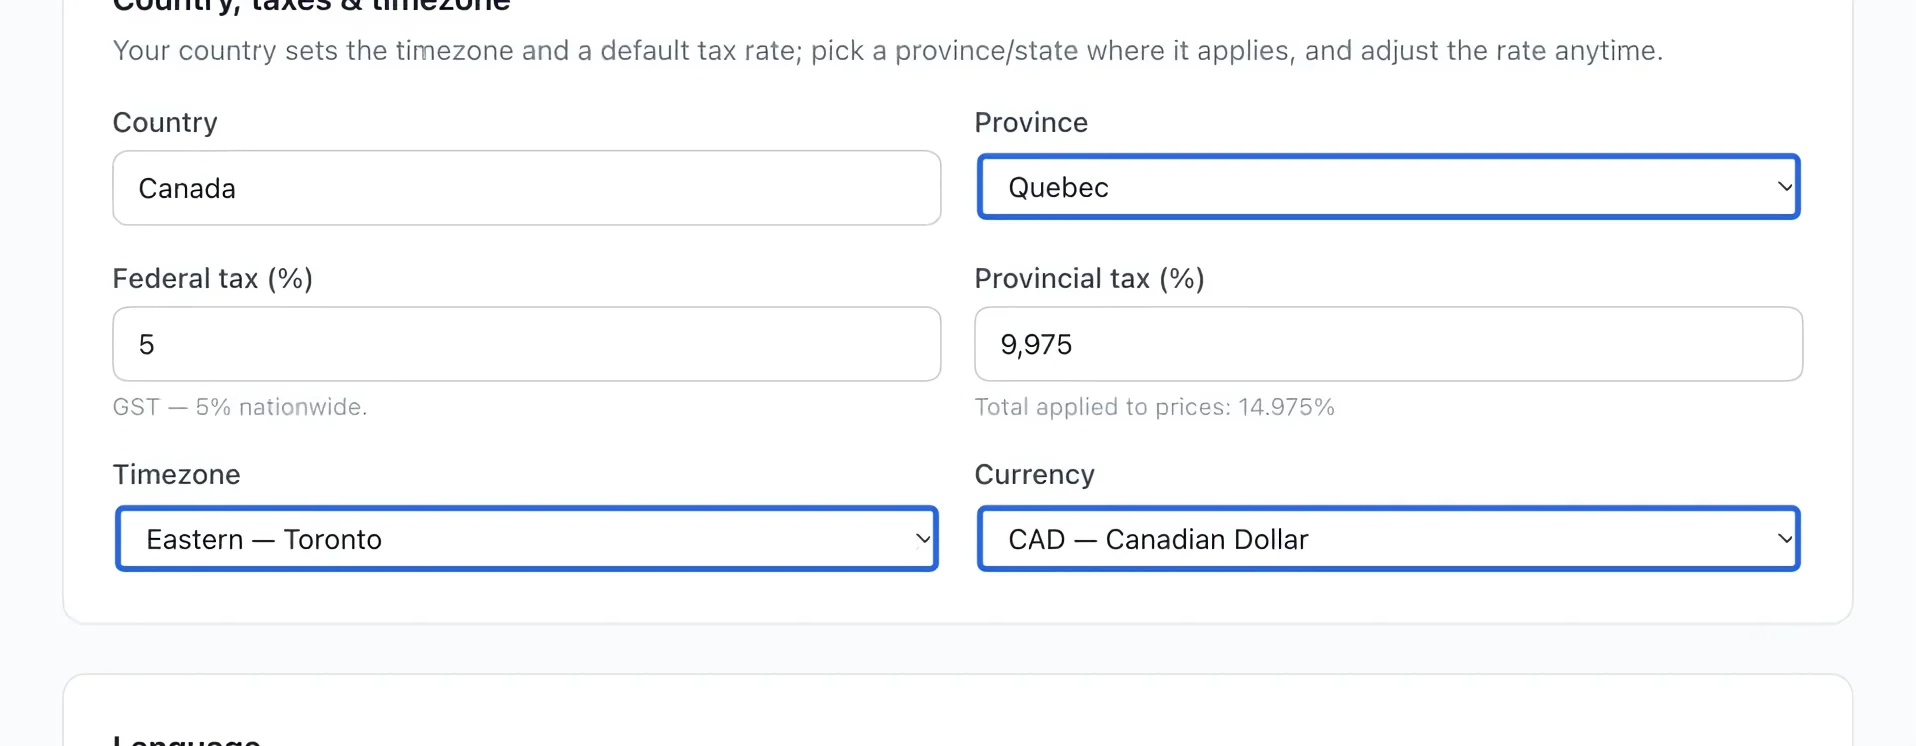
- 2
Set your region first
Open General settings. Choose your country, province/state, timezone and currency before entering prices. Review the displayed tax rates. Wait for the save indicator after changing a setting.
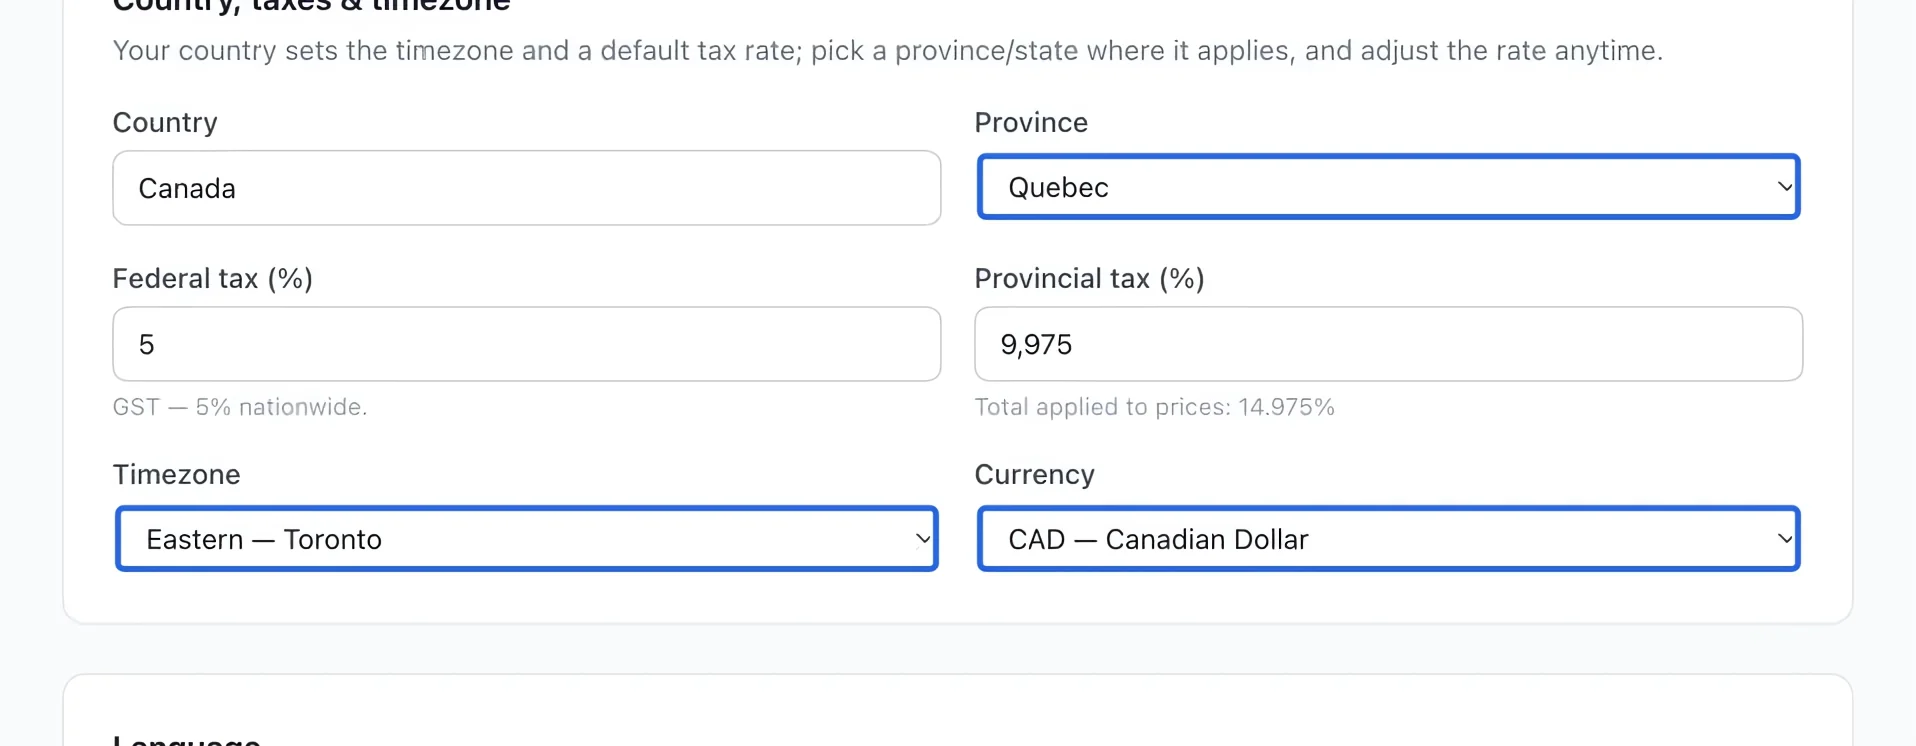
Select the screenshot to enlarge it. The blue outline marks the control to use.
- 3
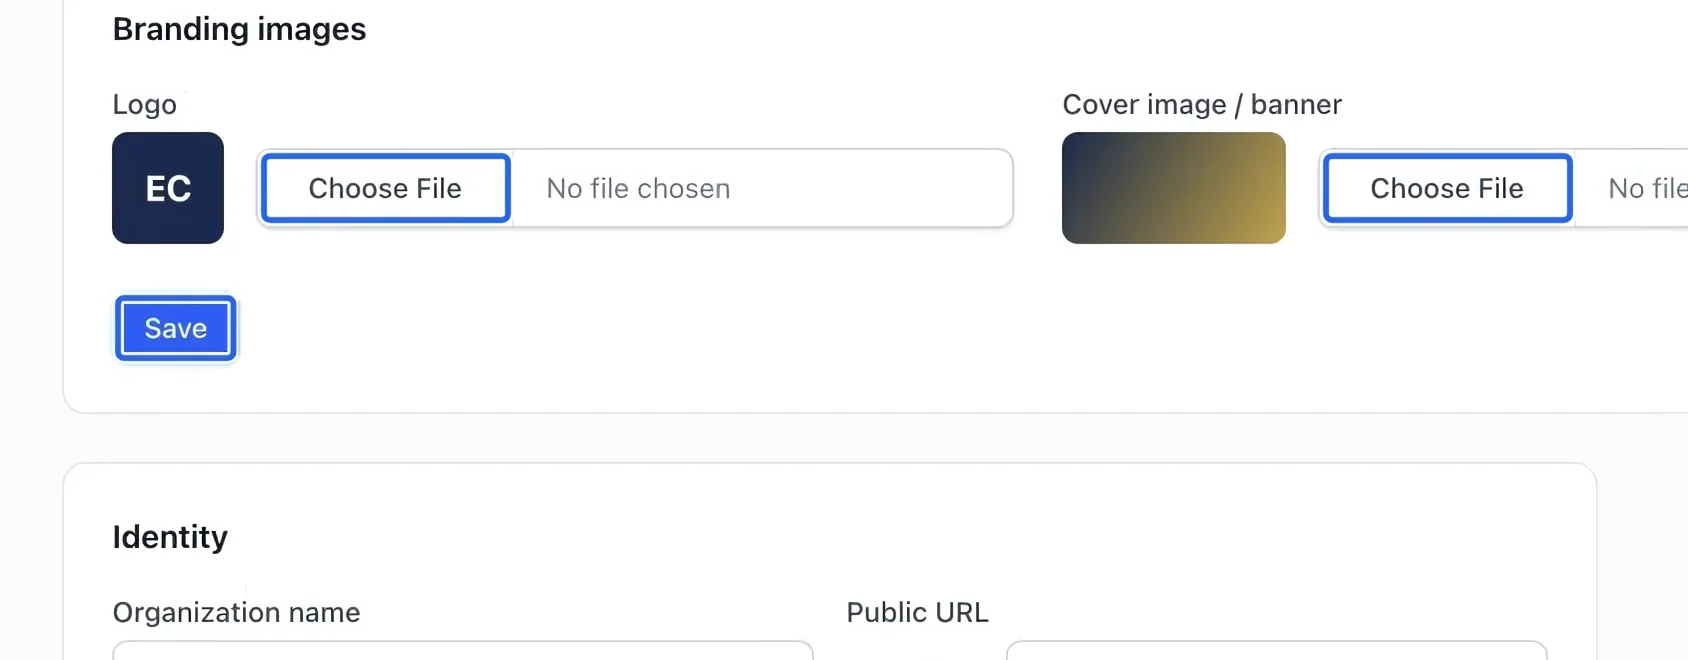
Add your branding
Open Public portal. Under Branding images, choose your logo and banner files, then click Save. Use the separate Identity section for your organization name and colors.
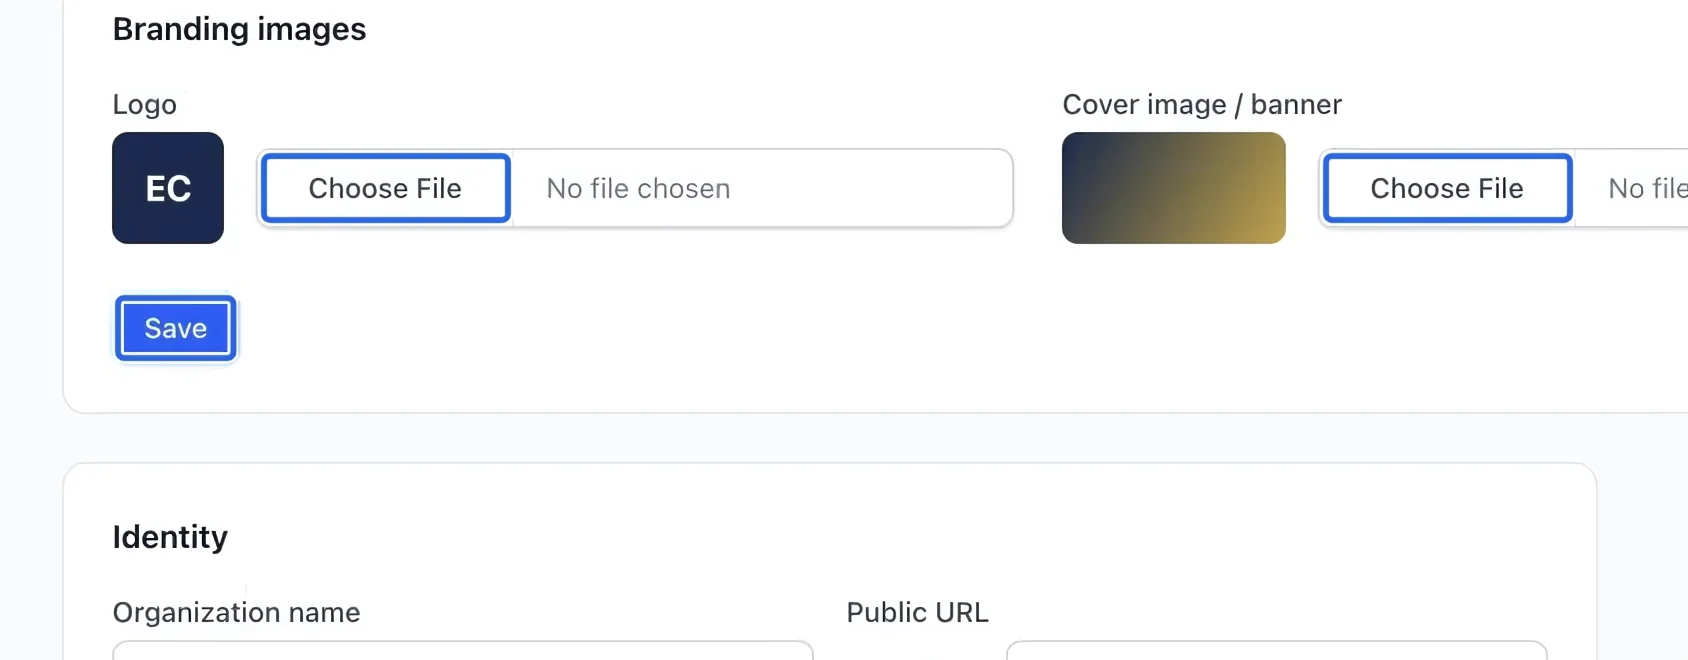
Select the screenshot to enlarge it. The blue outline marks the control to use.
- 4
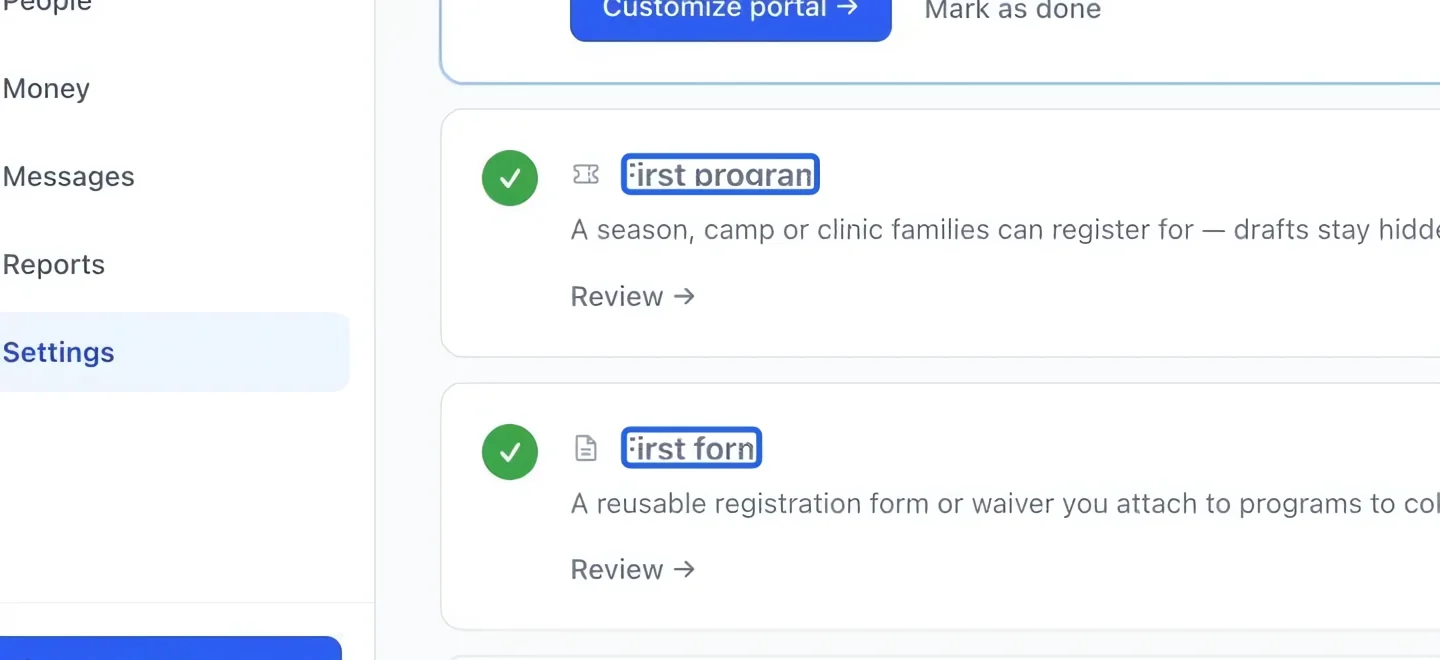
Create your first activity and form
Return to the checklist. Complete First program using Create a program, and First form using Build a registration form. Keep your program as a draft while preparing it.
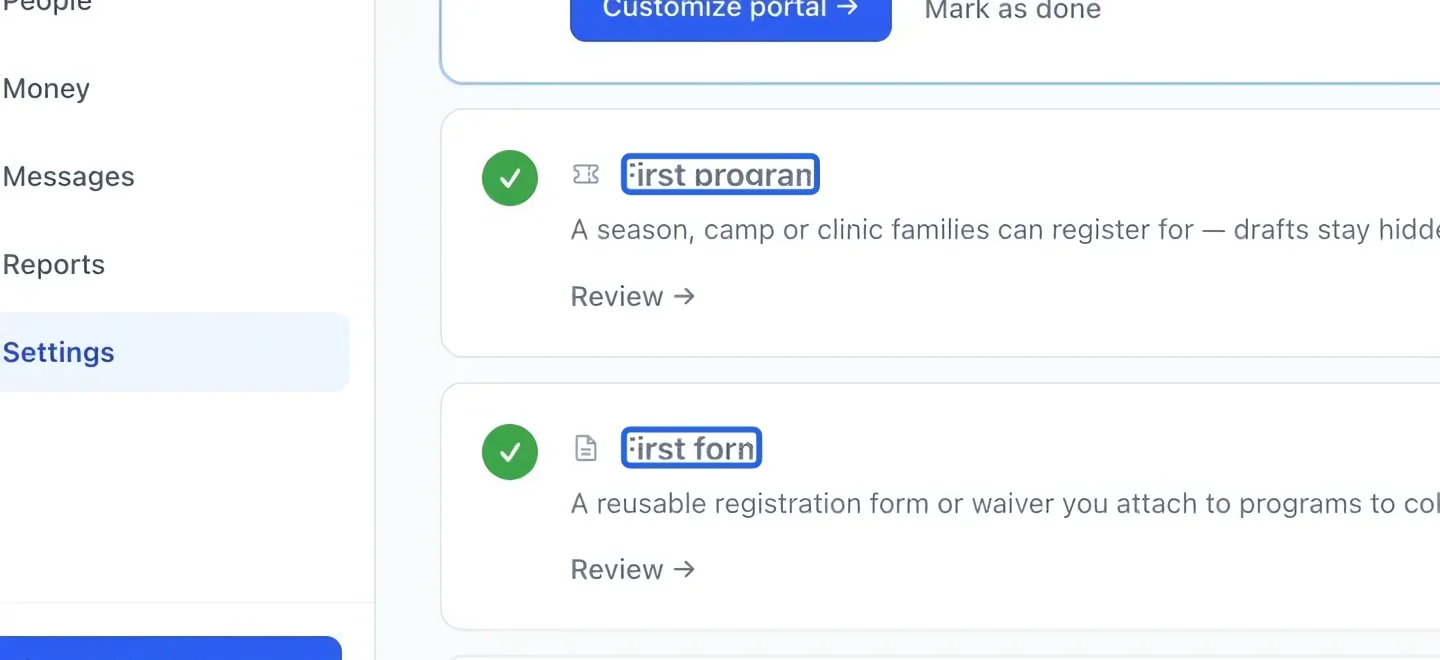
Select the screenshot to enlarge it. The blue outline marks the control to use.
- 5
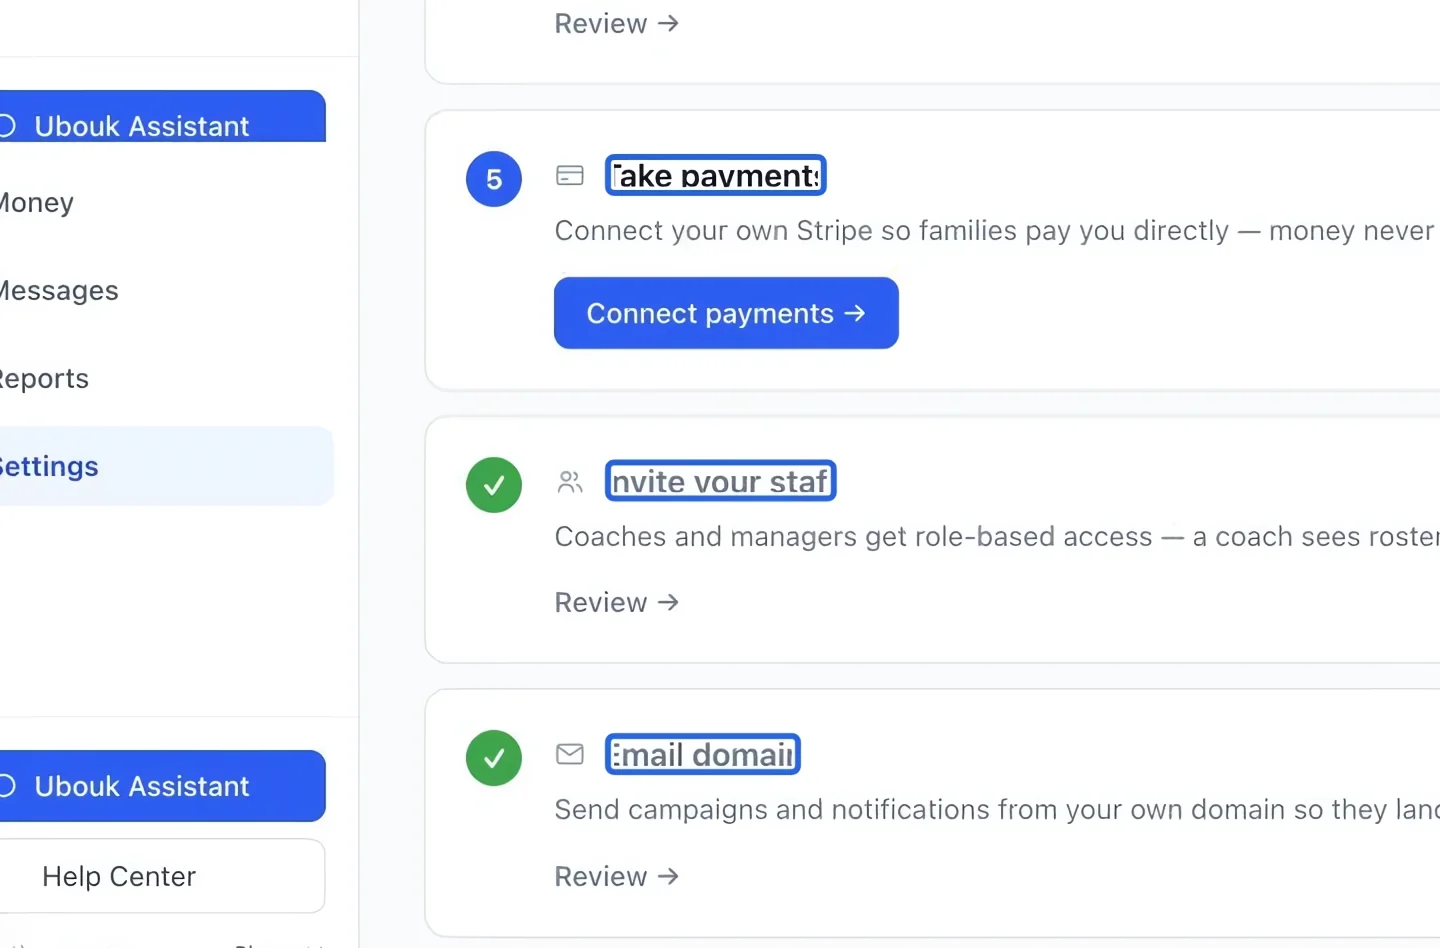
Complete the remaining cards
Follow Take payments, Invite your staff, and Email domain. Use the linked tutorials for payments and invitations. Review the email-domain instructions in Marketing settings before sending campaigns.
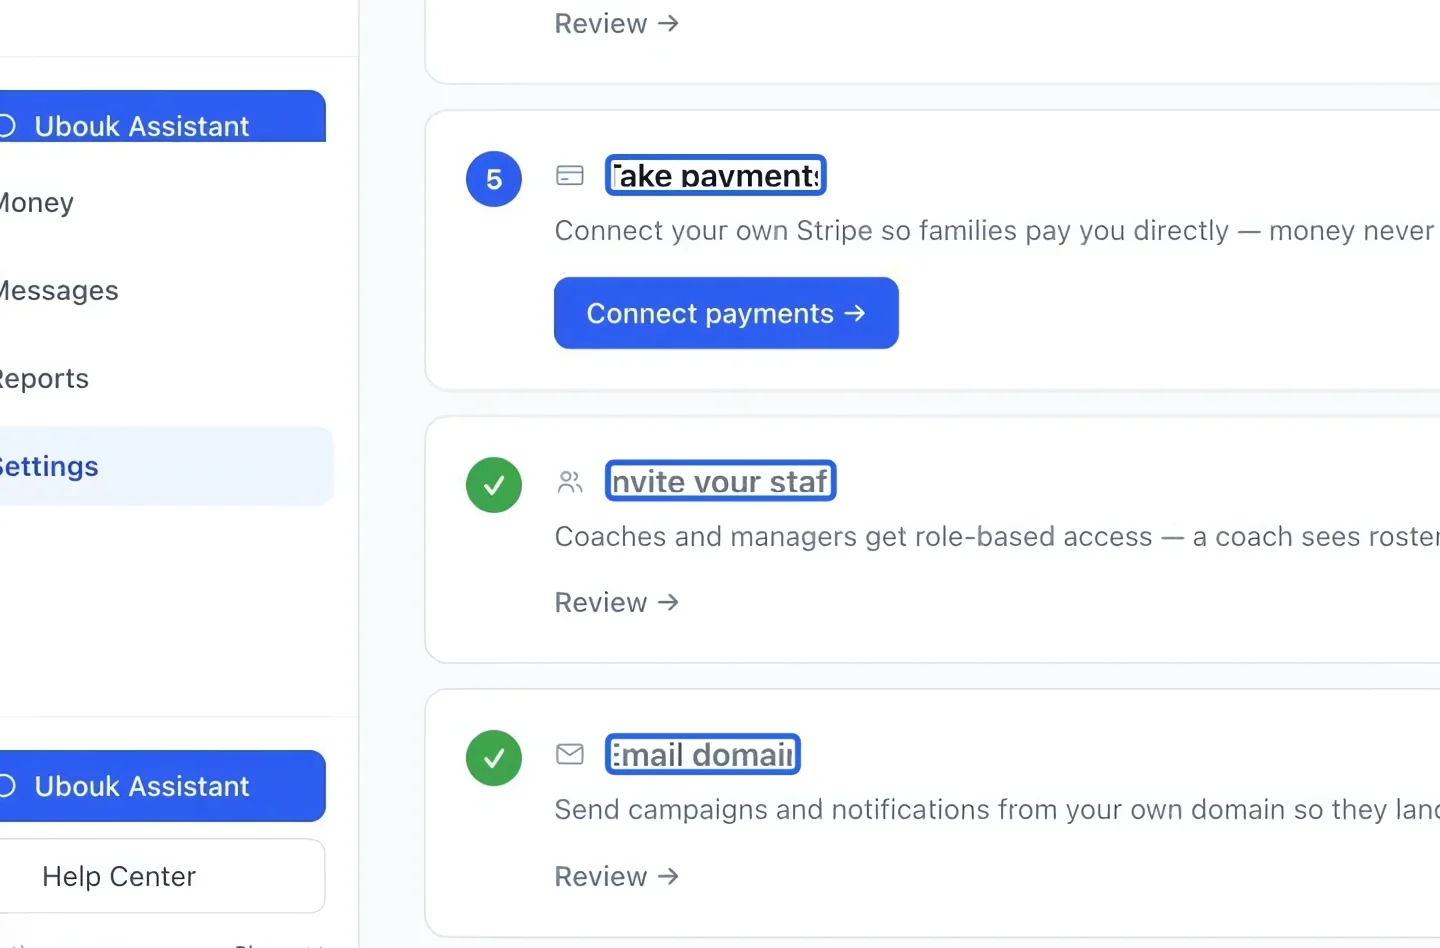
Select the screenshot to enlarge it. The blue outline marks the control to use.
- 6
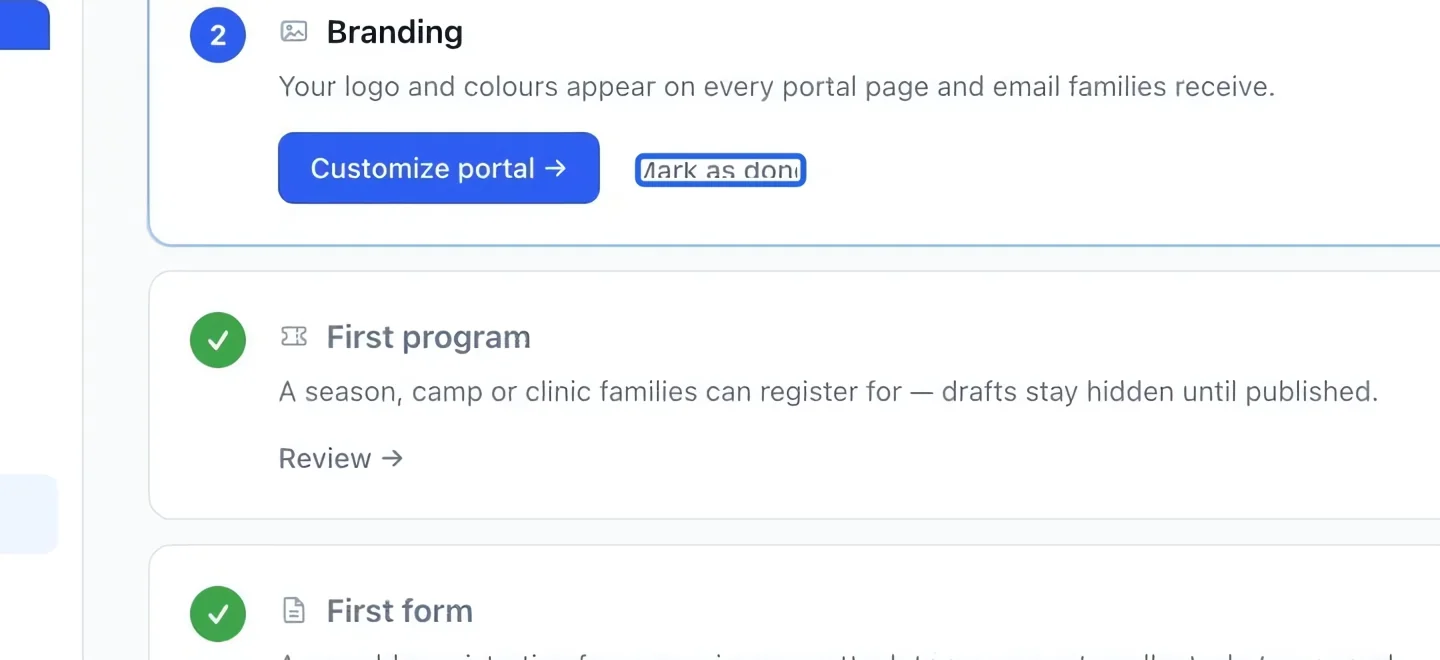
Review the checklist
Return to the setup guide and check each card. Some steps are detected automatically; use Mark as done where offered only after completing that task. You can revisit the guide from Settings at any time. Before issuing your first invoice or taking a payment, check your accounting basis and accounts. The first journal entry locks the basis.
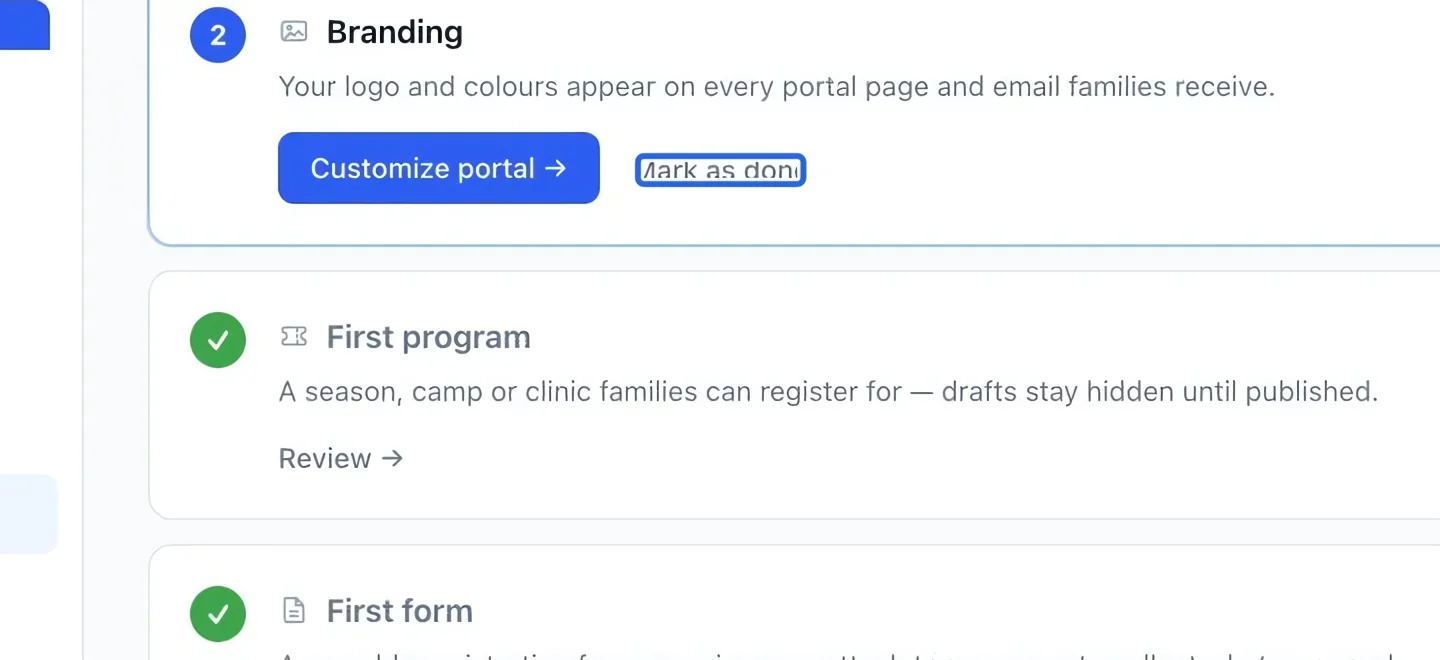
Select the screenshot to enlarge it. The blue outline marks the control to use.
Keep going
Publish a season, camp, league or clinic that families can register for on your portal.
Getting startedConnect your organization’s Stripe account using the available connection method and verify it before collecting payments.
Accounting & financial reportsChoose your accounting basis, add accounts, and maintain the accounts used by your financial reports.