Customize your public portal
Branding, identity, policies, testimonials and announcements: everything families see, no code required.
- 1
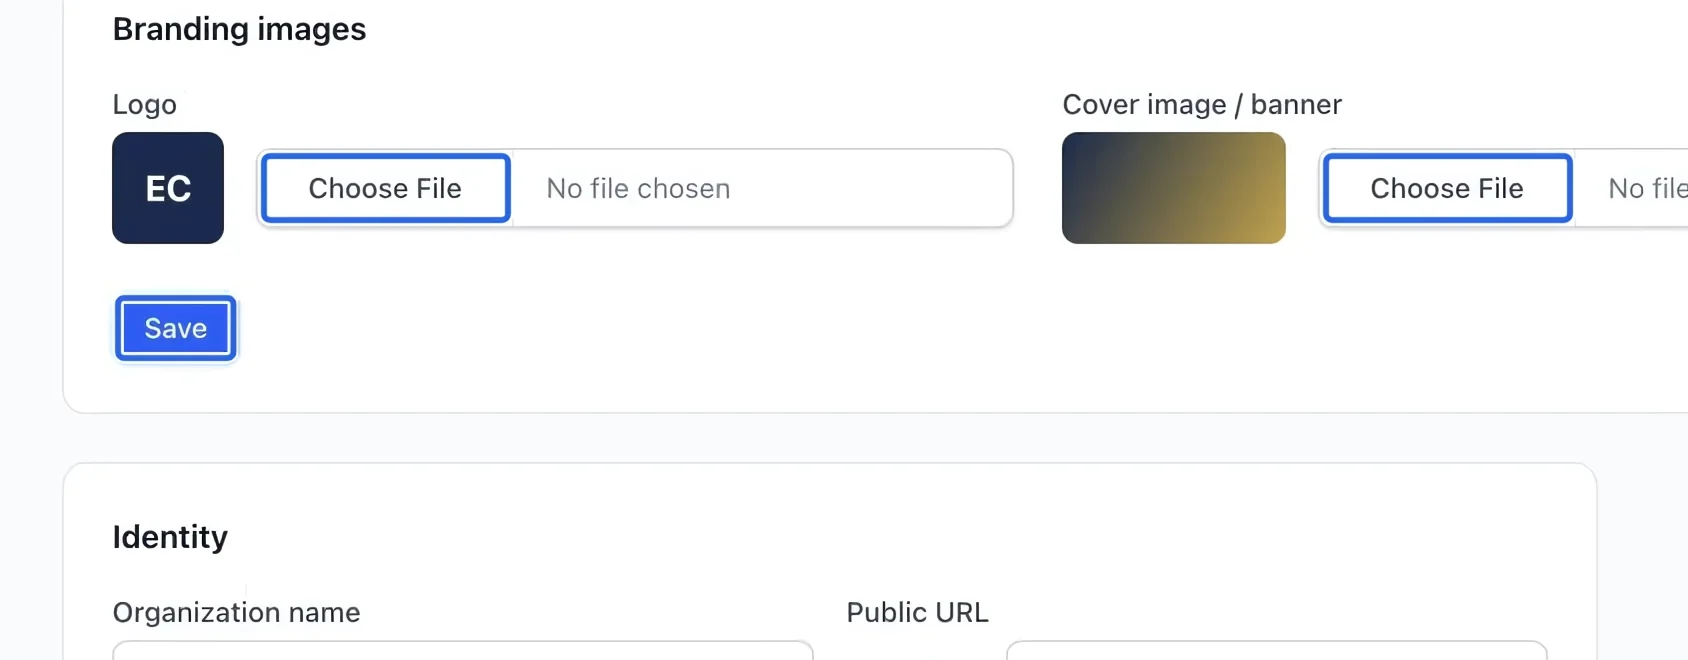
Upload the branding images
Open Settings → Public portal. Under Branding images, choose your logo and banner, then click Save. Use the file types and size limit displayed beside the upload controls.
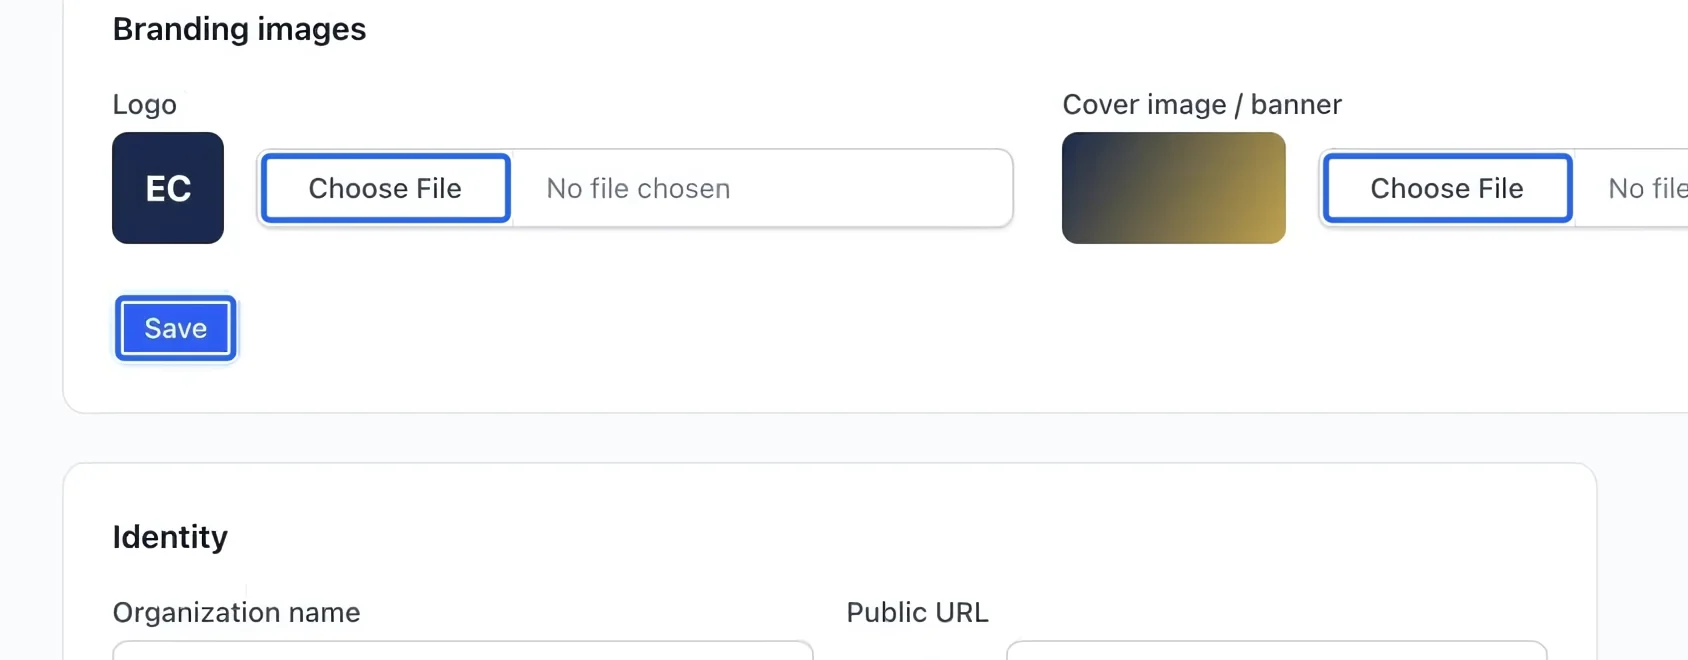
Select the screenshot to enlarge it. The blue outline marks the control to use.
- 2
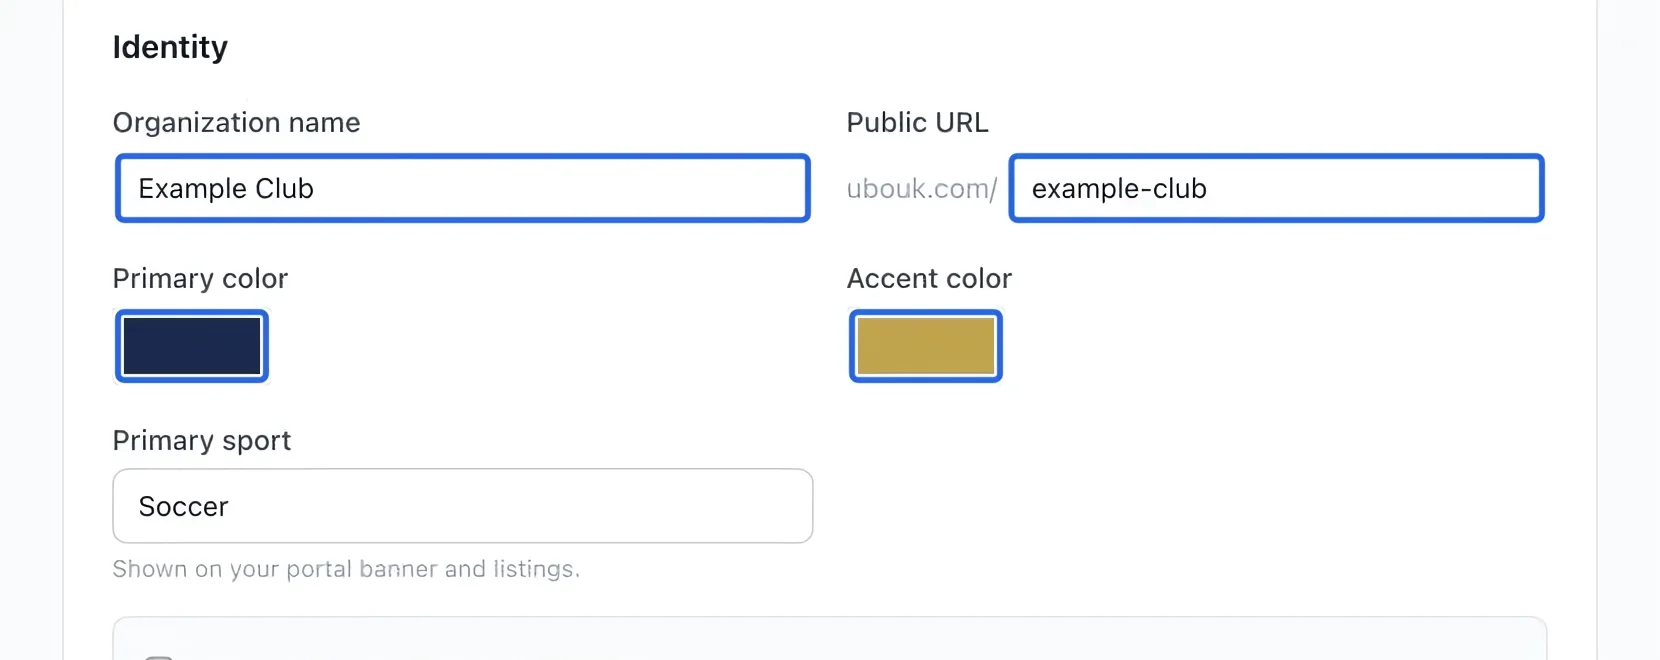
Set your identity
Under Identity, check the organization name, public URL and brand colors. Changing the public URL can affect links already shared with families. Wait for confirmation that edits are saved.
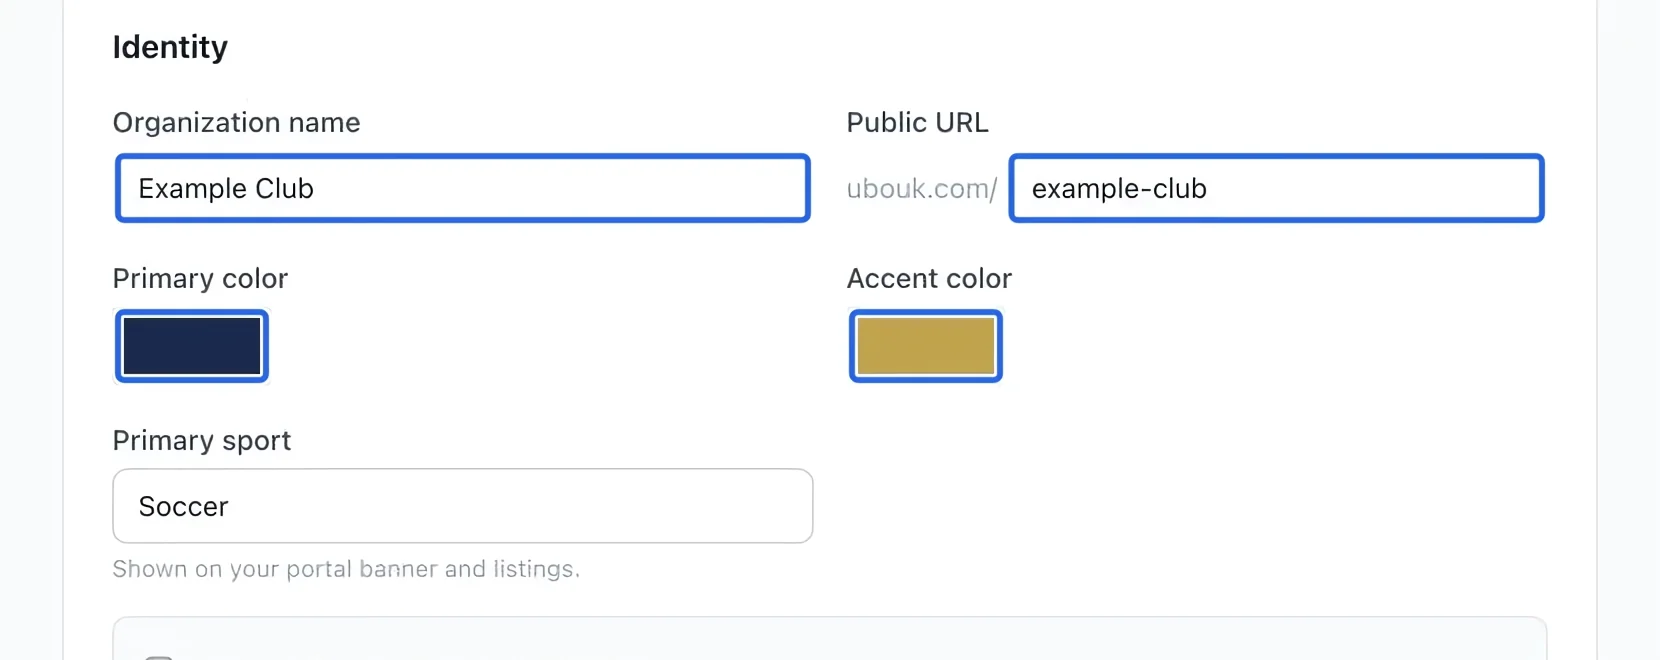
Select the screenshot to enlarge it. The blue outline marks the control to use.
- 3
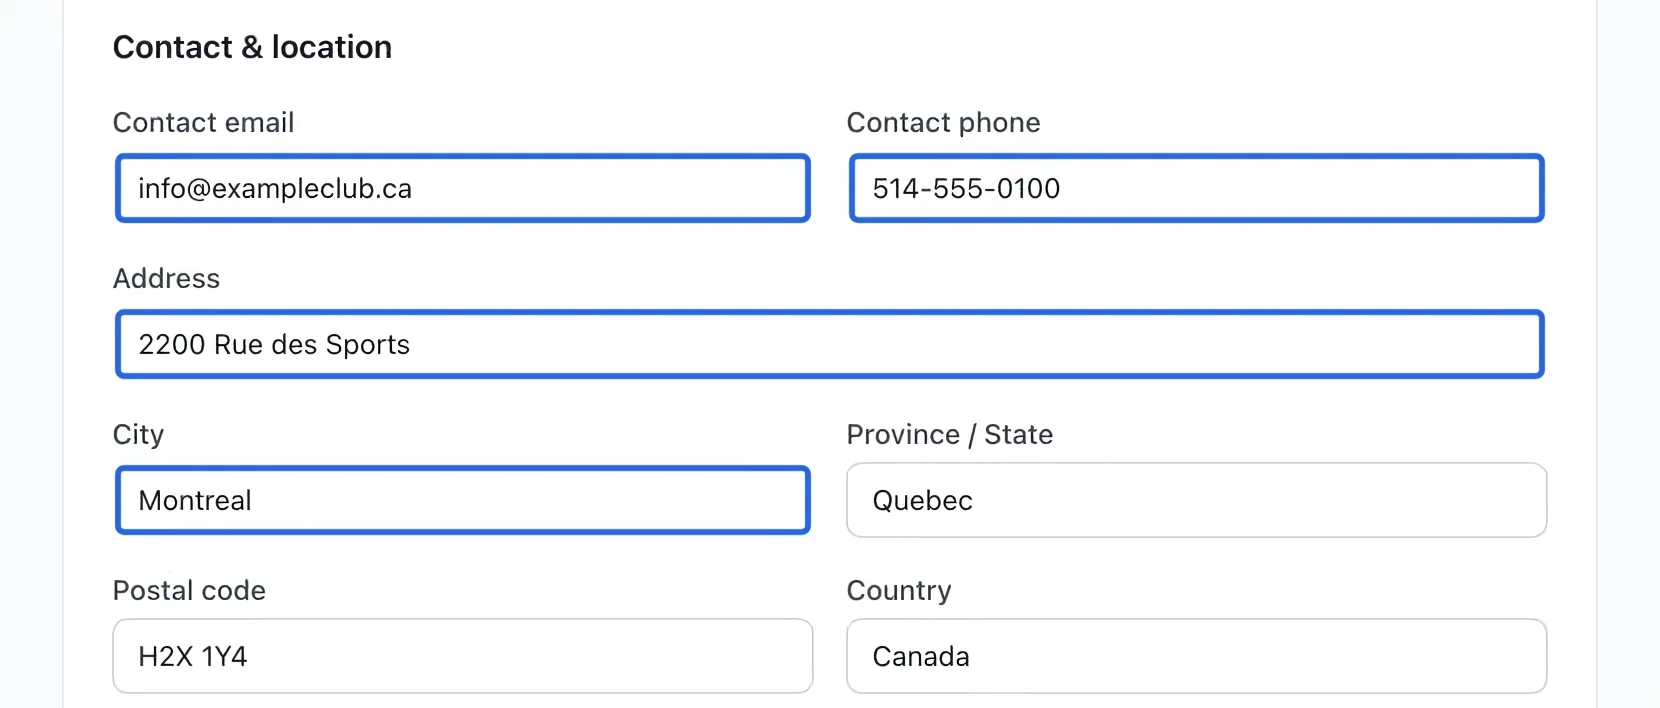
Enter contact details
Under Contact & location, enter the email, phone and address families should use. Check the spelling and make sure the mailbox and phone number are monitored.
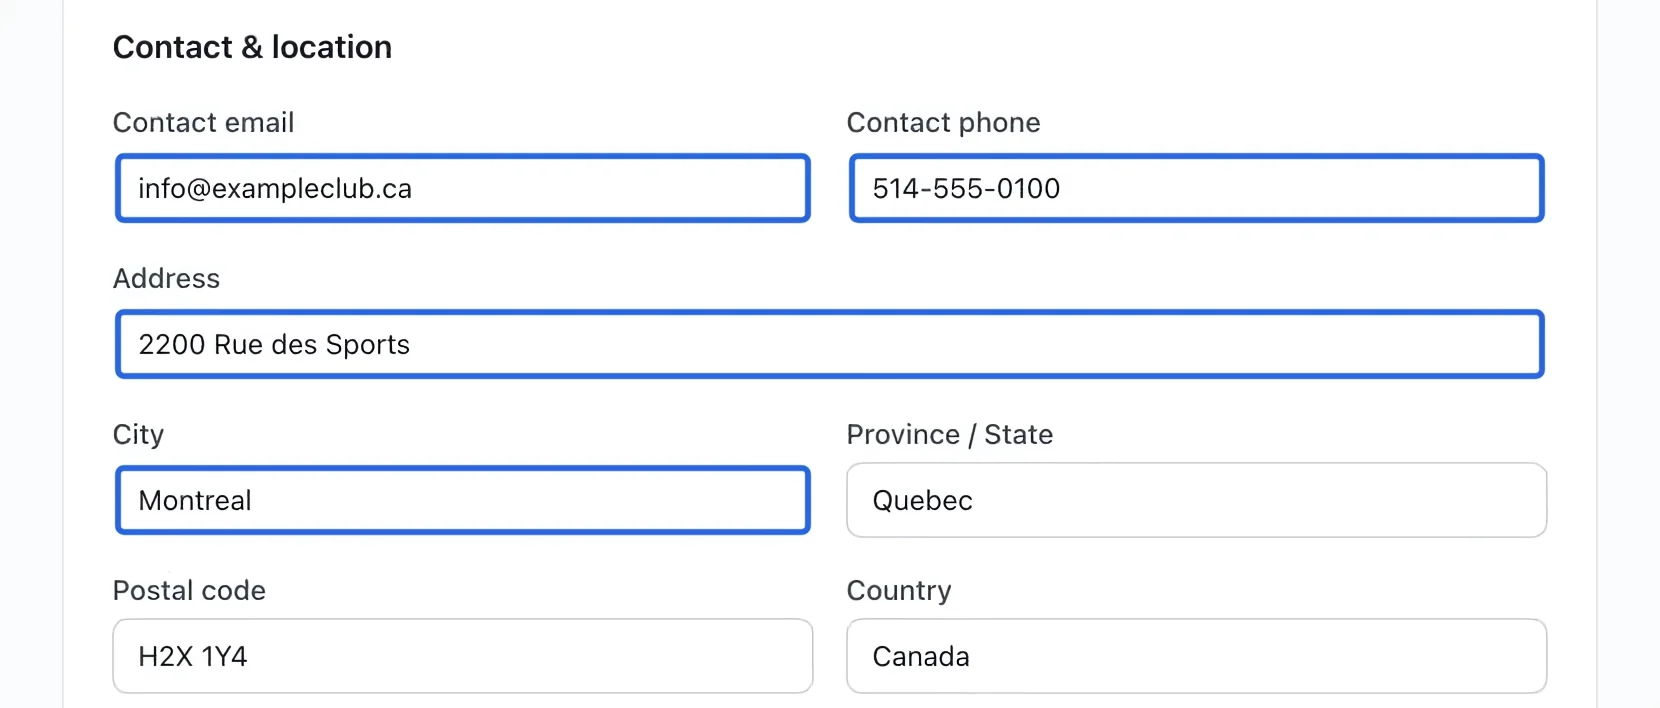
Select the screenshot to enlarge it. The blue outline marks the control to use.
- 4
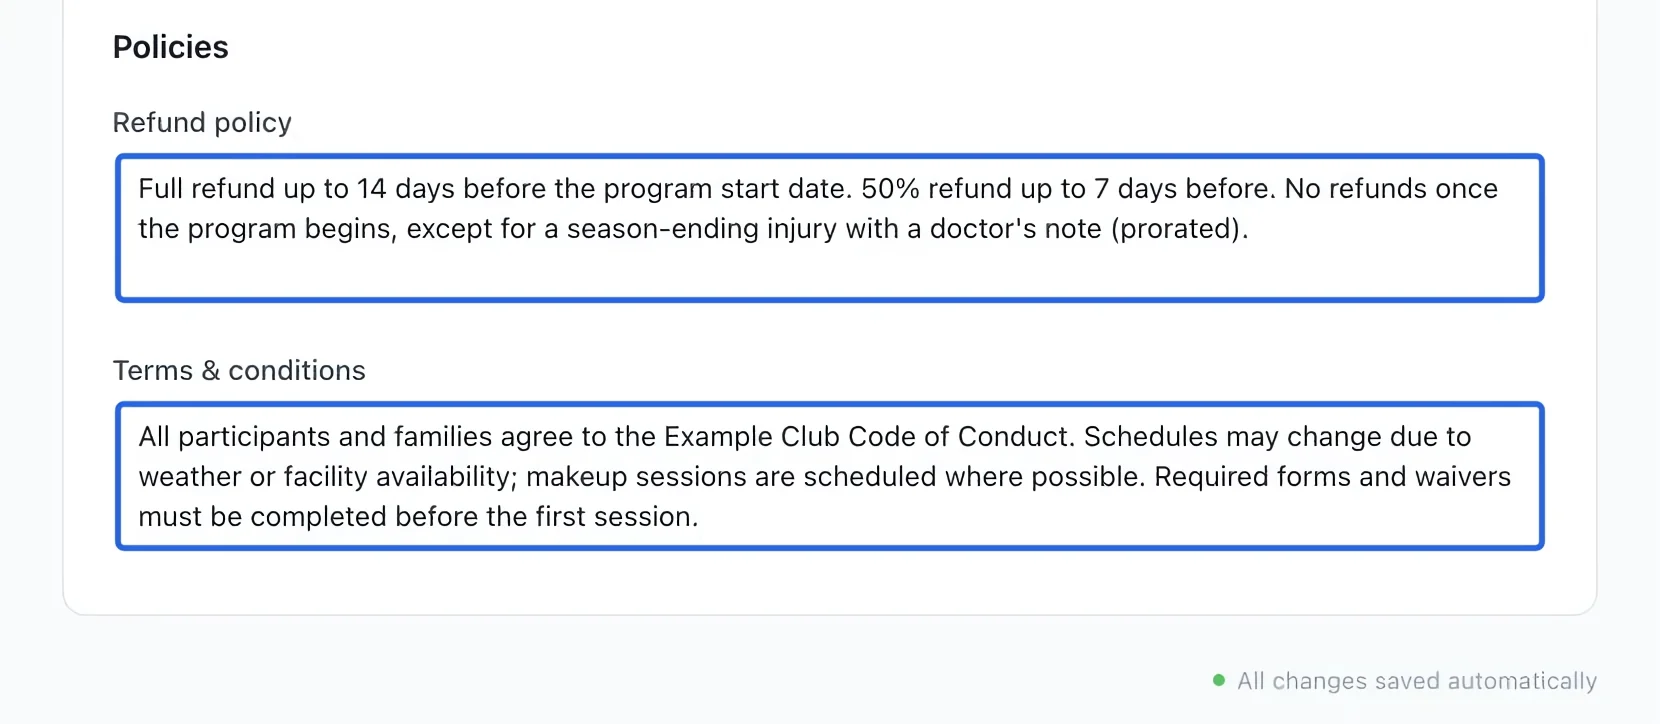
Write the policies
Enter your approved refund policy and terms under Policies. Explain deadlines and the process for requesting a change. Wait for the saved state before leaving the page.
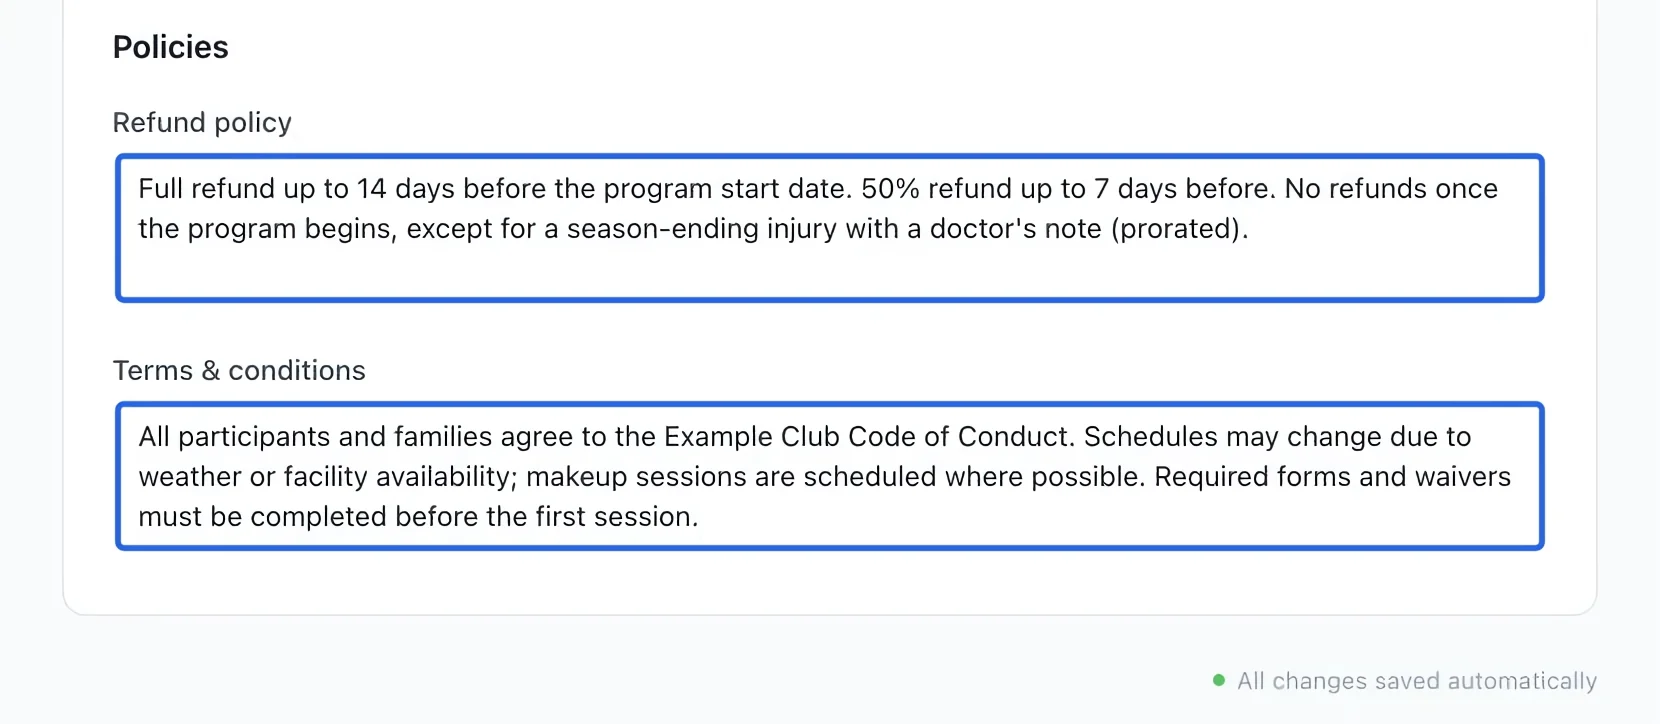
Select the screenshot to enlarge it. The blue outline marks the control to use.
- 5
Add a testimonial
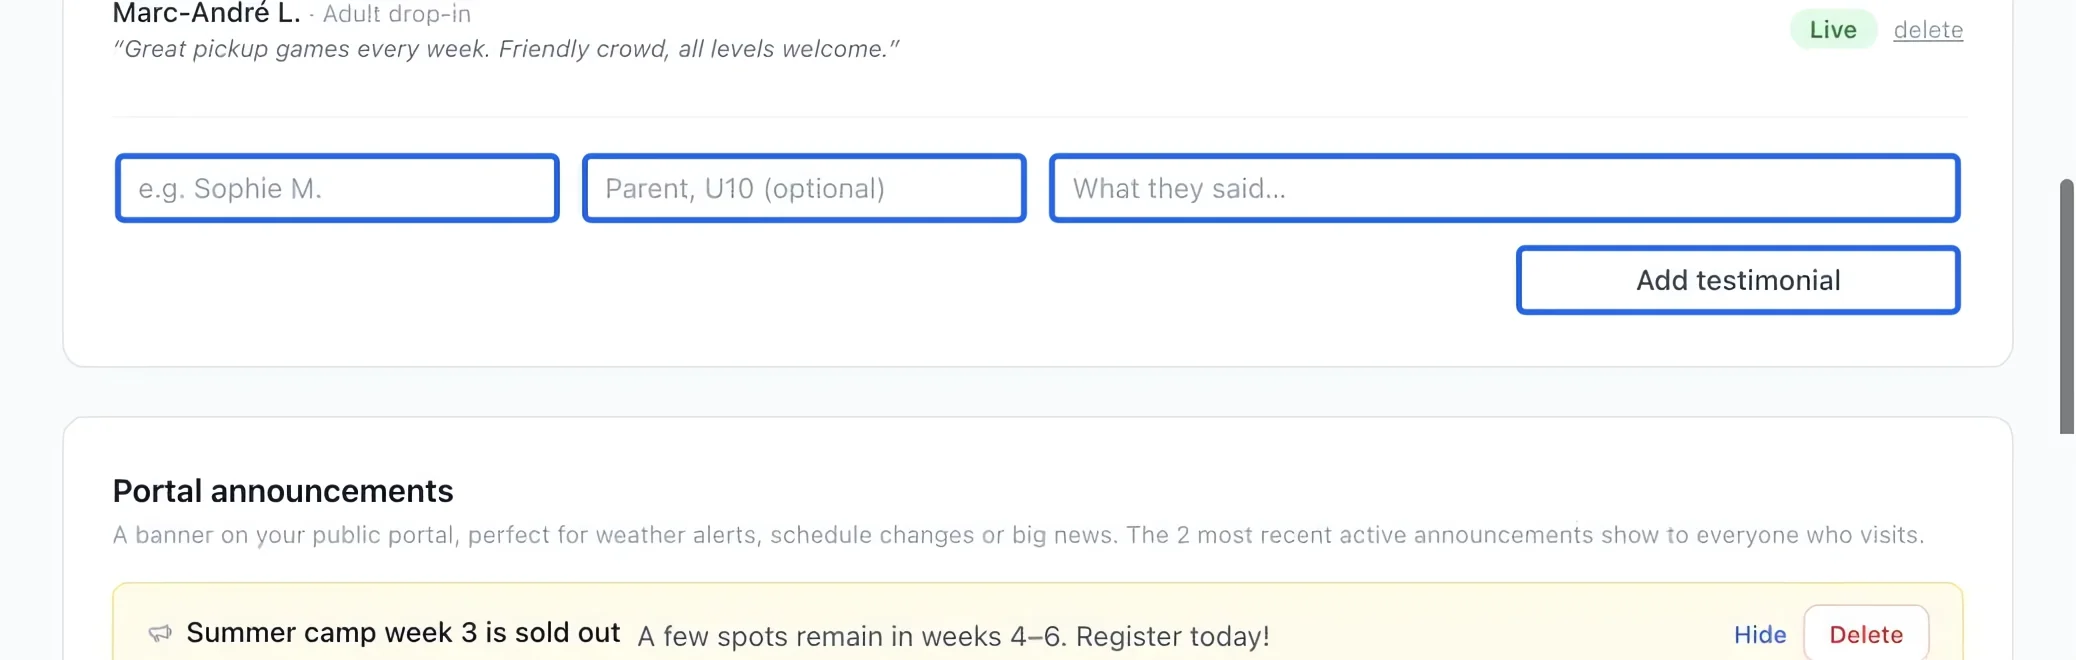
Under Testimonials, enter the author, optional role and approved quote, then click Add testimonial. Use only a testimonial you have permission to publish.
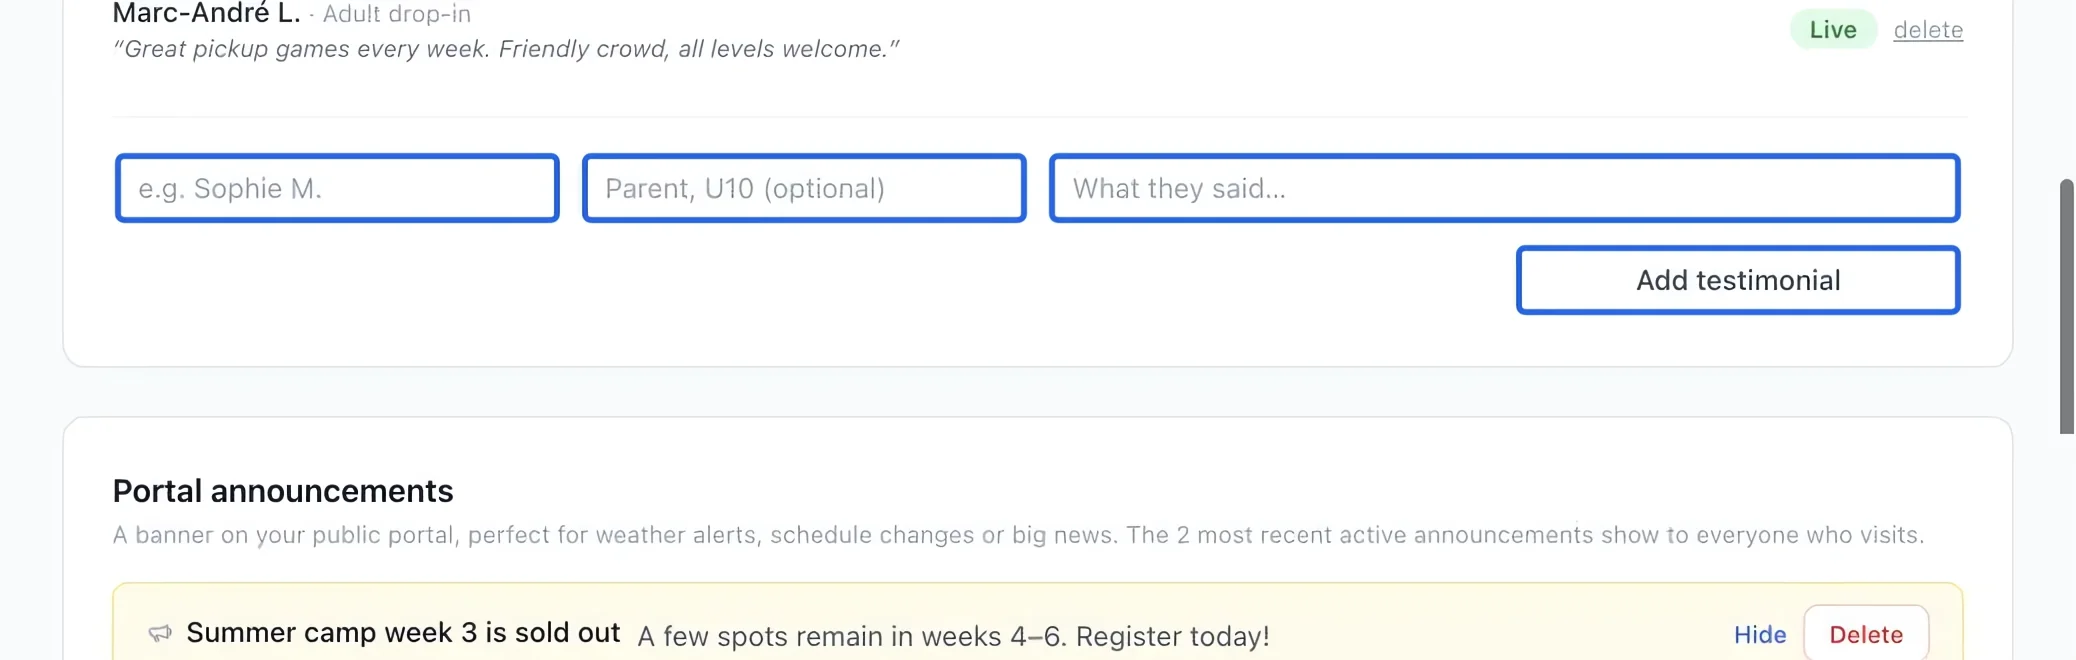
Select the screenshot to enlarge it. The blue outline marks the control to use.
- 6
Publish an announcement
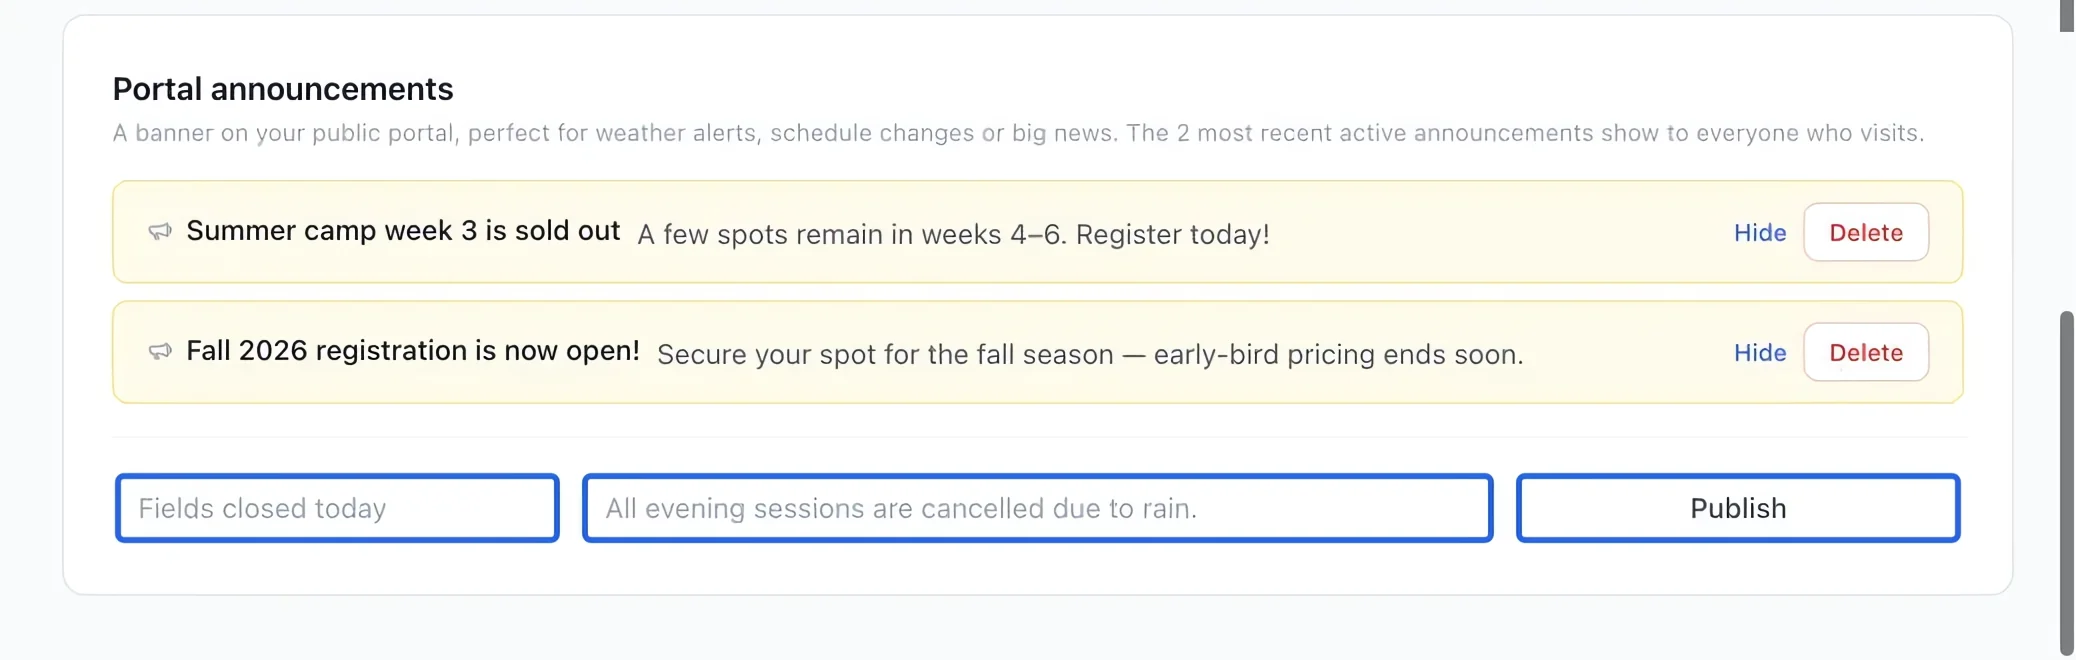
Under Portal announcements, enter a short title and message, then click Publish. Review the announcement on the portal and hide it when it is no longer relevant.
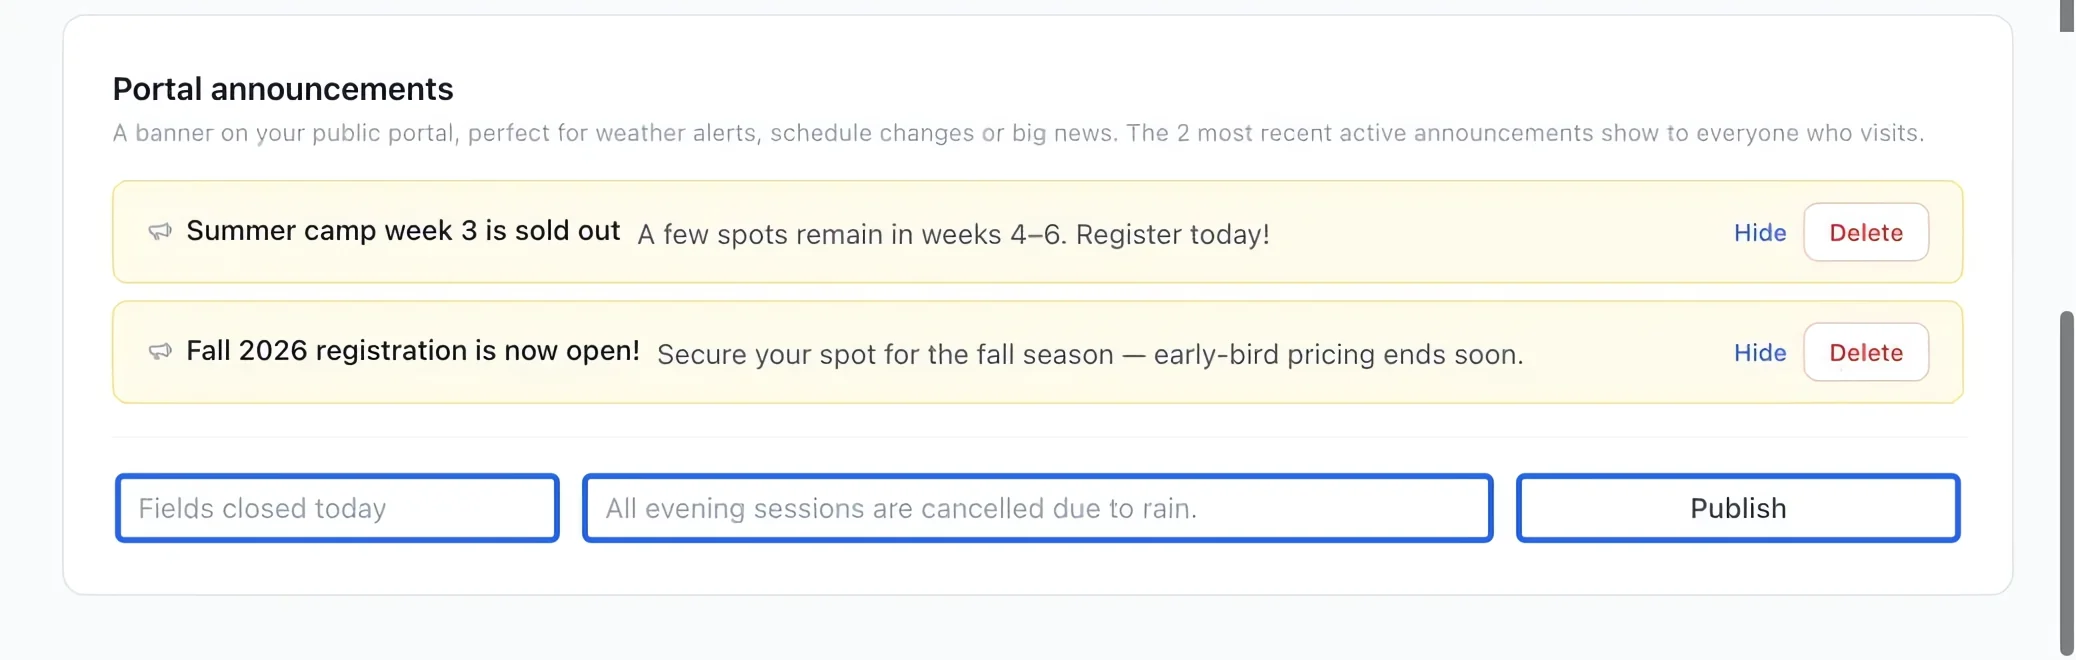
Select the screenshot to enlarge it. The blue outline marks the control to use.
- 7
Check the family-facing result
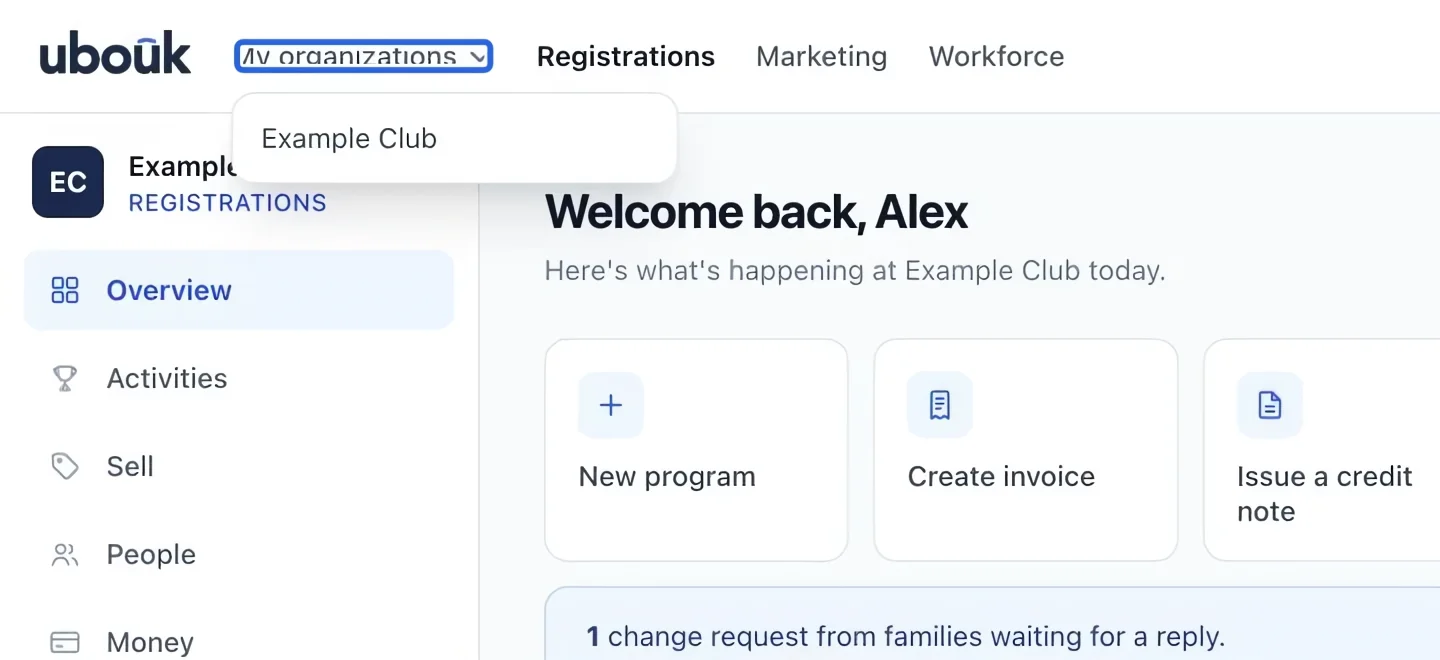
Open My organizations in the top bar and select your organization’s portal. Review its images, text and links. The former Public site shortcut is now in this organization menu.
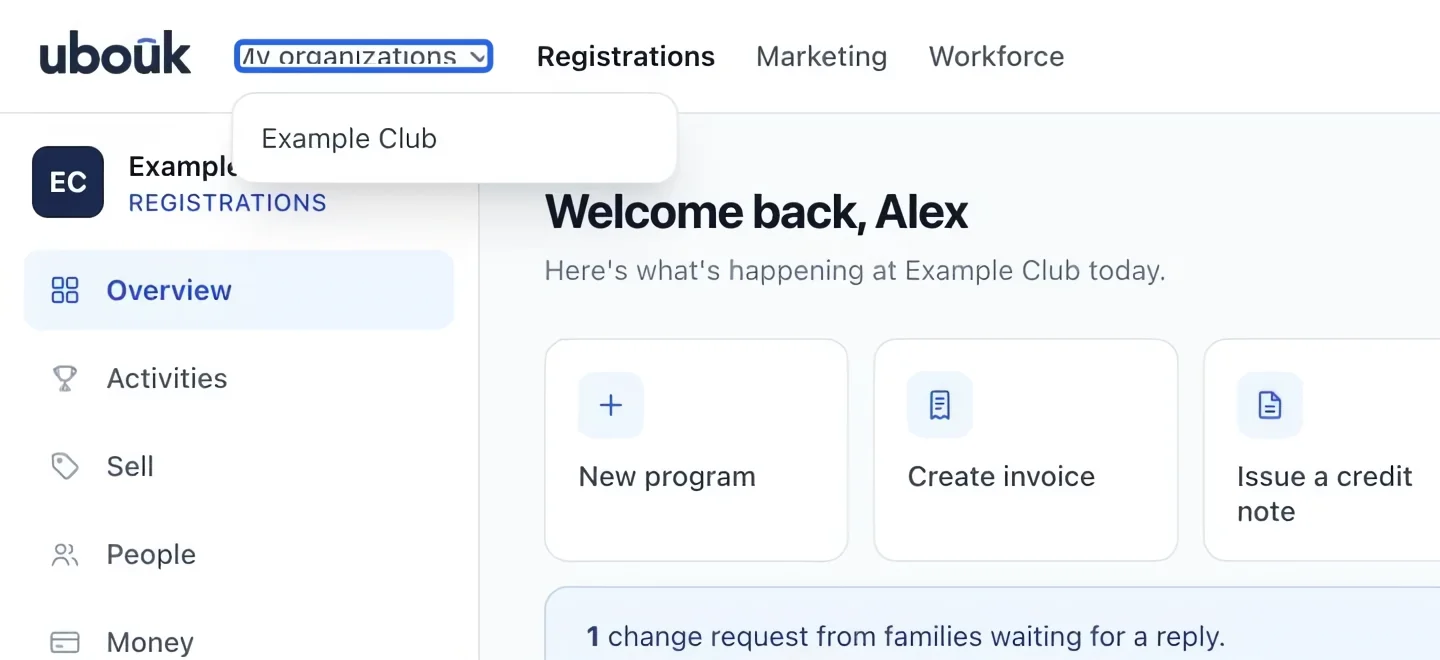
Select the screenshot to enlarge it. The blue outline marks the control to use.
- 8
Review the primary language and shared links
Choose the portal’s enabled languages and primary language, then review the public content in each. If you change the portal address, check shared links, QR codes and materials using the old address. The public directory lists your club only if you opted into it.