
Configure the email sender and appearance
Review the shared sender, domain-verification status and email appearance settings.
- 1
Open the shared sender settings
Open Settings and find Email sender & domain, or open Marketing settings. Registration and Marketing emails share these sender settings. Review the sender identity before saving with the sender section’s own button.
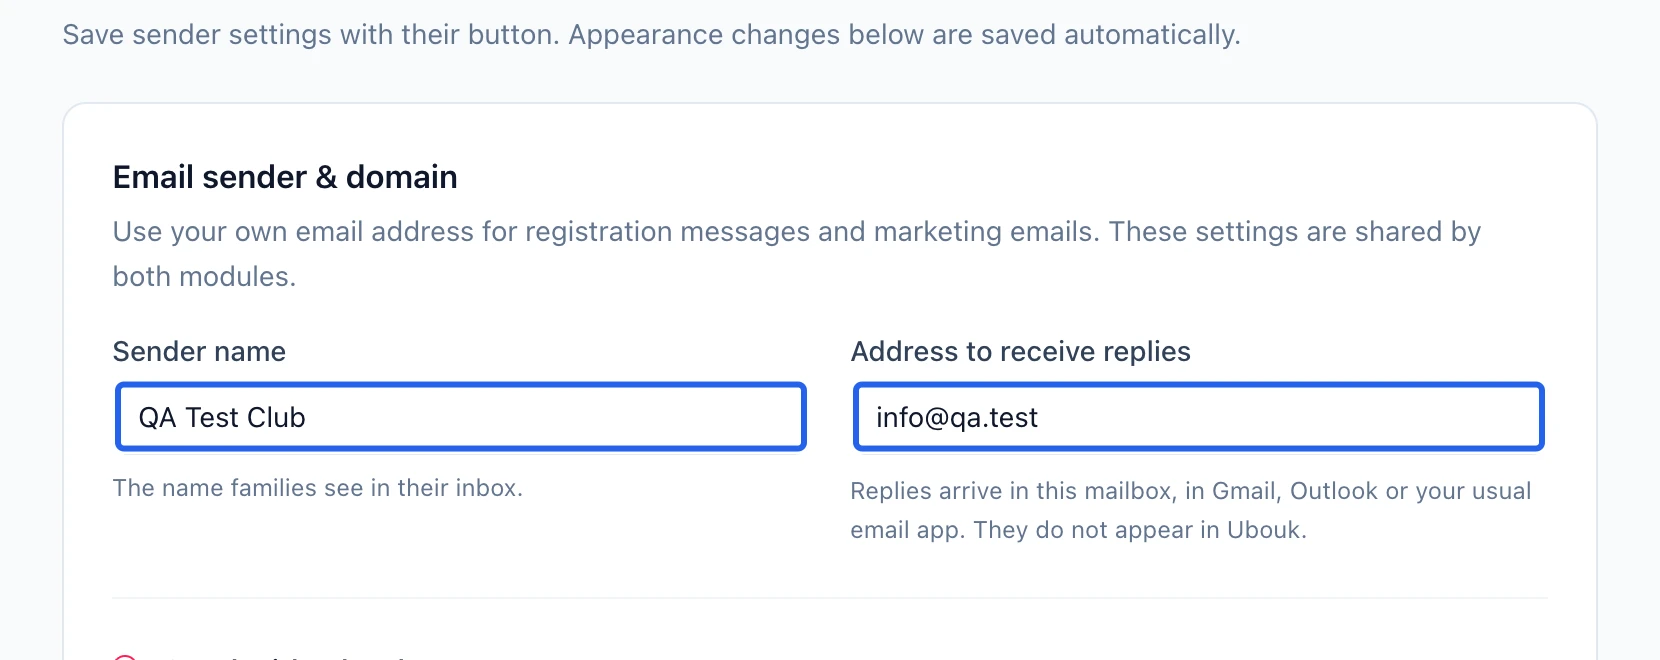
Select the screenshot to enlarge it. The blue outline marks the control to use.
- 2
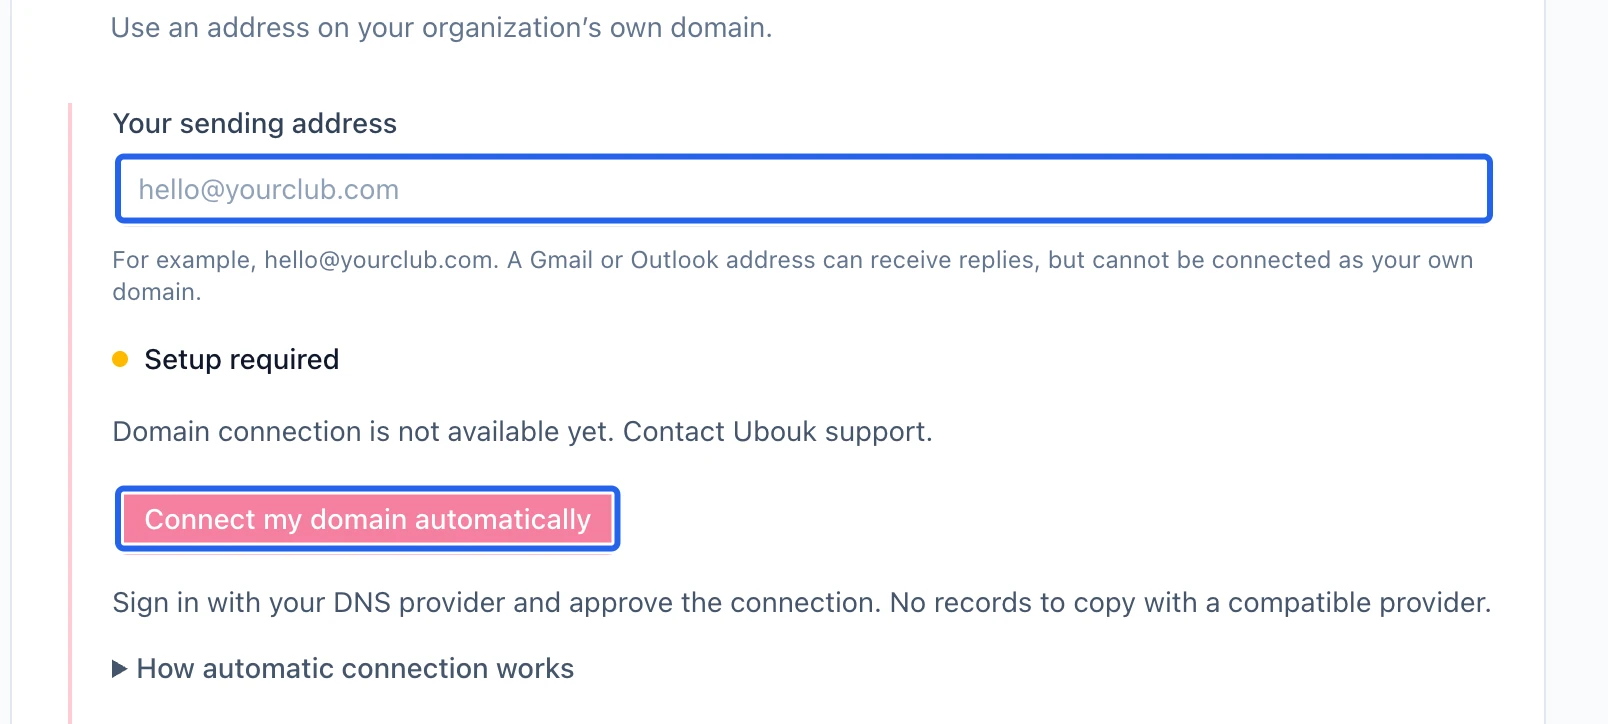
Follow domain verification to completion
If you connect your own sending domain, follow the connection or DNS instructions displayed by the platform. Check its actual verification status: authorization received or verification pending is not the same as verified. While verification is in progress, Ubouk keeps sending with the existing available settings.
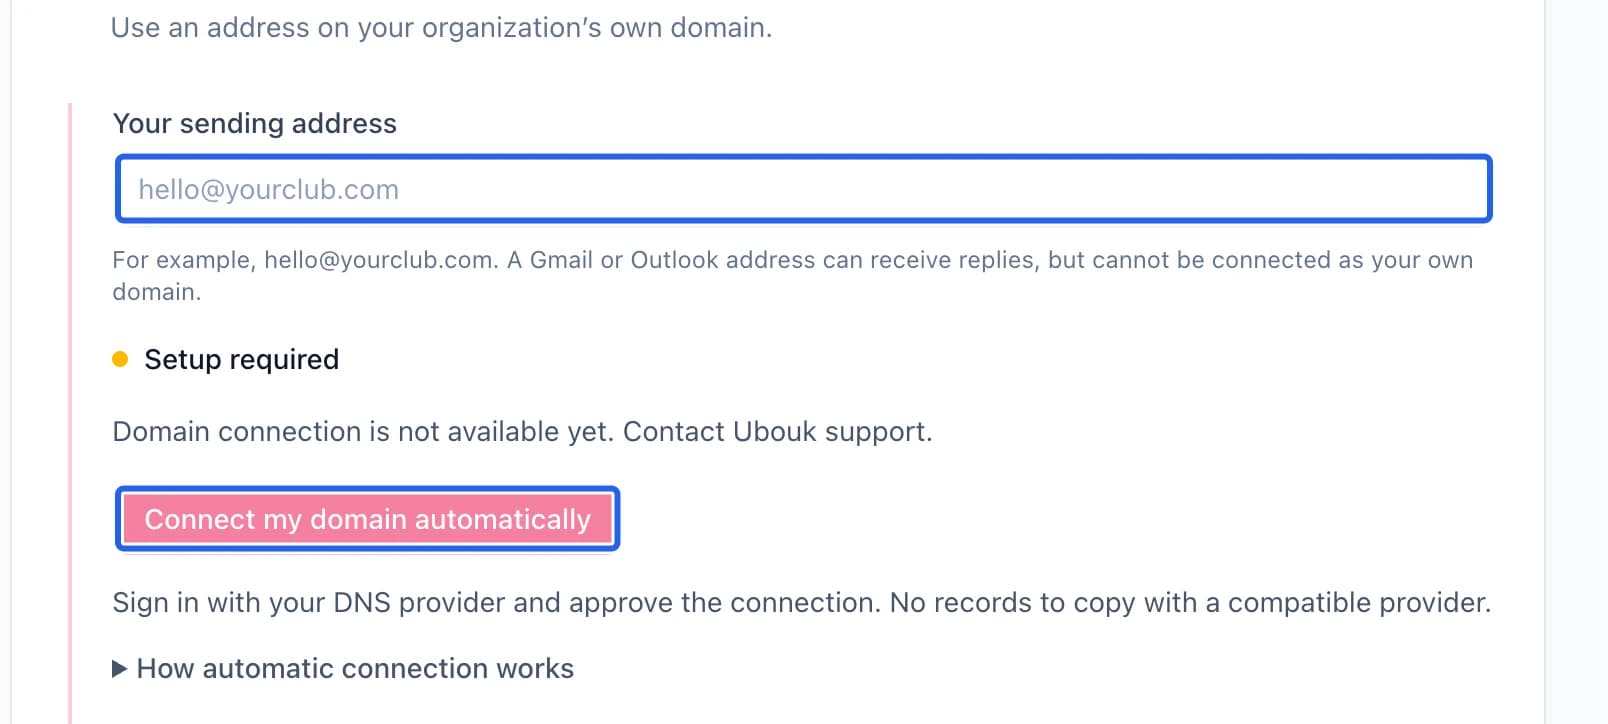
Select the screenshot to enlarge it. The blue outline marks the control to use.
- 3
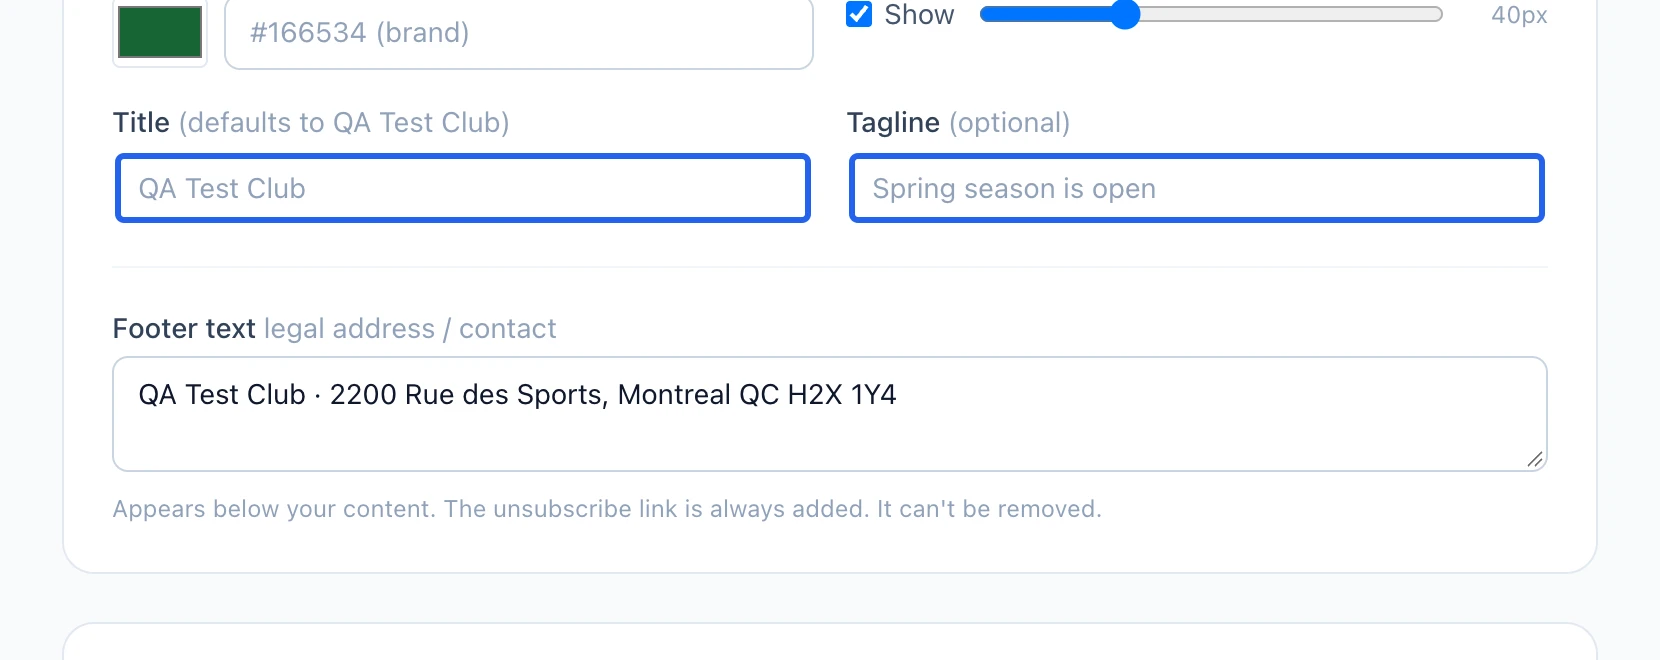
Review the email appearance and sign-up rules
In Marketing settings, review header/footer appearance and contact information. Appearance changes save automatically, separately from sender settings. The unsubscribe link remains present. Public marketing sign-ups require email confirmation and stay pending until the contact follows their private confirmation link. Preview your template before sending.
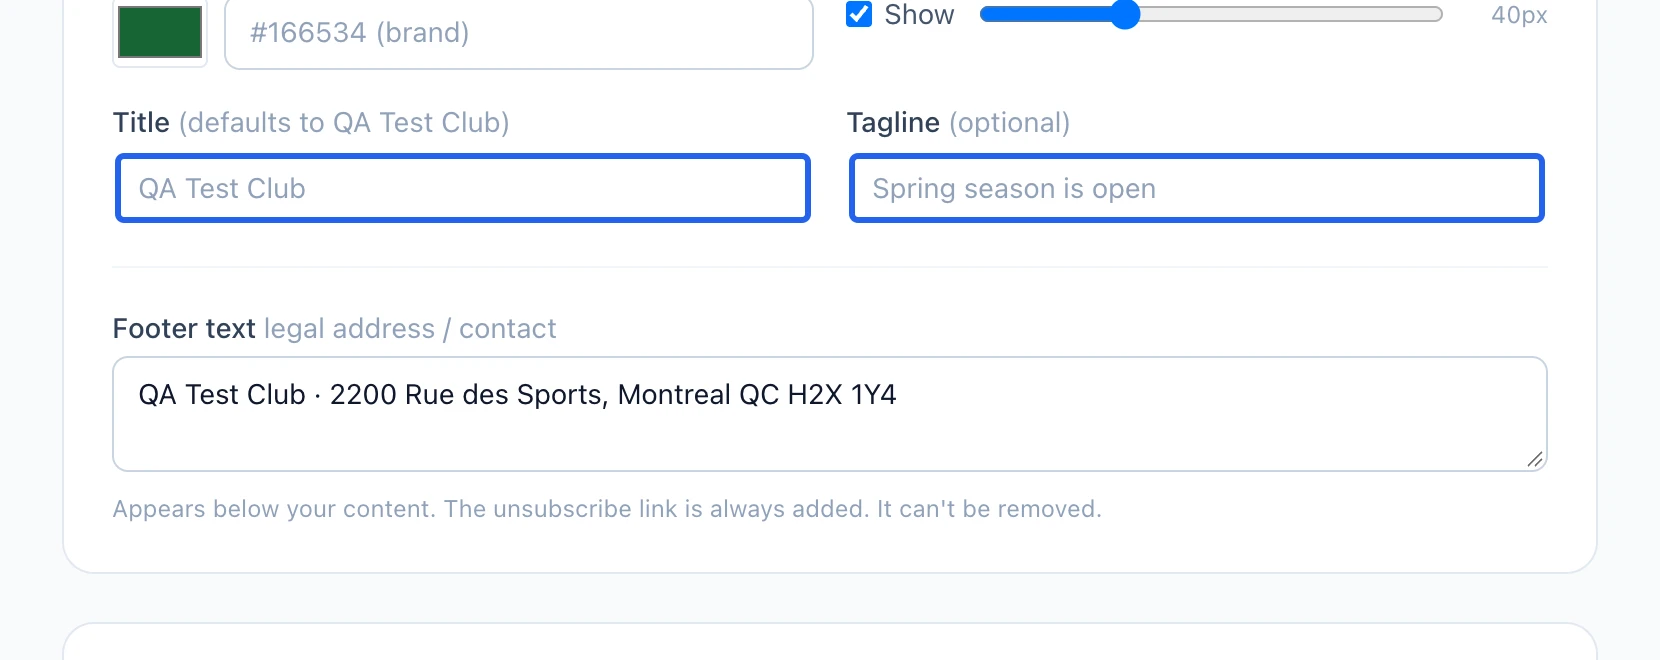
Select the screenshot to enlarge it. The blue outline marks the control to use.
Keep going
Choose recipients and a channel, write an operational message, and send it to the right families.
MarketingFrom blank page or template to a sent, measured campaign: subject, audience, preview, send.
MarketingReview marketing eligibility, respect excluded contacts and check your sender identity.