
Send your first email campaign
From blank page or template to a sent, measured campaign: subject, audience, preview, send.
- 1
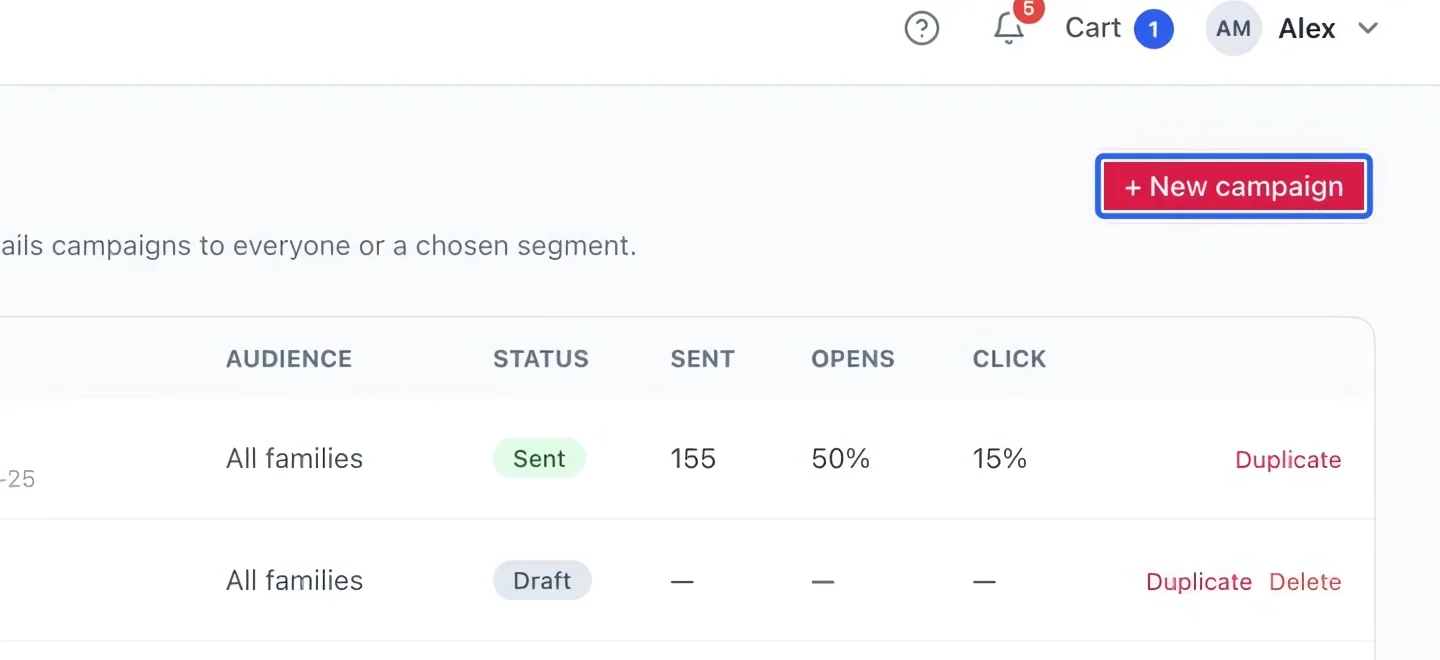
Create a campaign
Open Marketing → Campaigns, then click + New campaign. Prepare the announcement and any images before starting.
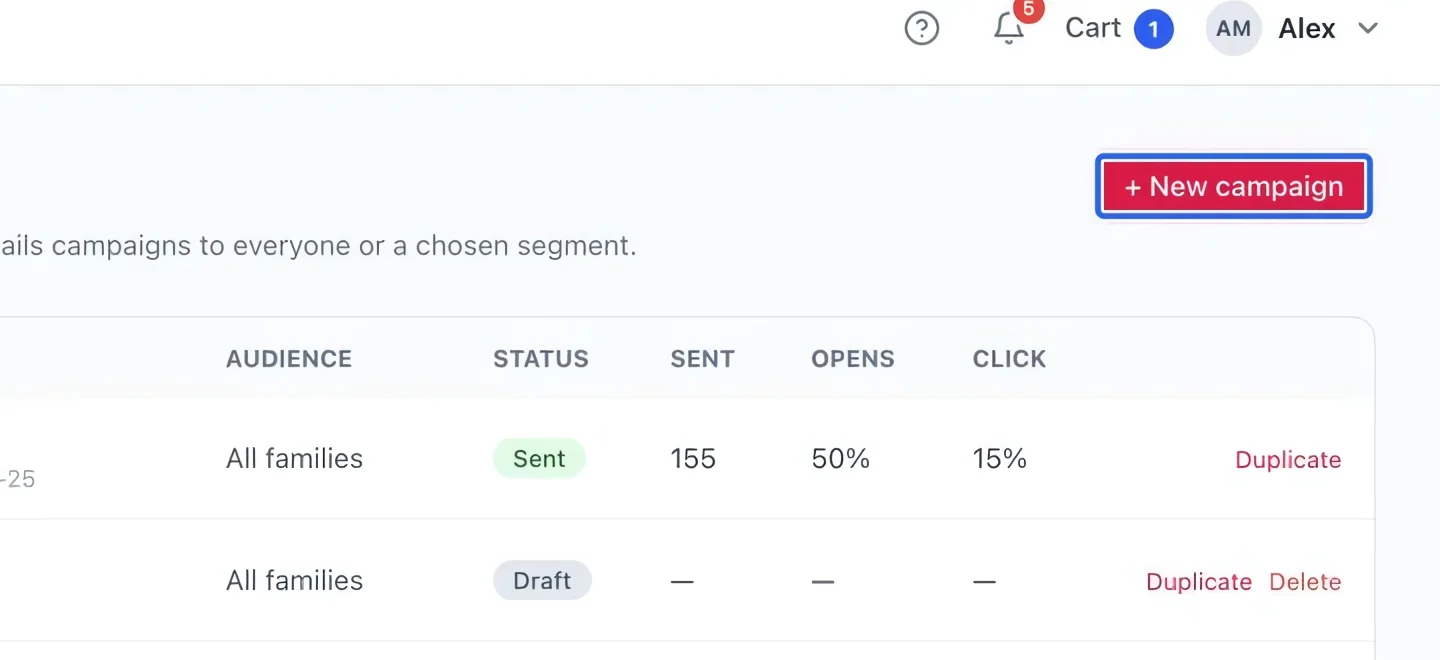
Select the screenshot to enlarge it. The blue outline marks the control to use.
- 2
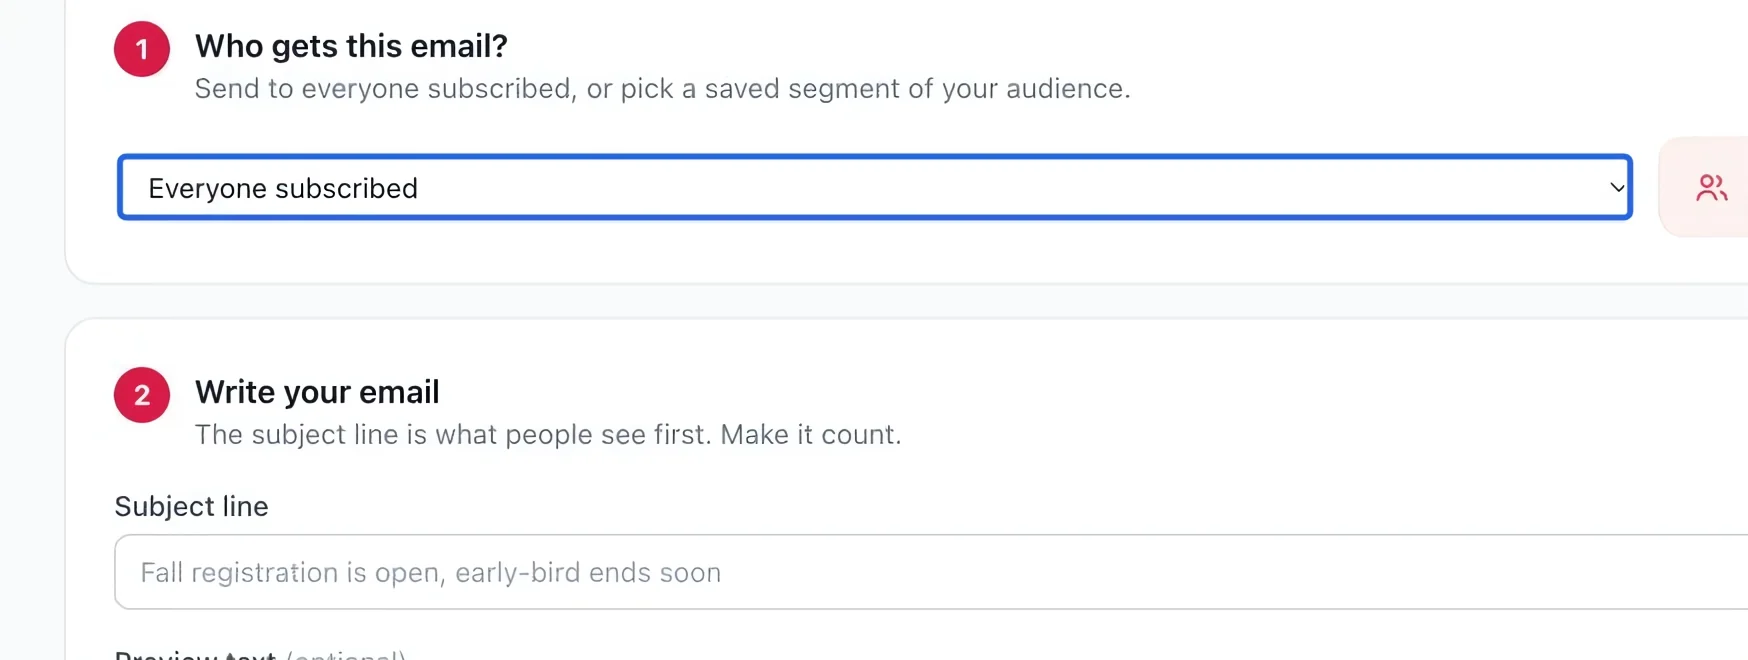
Choose who receives it
Select your audience under Who gets this email?. Choose a relevant segment instead of everyone when the announcement concerns only one group.
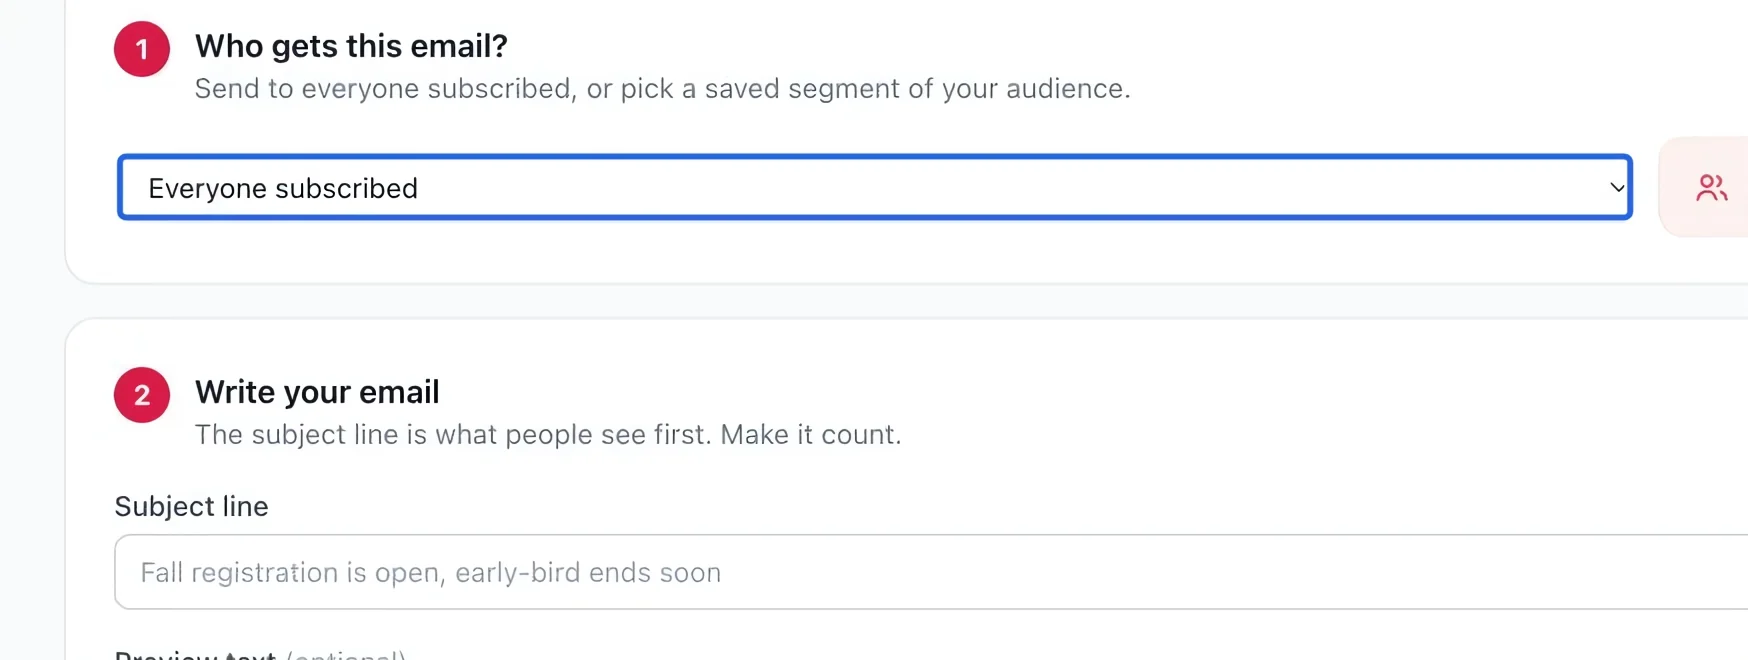
Select the screenshot to enlarge it. The blue outline marks the control to use.
- 3
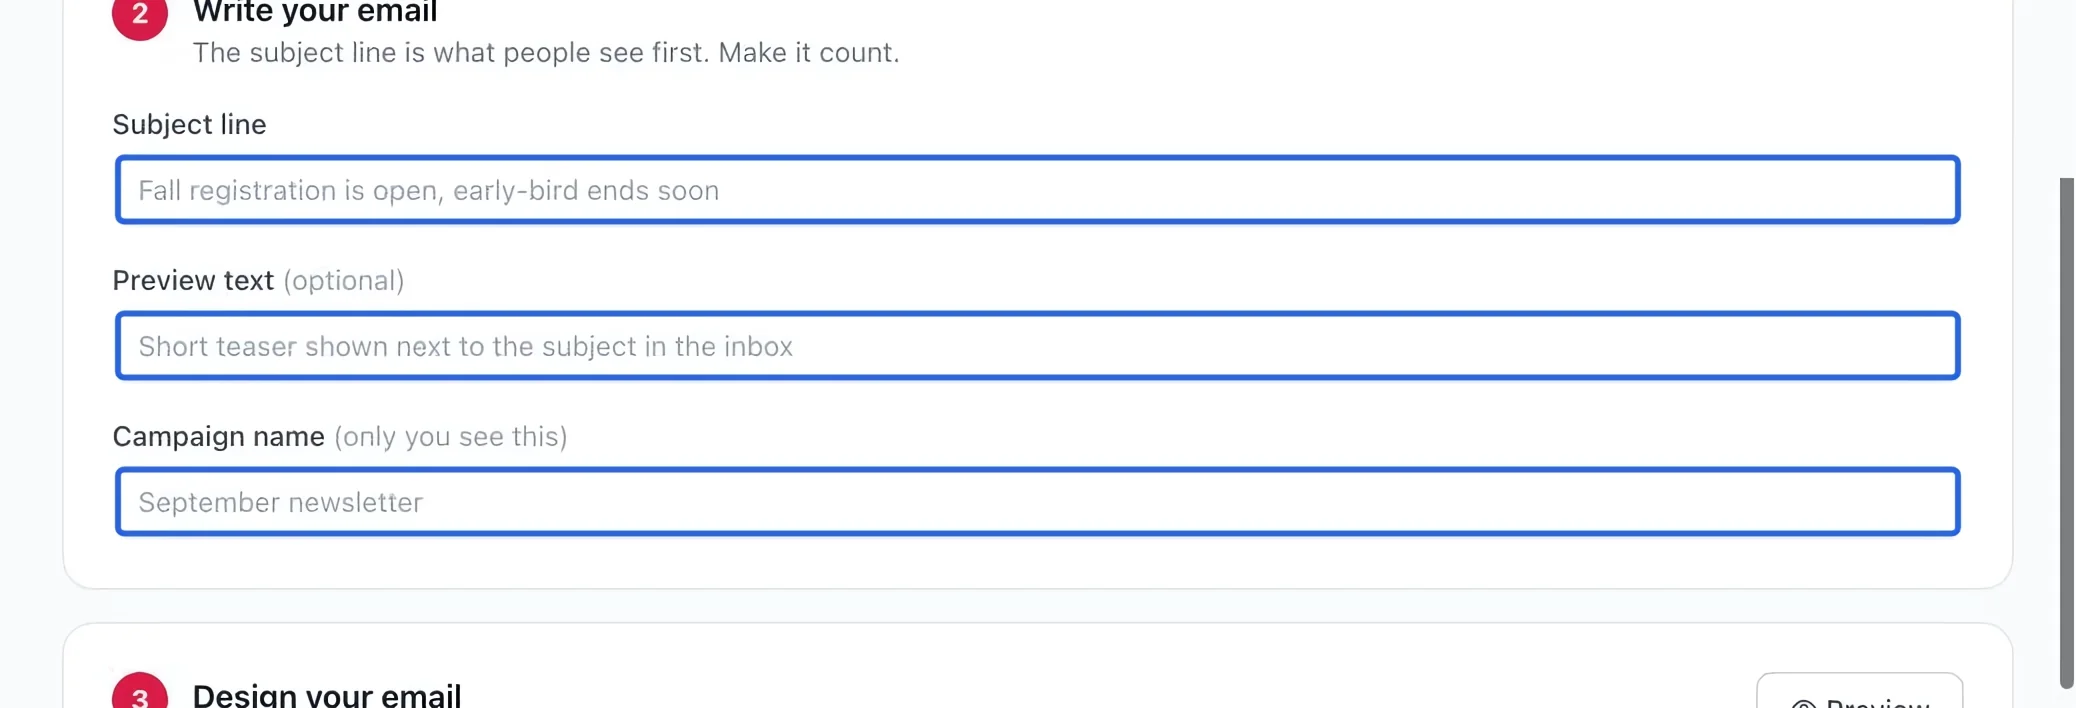
Write the inbox details
Enter Subject line and optional Preview text; recipients see these in their inbox. Give the campaign an internal Campaign name so you can find it in reports.
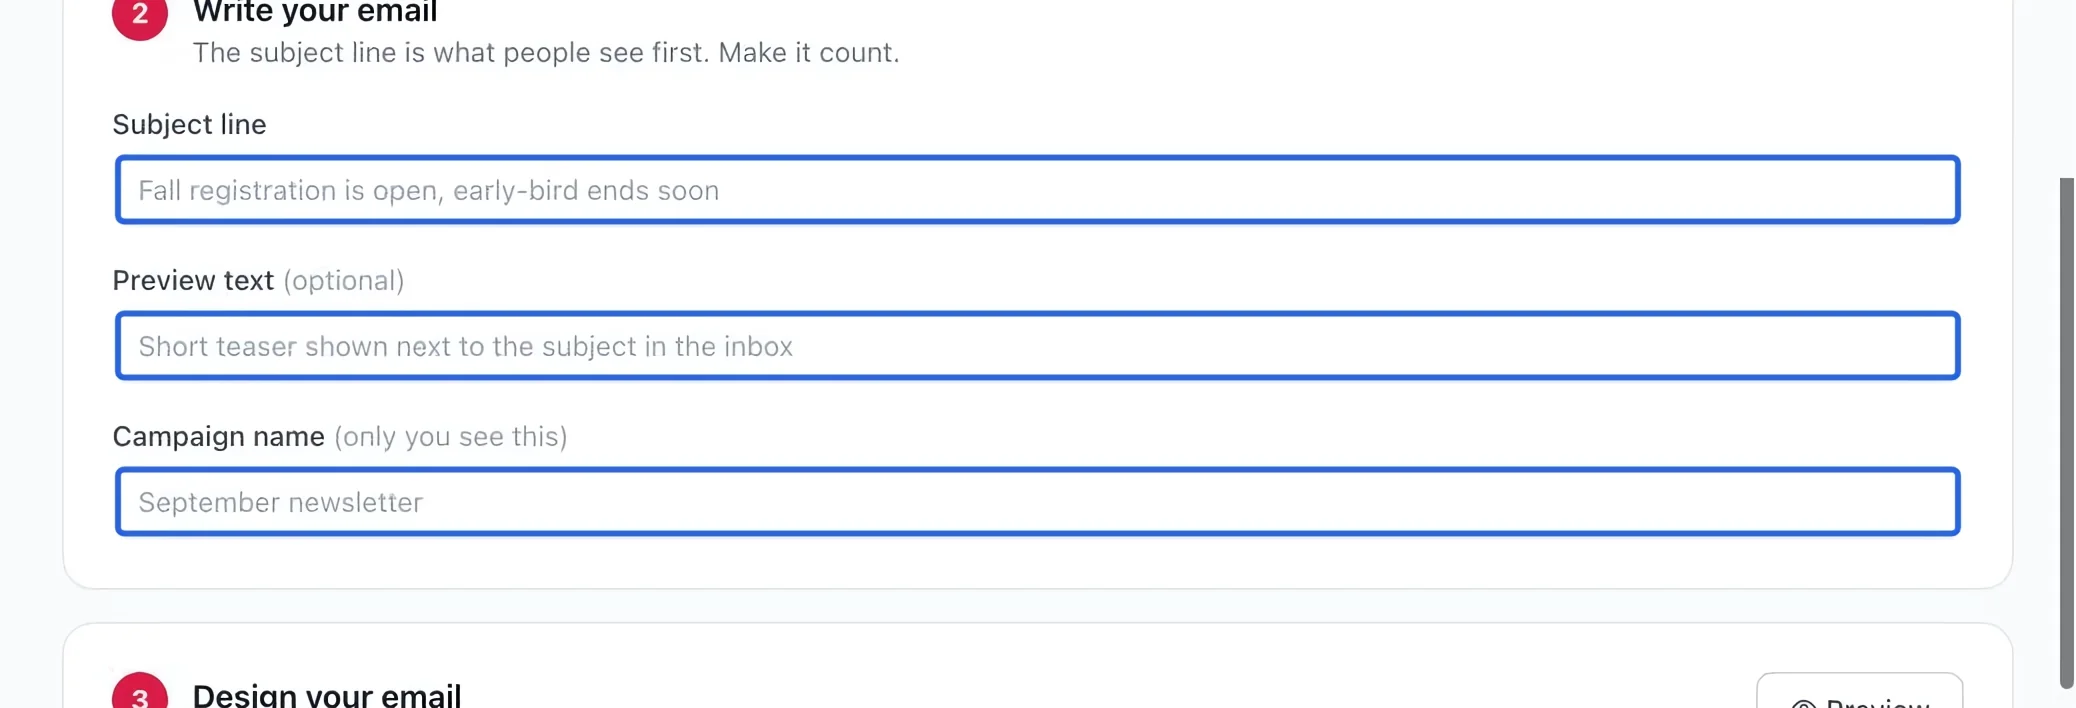
Select the screenshot to enlarge it. The blue outline marks the control to use.
- 4
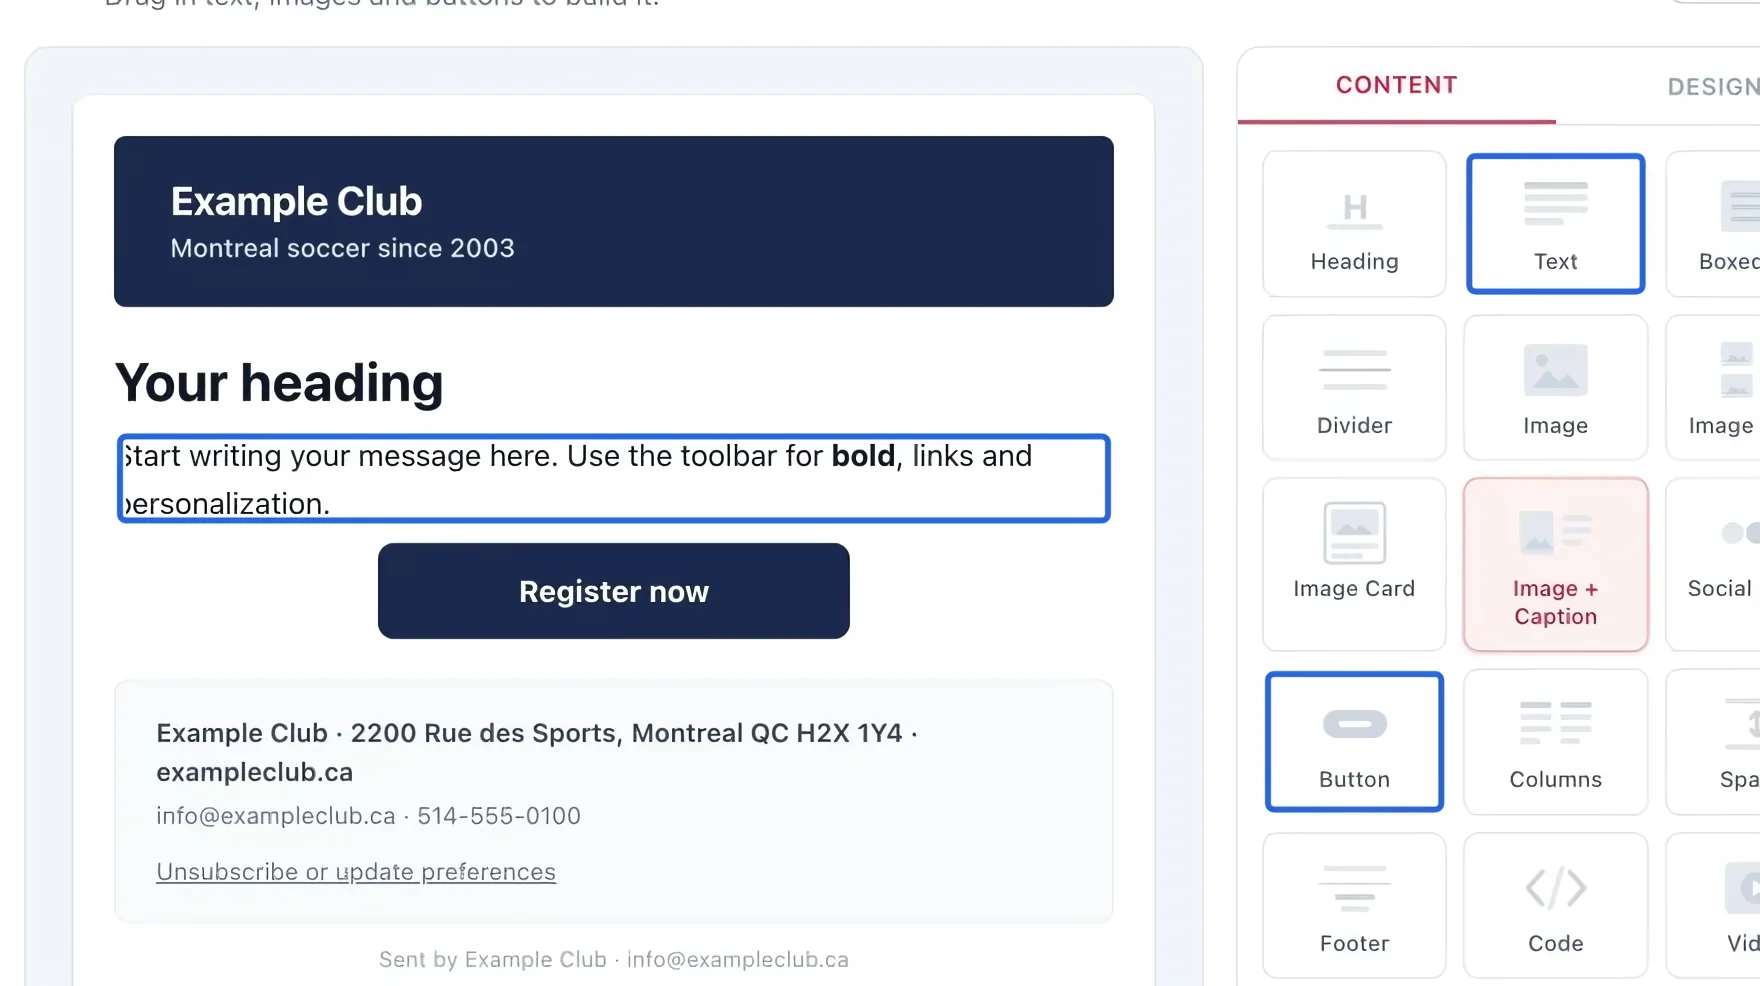
Build the email
Edit the message in Design your email. Use the content controls to add text, images or a button. Keep the main action clear and verify every destination link.
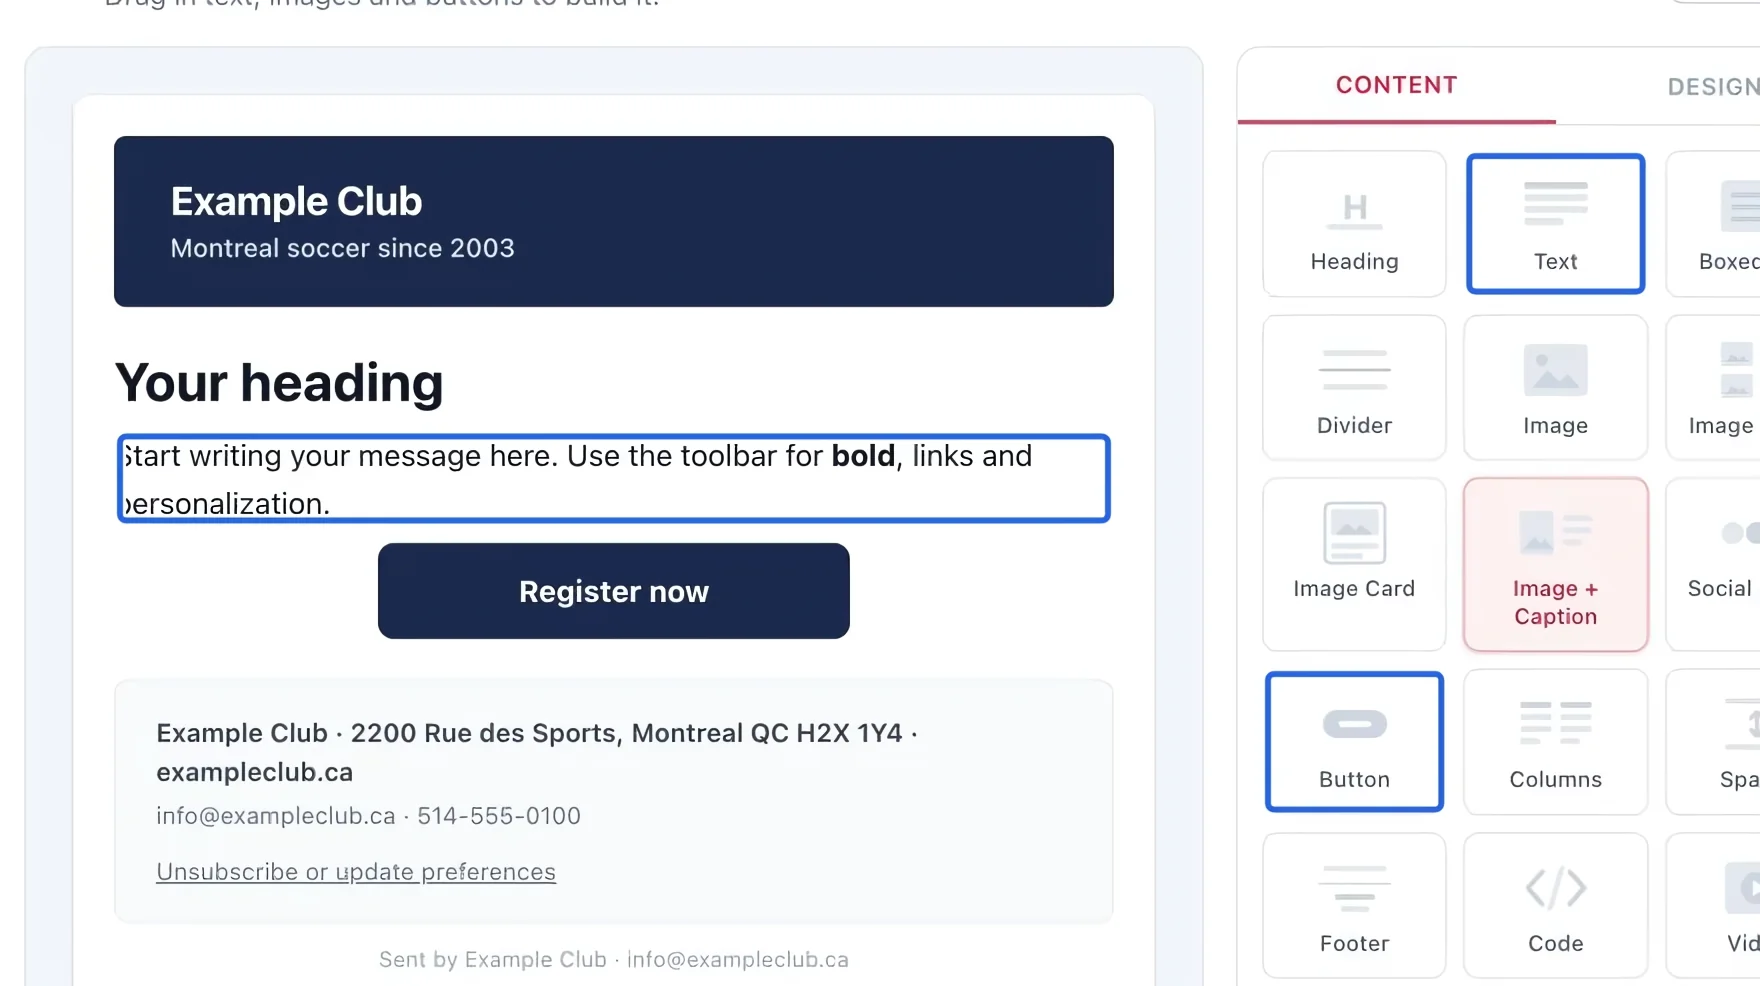
Select the screenshot to enlarge it. The blue outline marks the control to use.
- 5
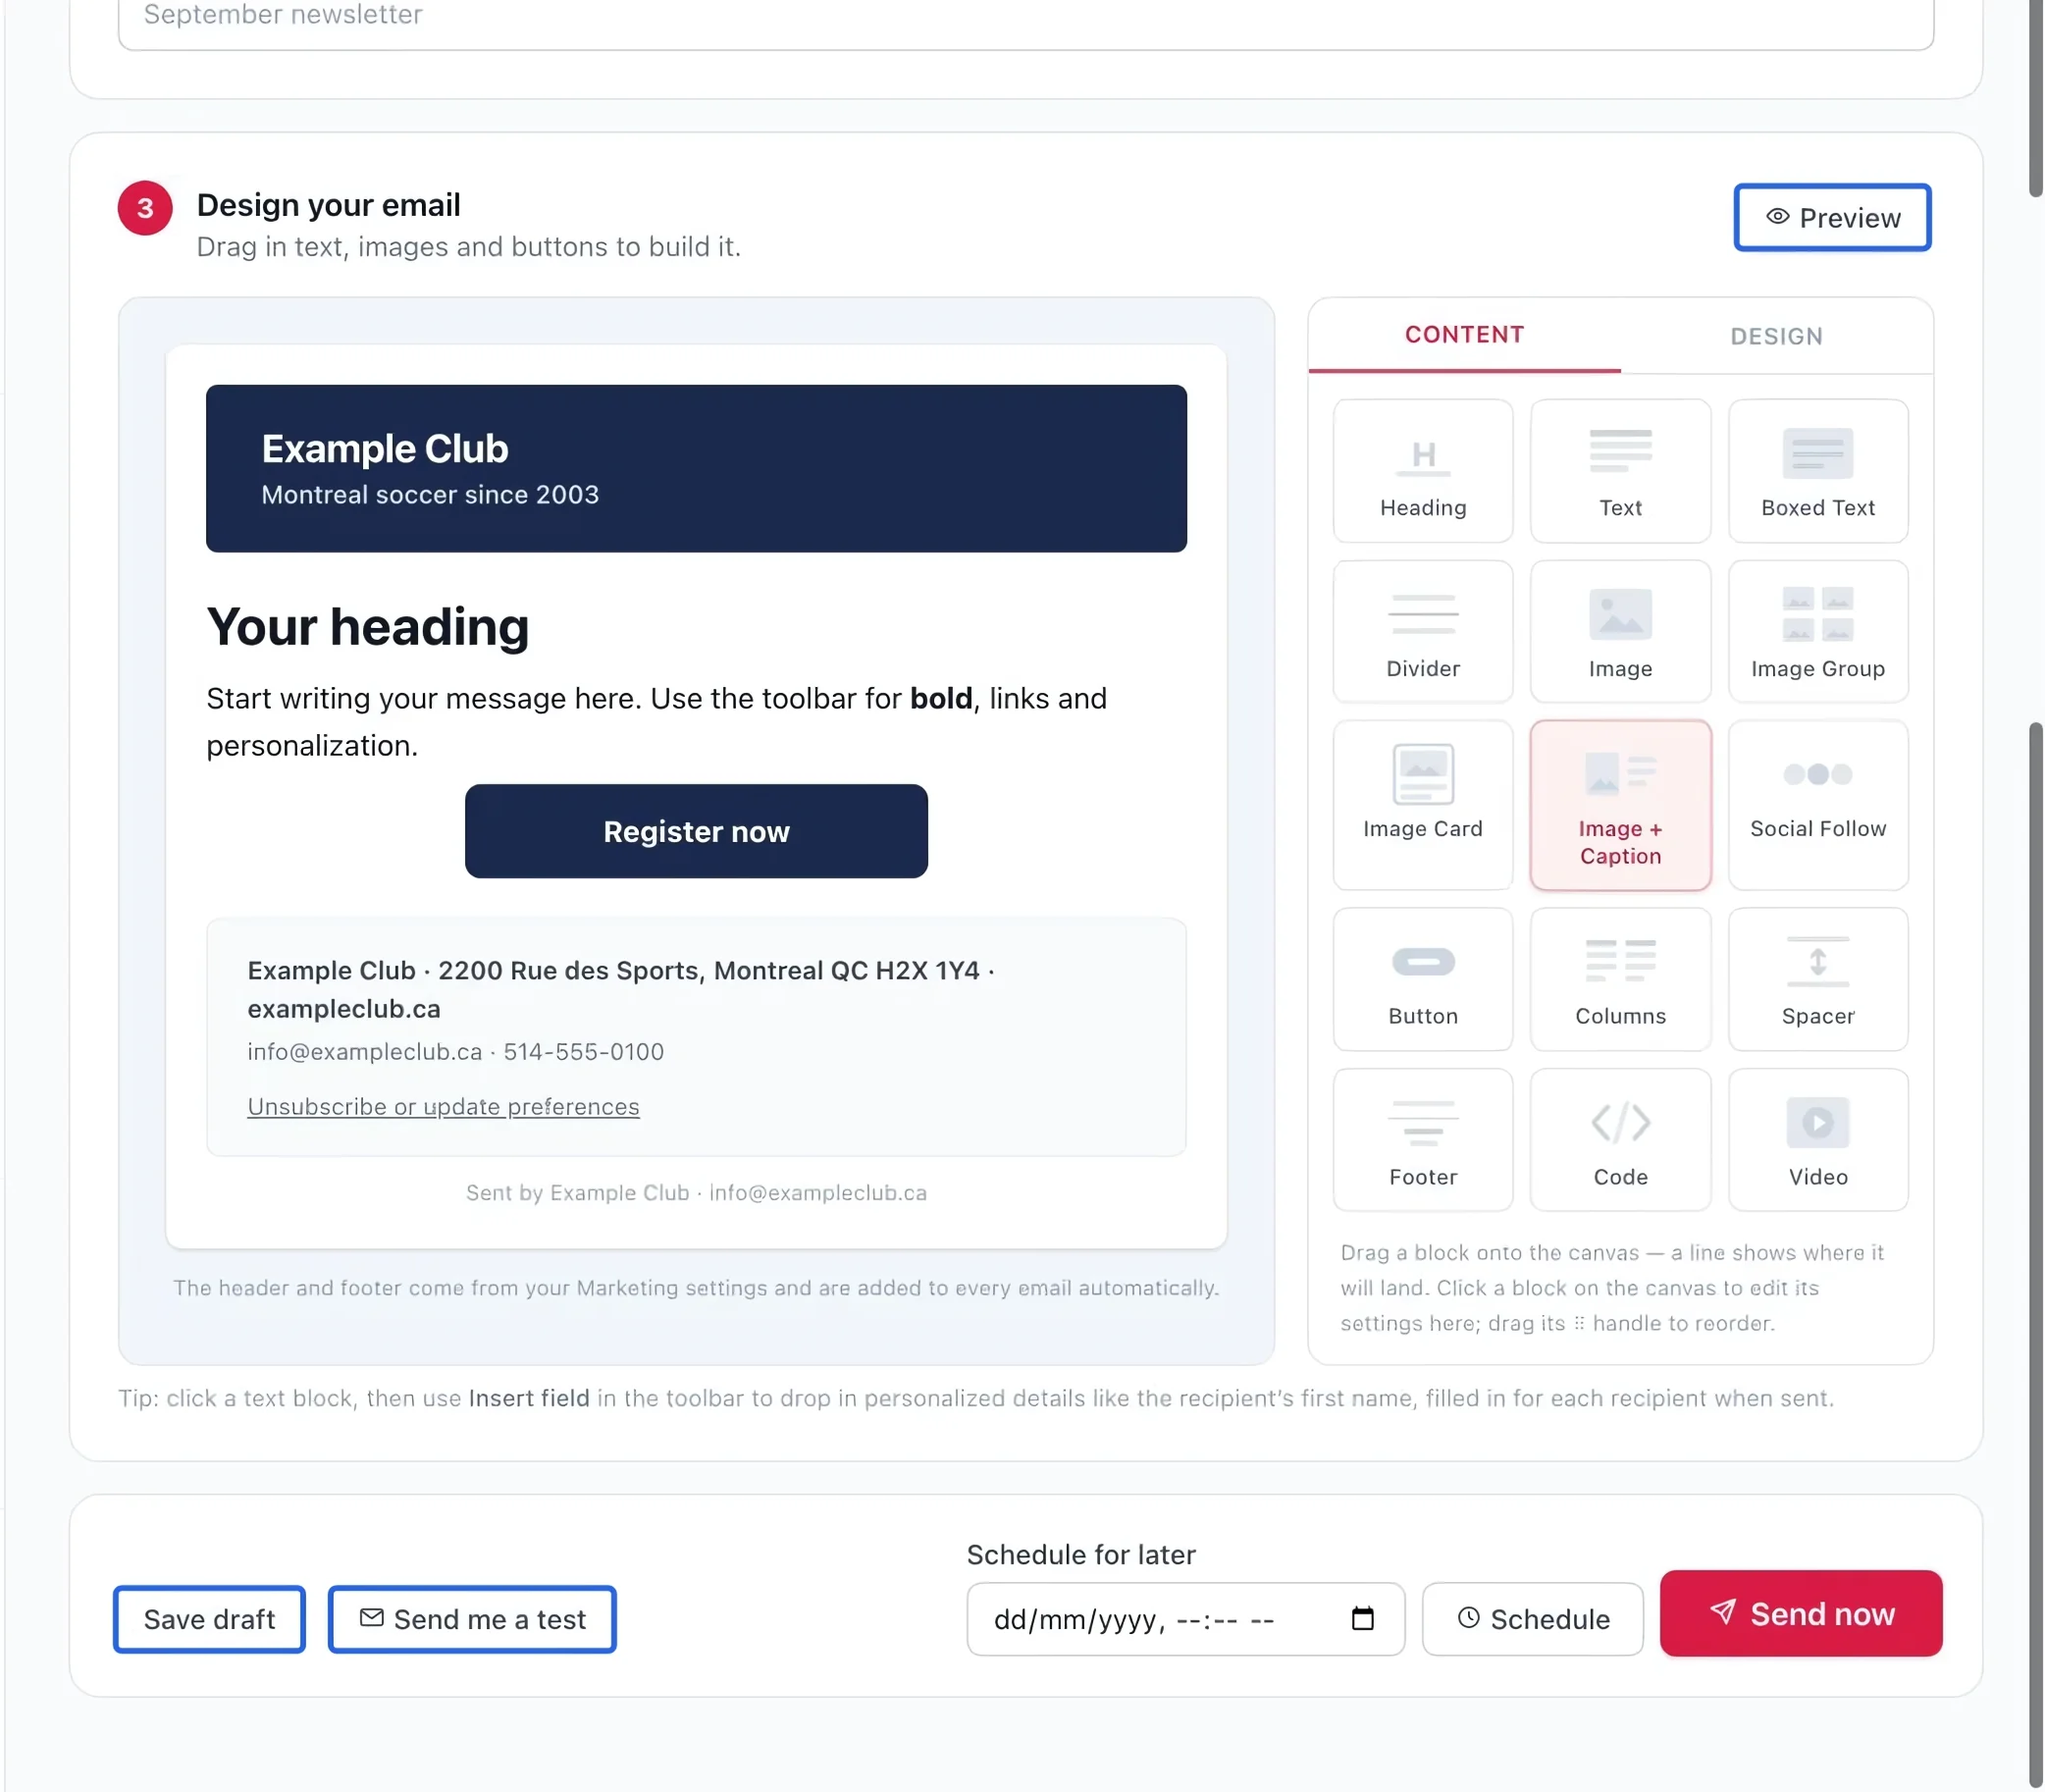
Preview, save and test
Use Preview to inspect the layout, Save draft to keep your work, and Send me a test to review a real email in your inbox. Correct any issues before sending to the audience.
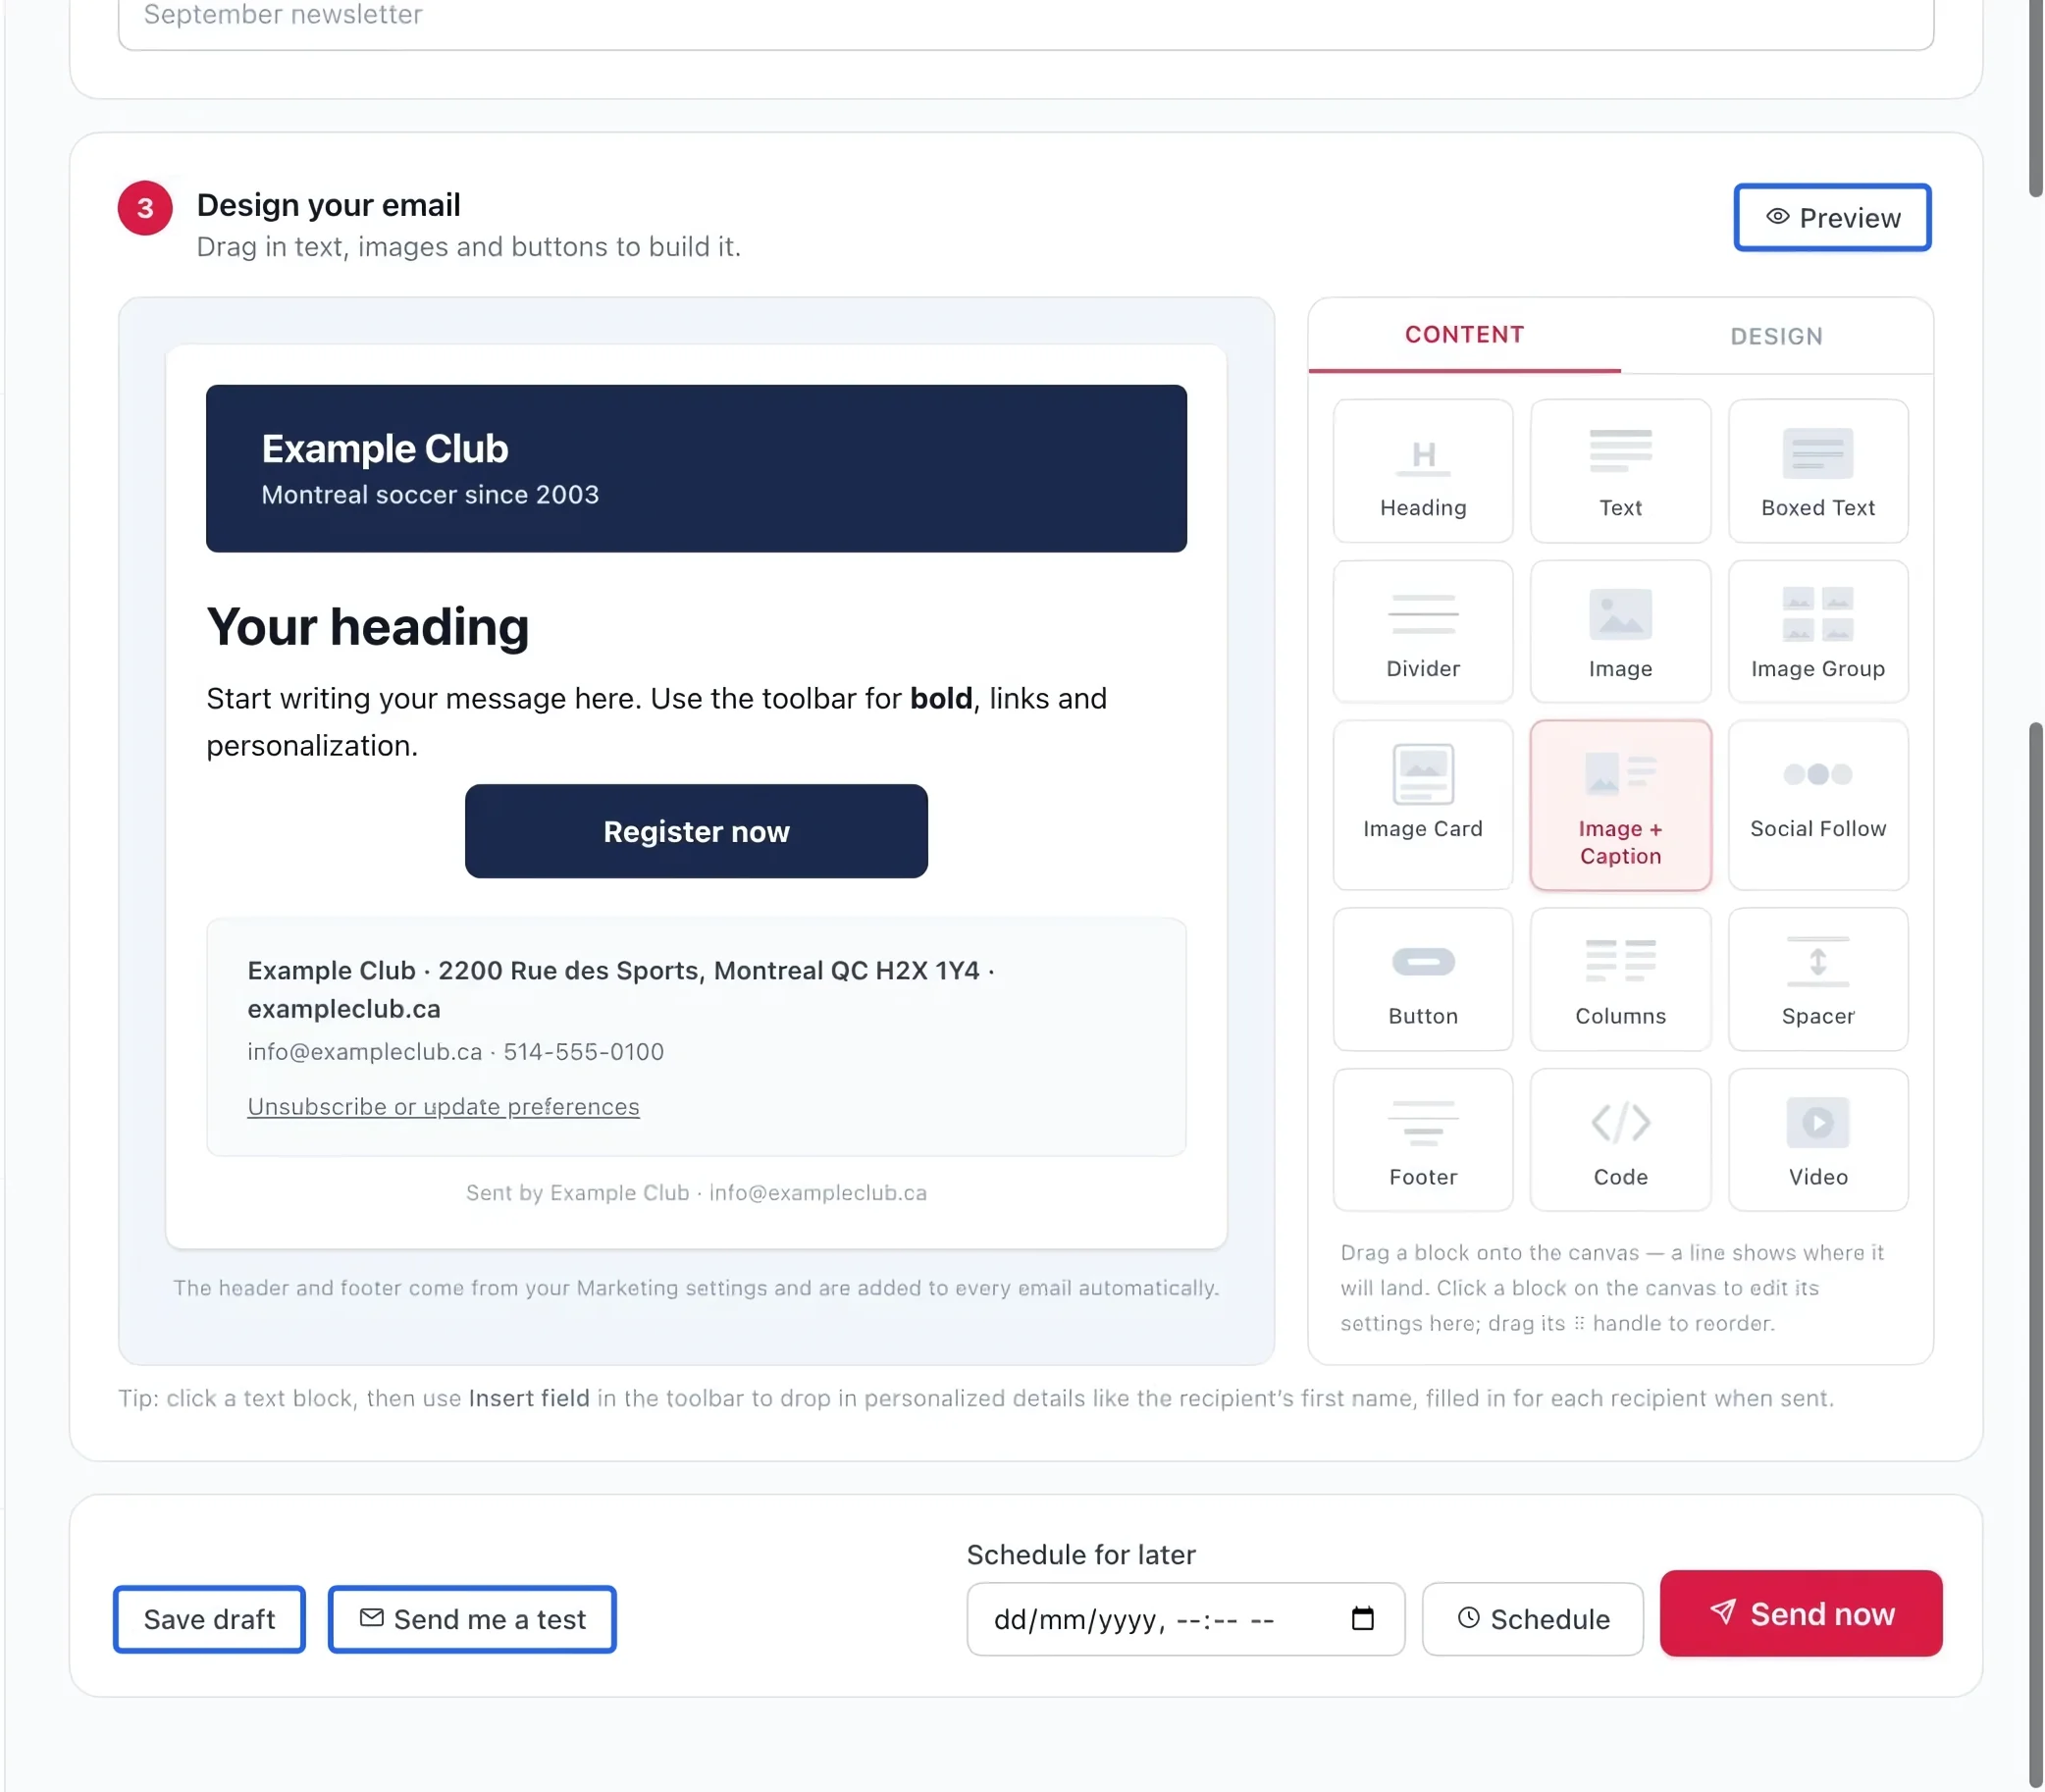
Select the screenshot to enlarge it. The blue outline marks the control to use.
- 6
Send or schedule
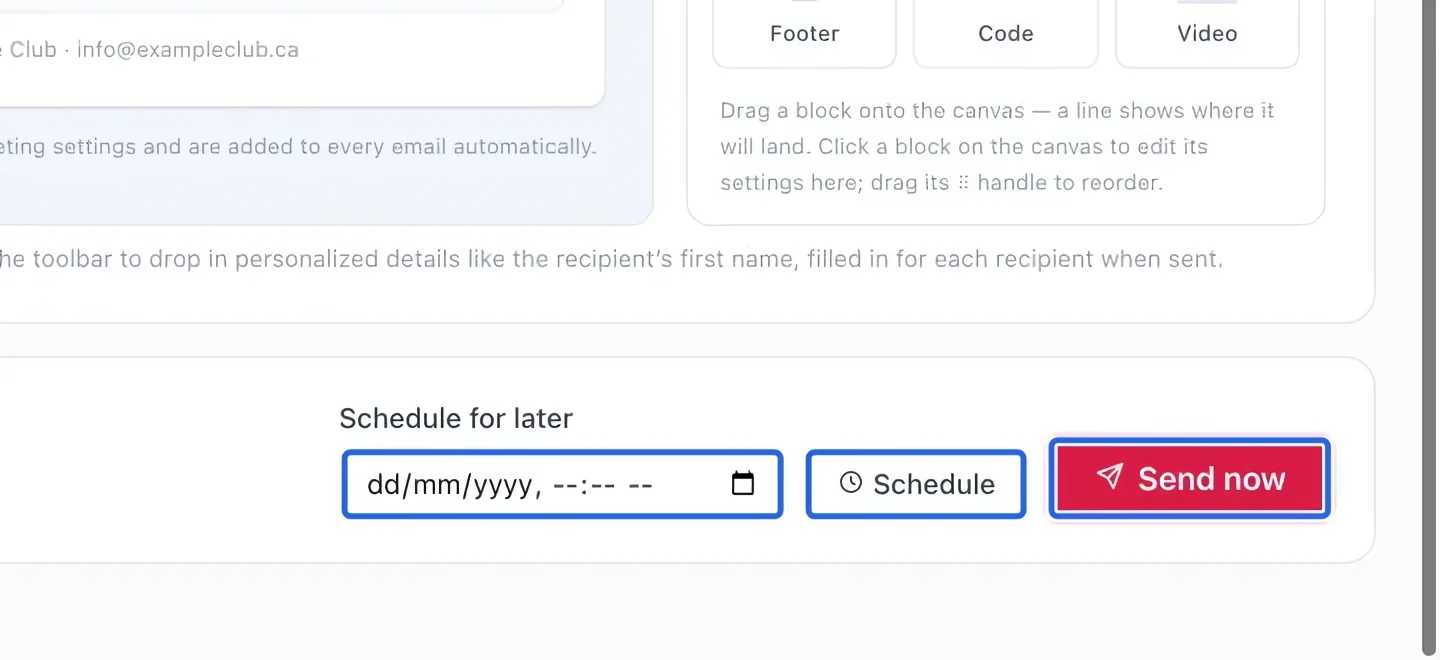
After reviewing the test and audience, click Send now, or enter a date and time under Schedule for later and click Schedule. Confirm the resulting status instead of submitting twice.
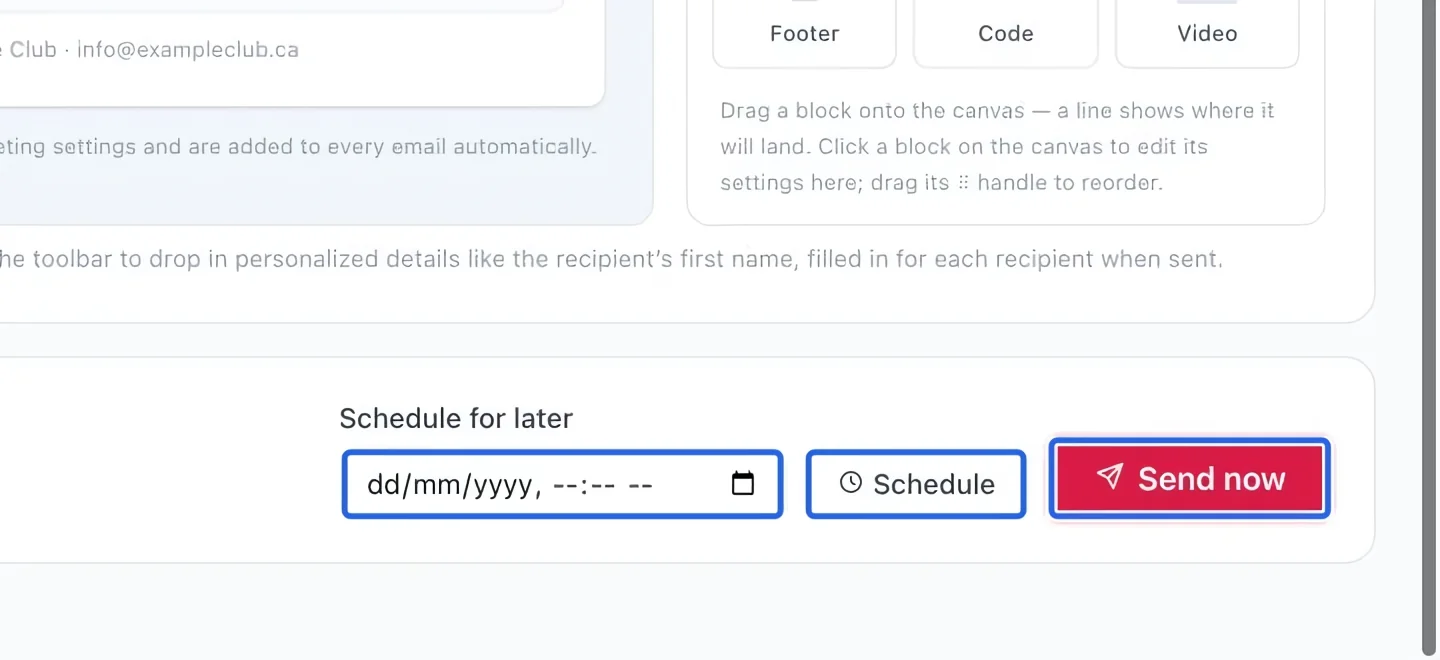
Select the screenshot to enlarge it. The blue outline marks the control to use.
- 7
Read the results
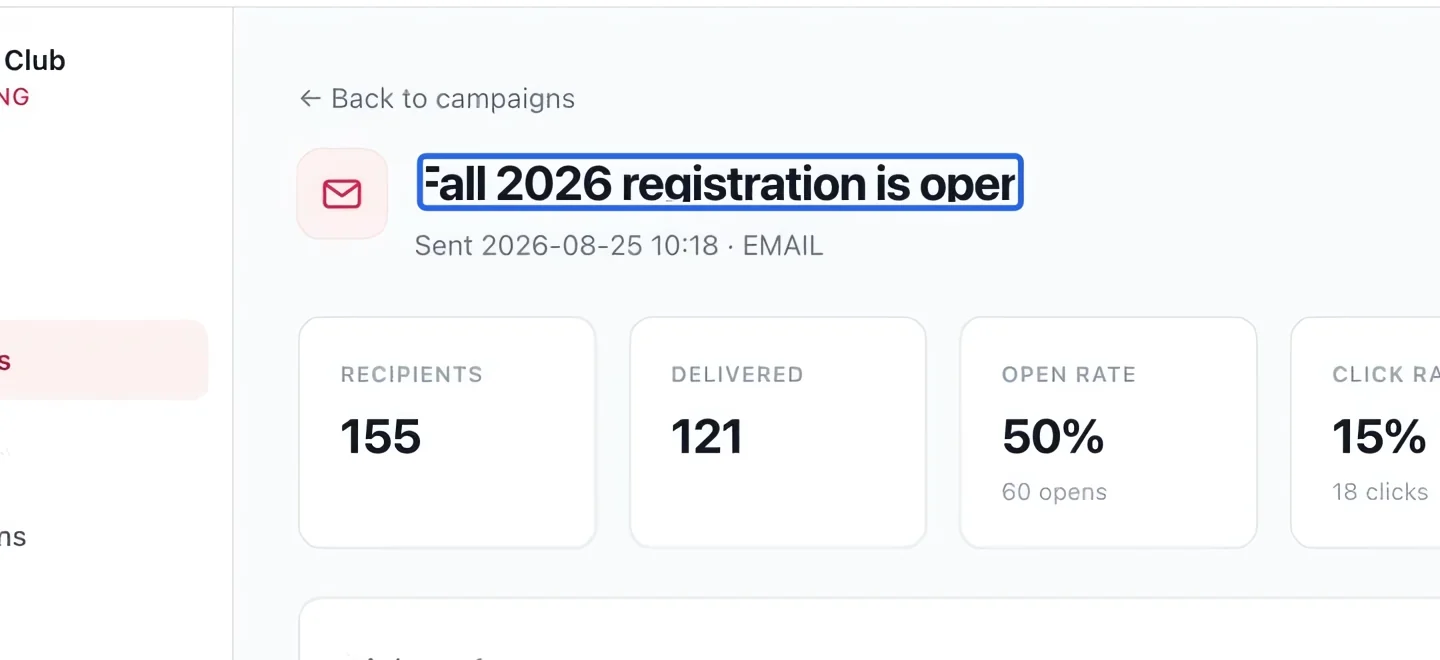
Open the sent campaign from the campaign list. Review delivery, opens and clicks after recipients have had time to read it. Treat these as engagement indicators rather than proof that every person read the message.
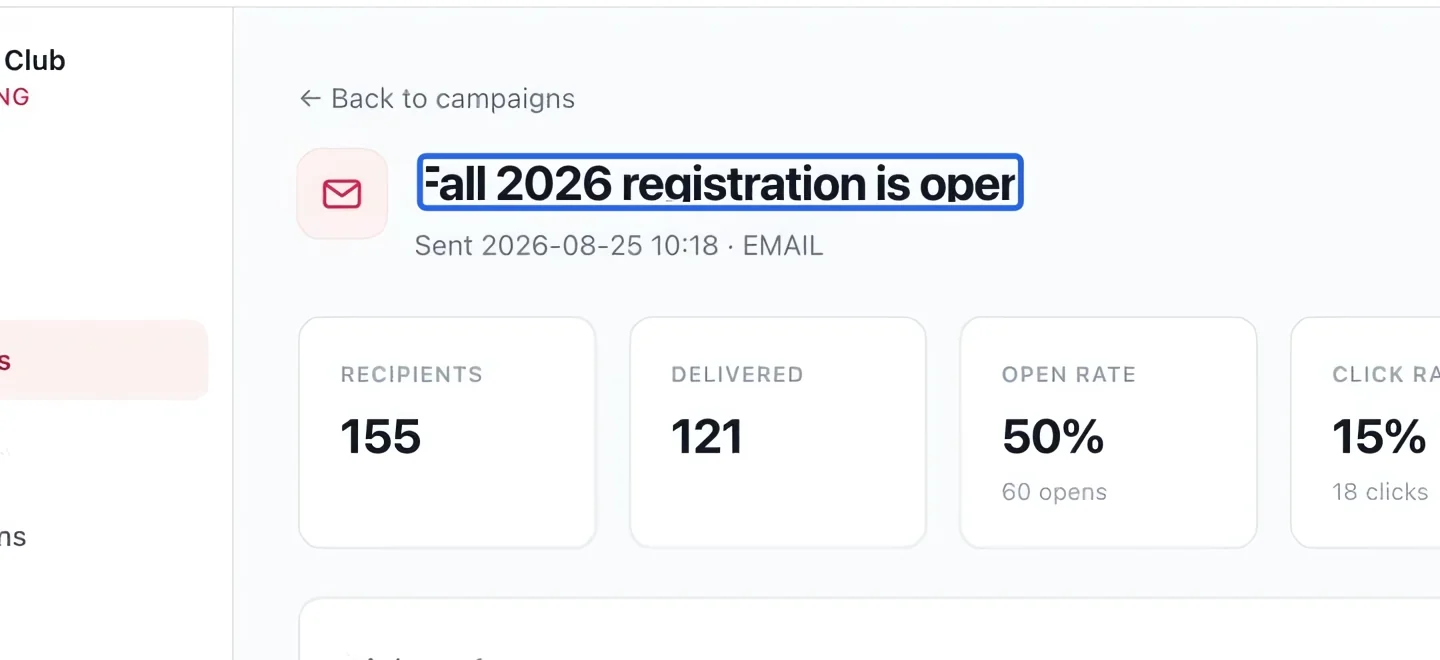
Select the screenshot to enlarge it. The blue outline marks the control to use.
Keep going
Saved audience rules (by tag, program history, engagement or location) that update themselves.
MarketingBuild a branded layout once, reuse it for every campaign, plus the system templates that ship ready-made.
MarketingEmails that send themselves: welcome after registration, payment reminders, abandoned carts, birthdays, win-backs.