
Automate follow-up emails
Emails that send themselves: welcome after registration, payment reminders, abandoned carts, birthdays, win-backs.
- 1
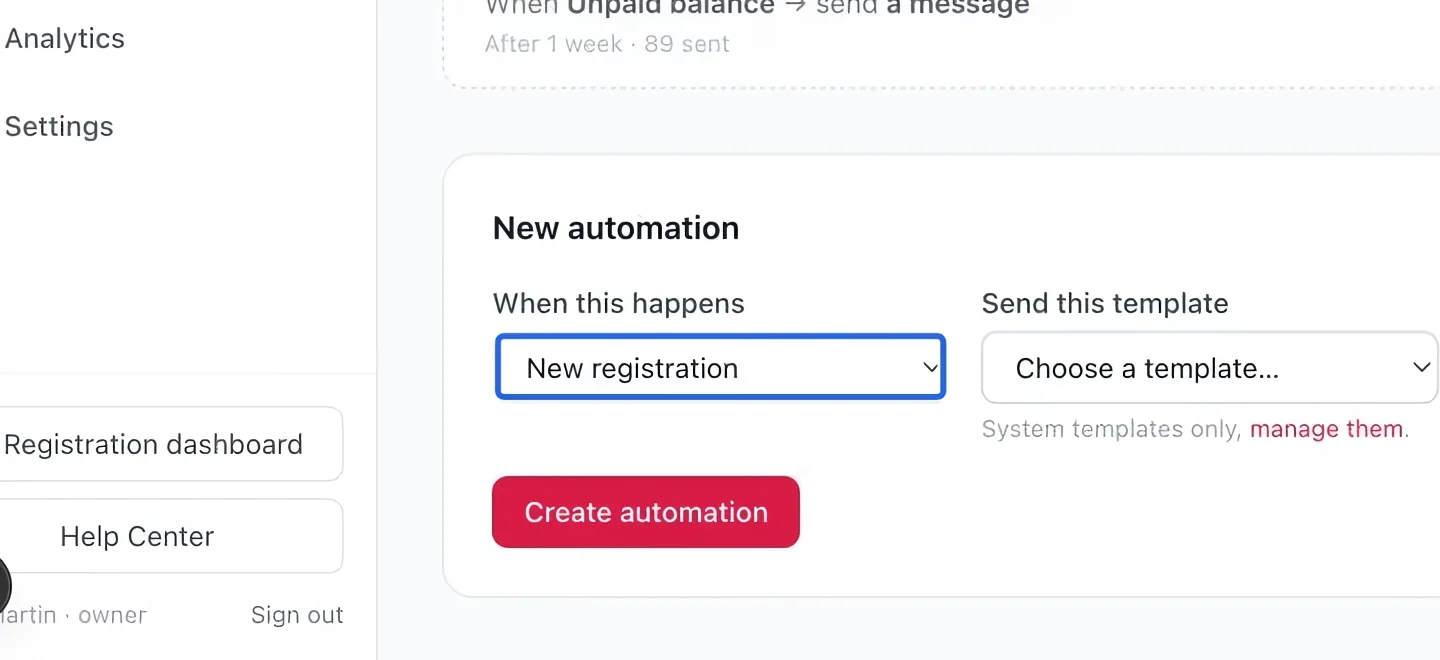
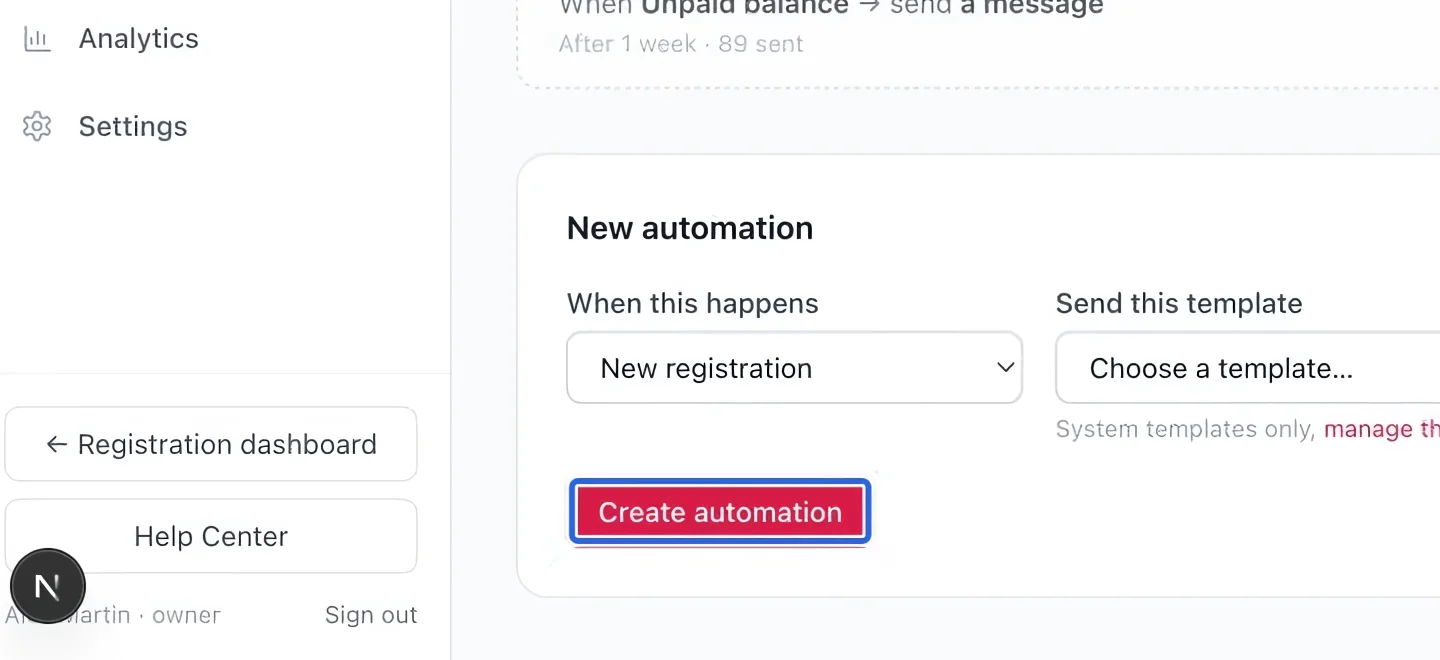
Choose the event
Open Marketing → Automations. Under New automation, select When this happens. Start with one clear purpose, such as a welcome email after a new registration.
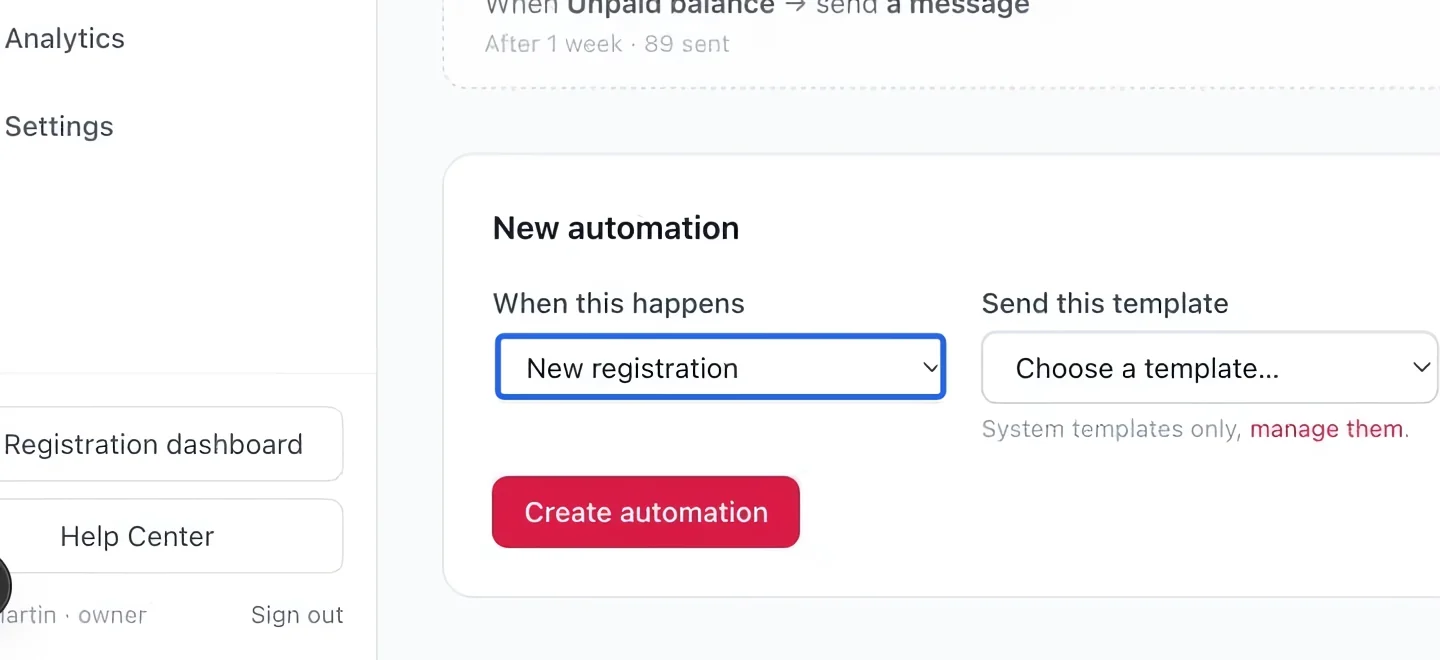
Select the screenshot to enlarge it. The blue outline marks the control to use.
- 2
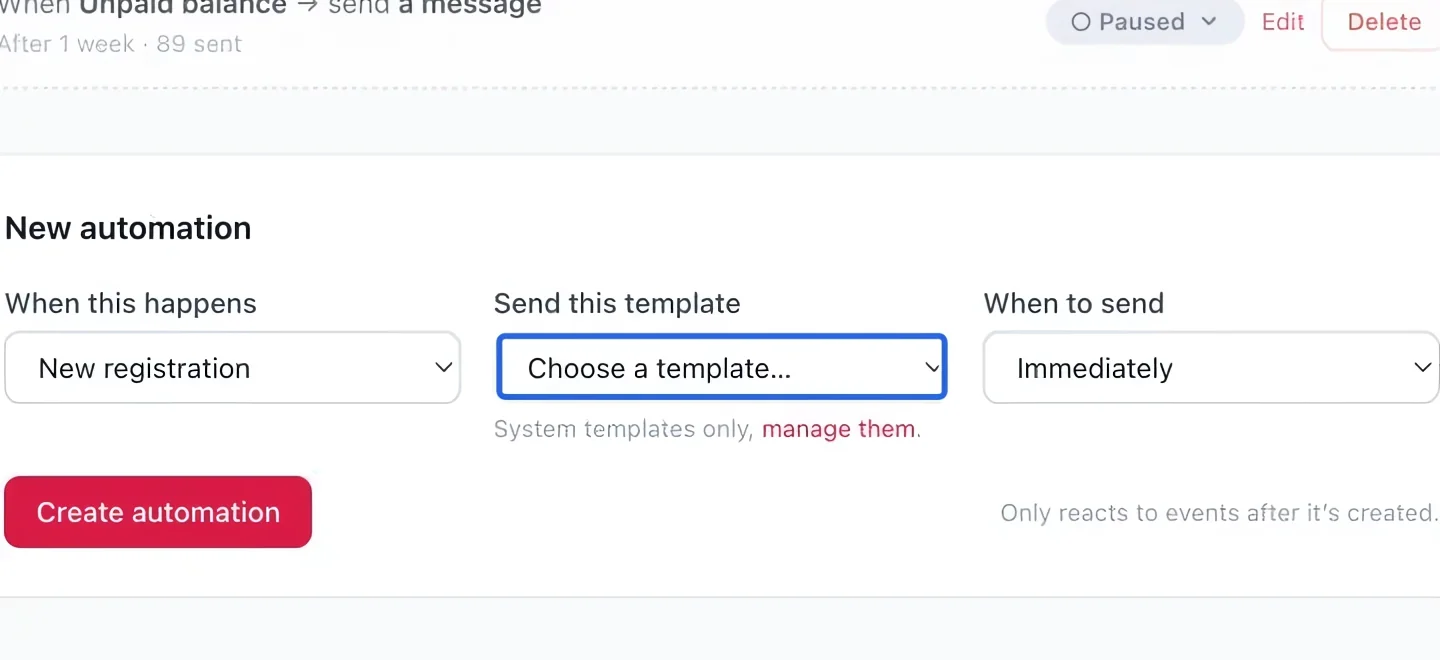
Choose the message template
Under Send this template, choose the prepared email. If none fits, create and review a template first. Check that its wording makes sense for the selected event.
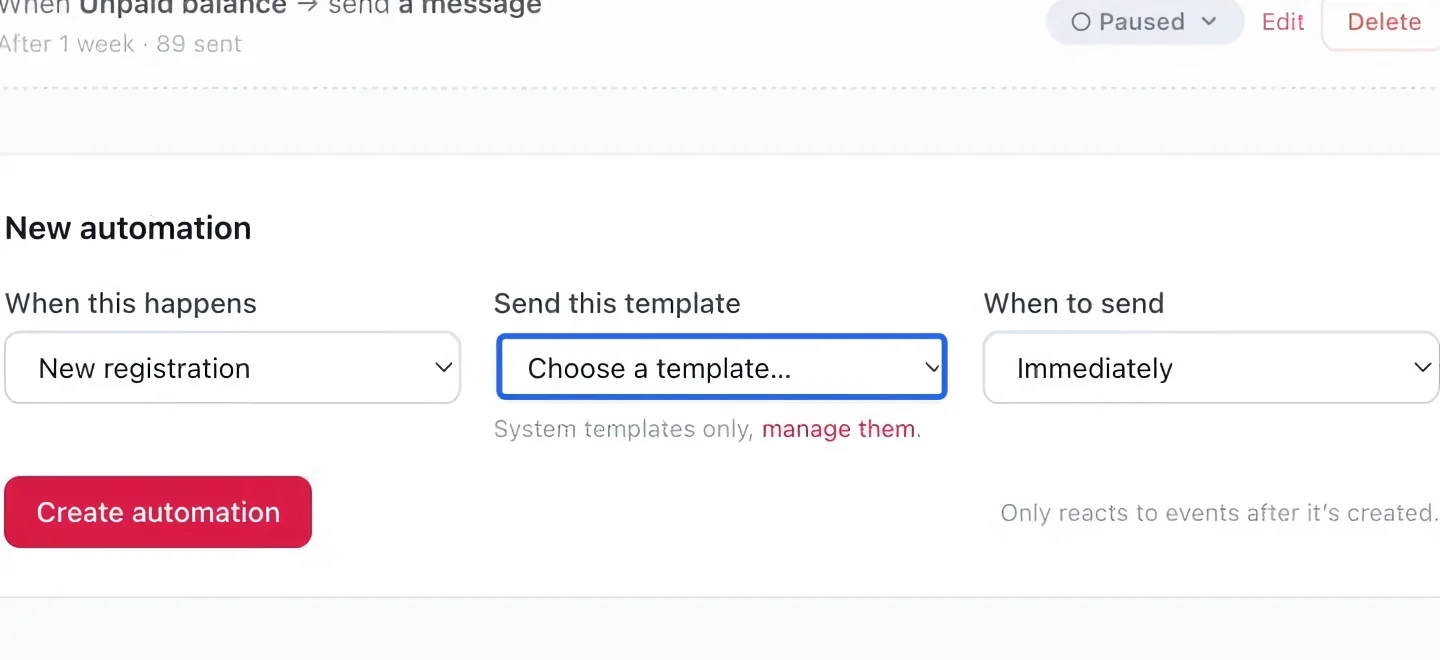
Select the screenshot to enlarge it. The blue outline marks the control to use.
- 3
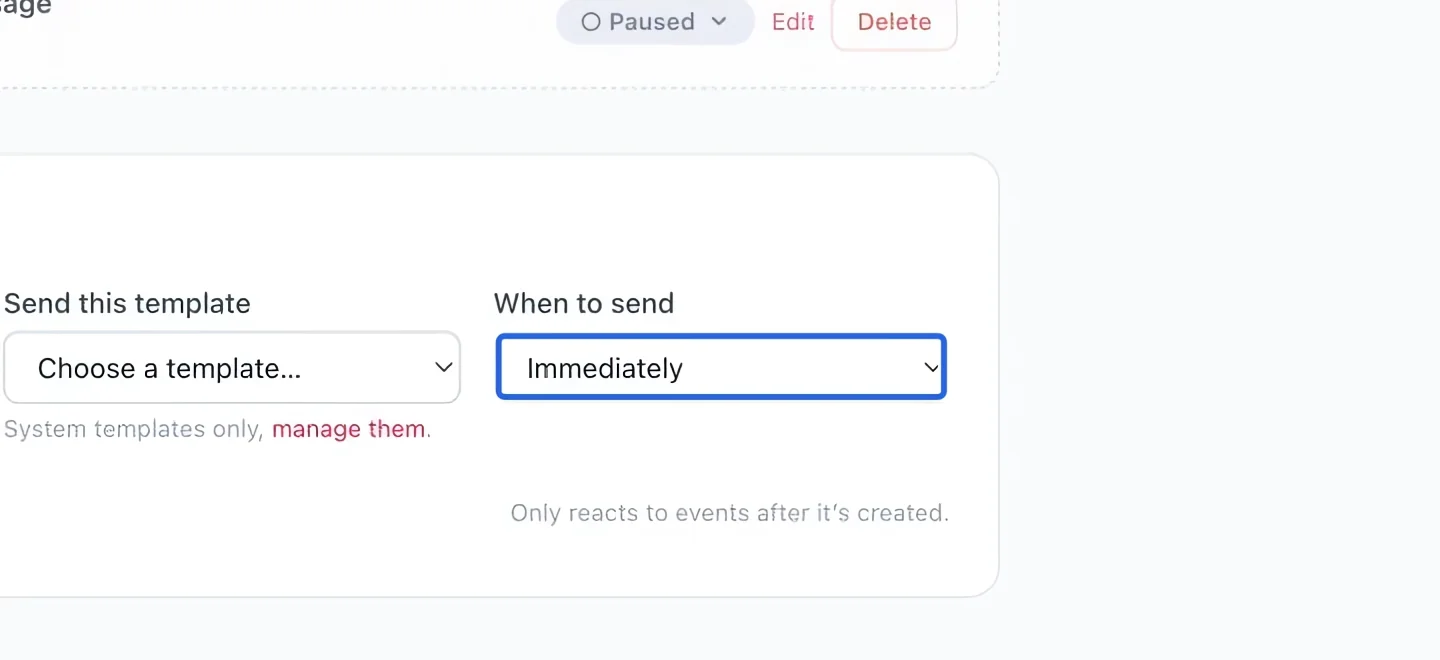
Choose the delay
Set When to send to immediately or the delay you need. Consider when the recipient will benefit from the message; a payment reminder should not arrive before they have time to pay.
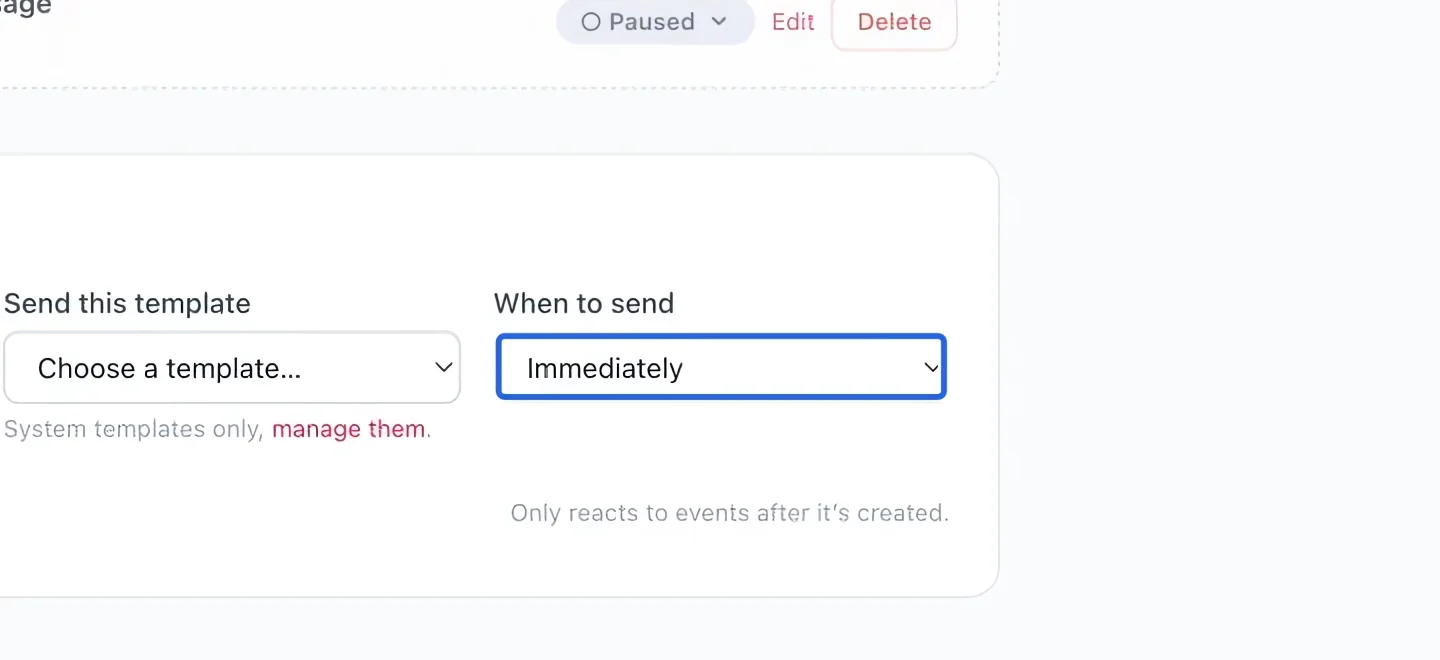
Select the screenshot to enlarge it. The blue outline marks the control to use.
- 4
Create and check its status
Click Create automation. Find the new row and confirm its active or paused status. An automation responds to eligible events after its creation; it is not a resend tool for all old registrations.
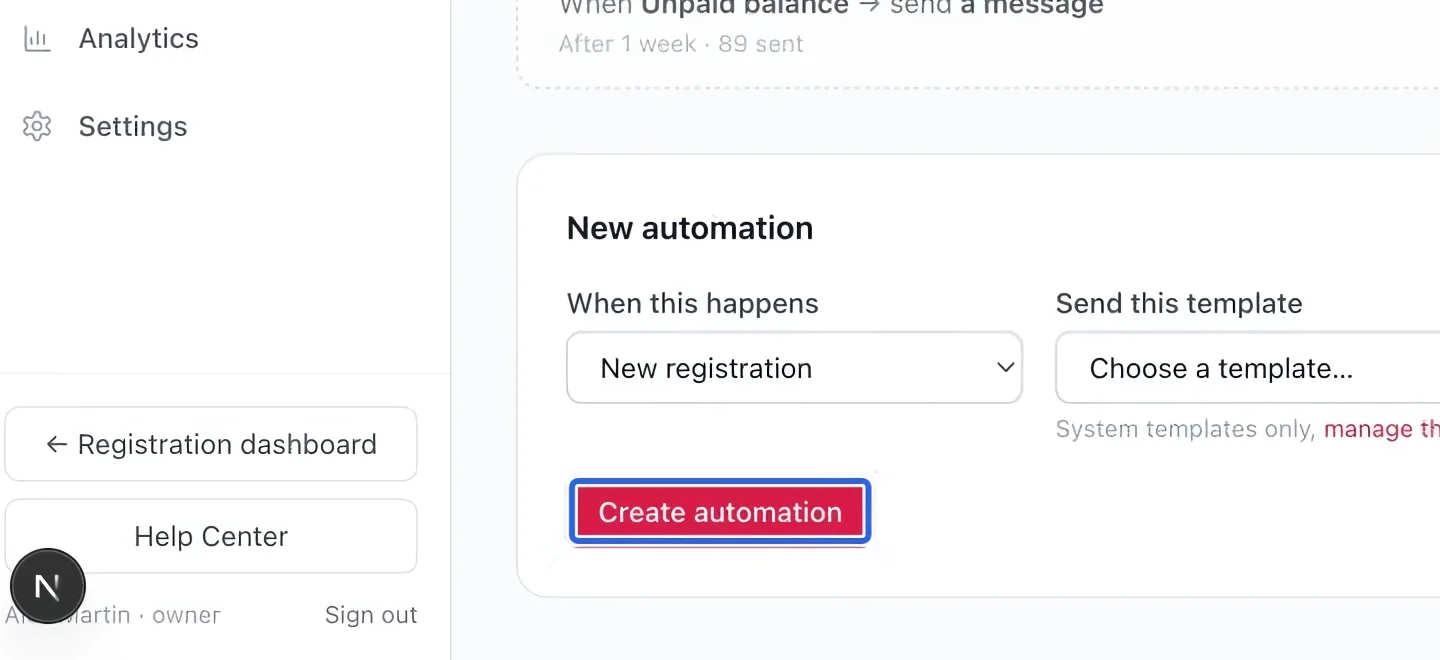
Select the screenshot to enlarge it. The blue outline marks the control to use.
- 5
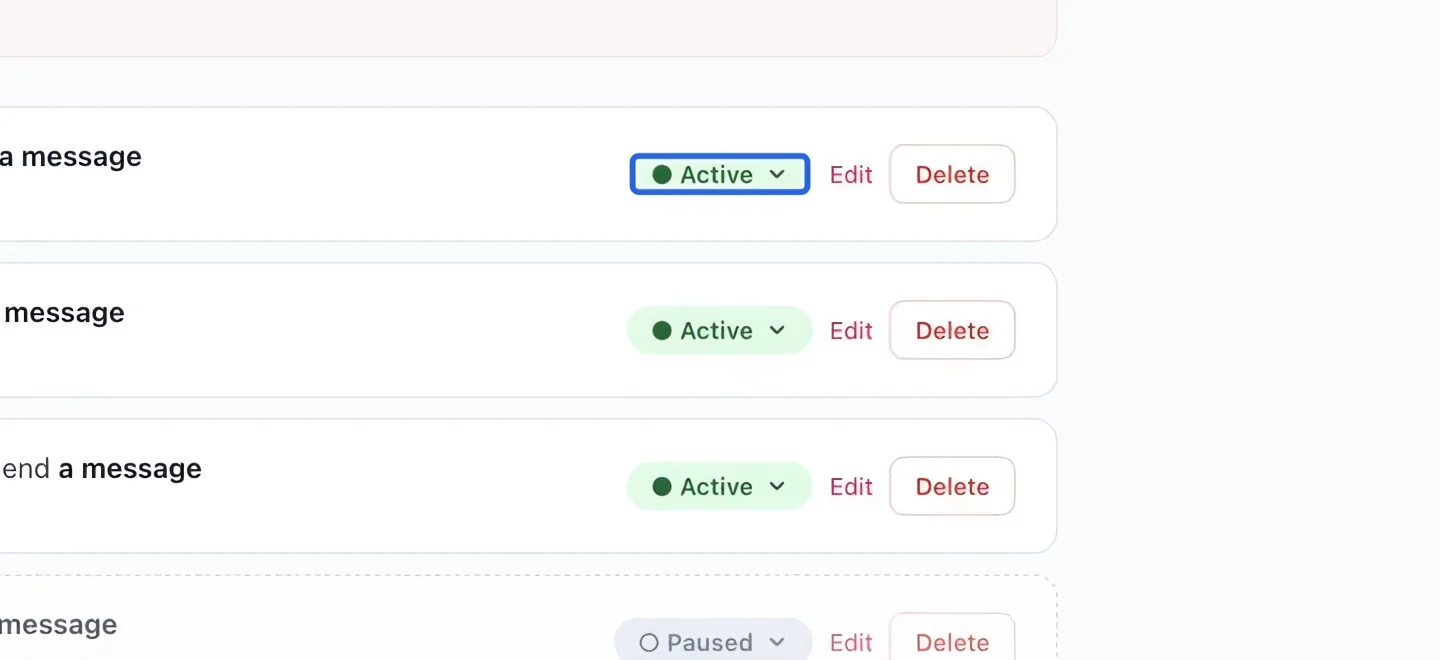
Pause when needed
Open the automation’s status menu and choose Paused to stop future runs while you review it. Check the selected row carefully before changing another automation.
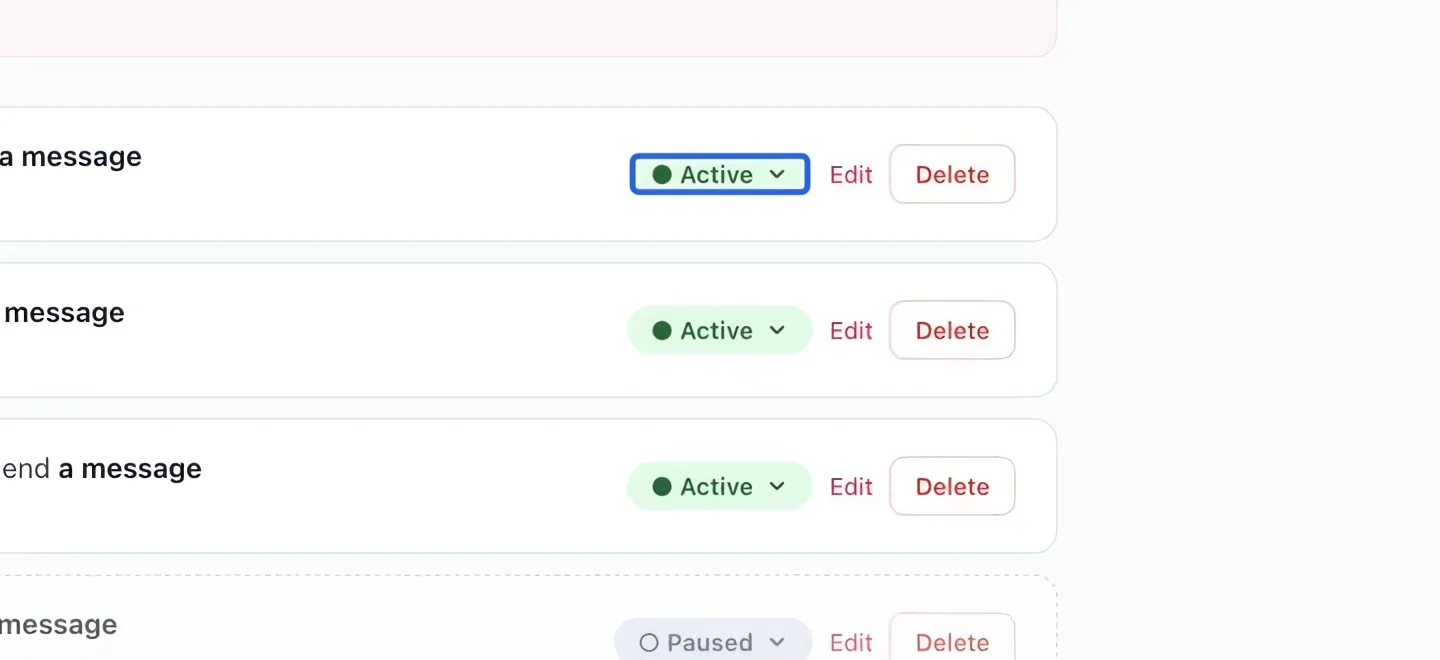
Select the screenshot to enlarge it. The blue outline marks the control to use.
- 6
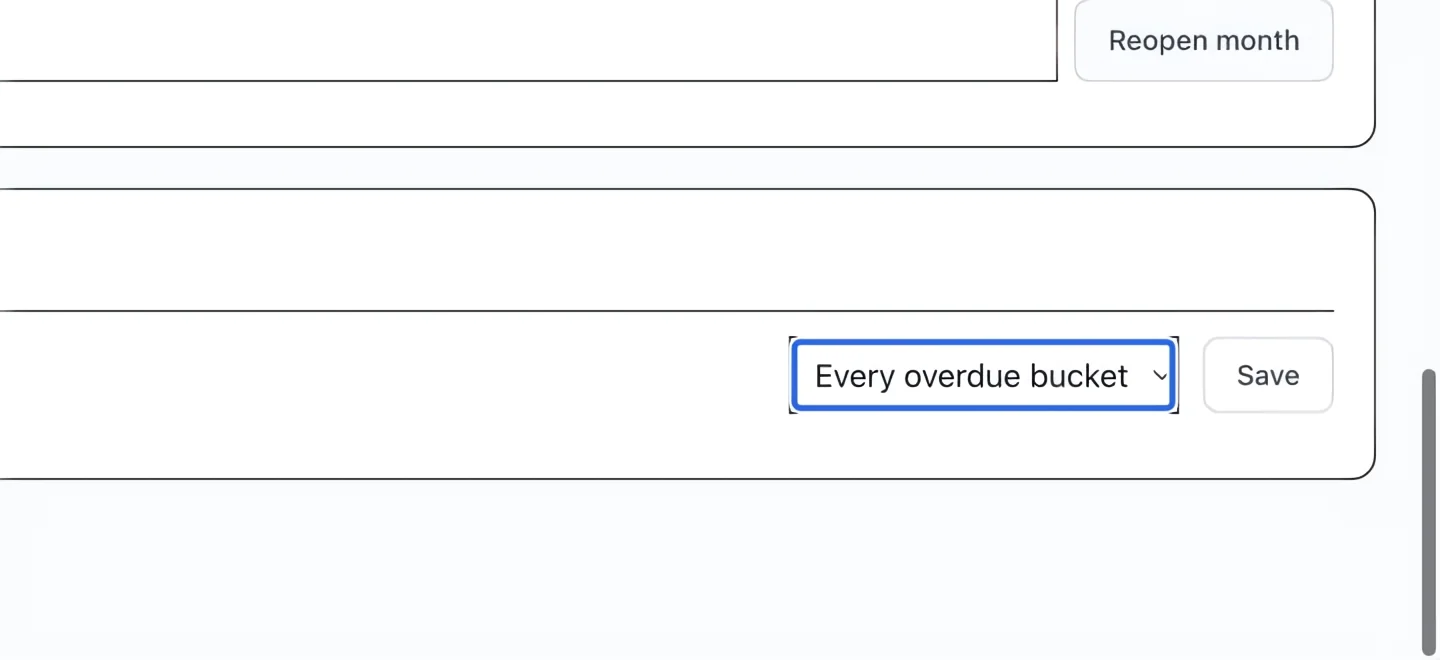
Use invoice aging for payment reminders
An unpaid-balance automation can now target an overdue bucket through Optional accounting automation. Follow Aged payment reminders to choose the bucket, enable aged balances and configure the paid stop condition before activating delivery.
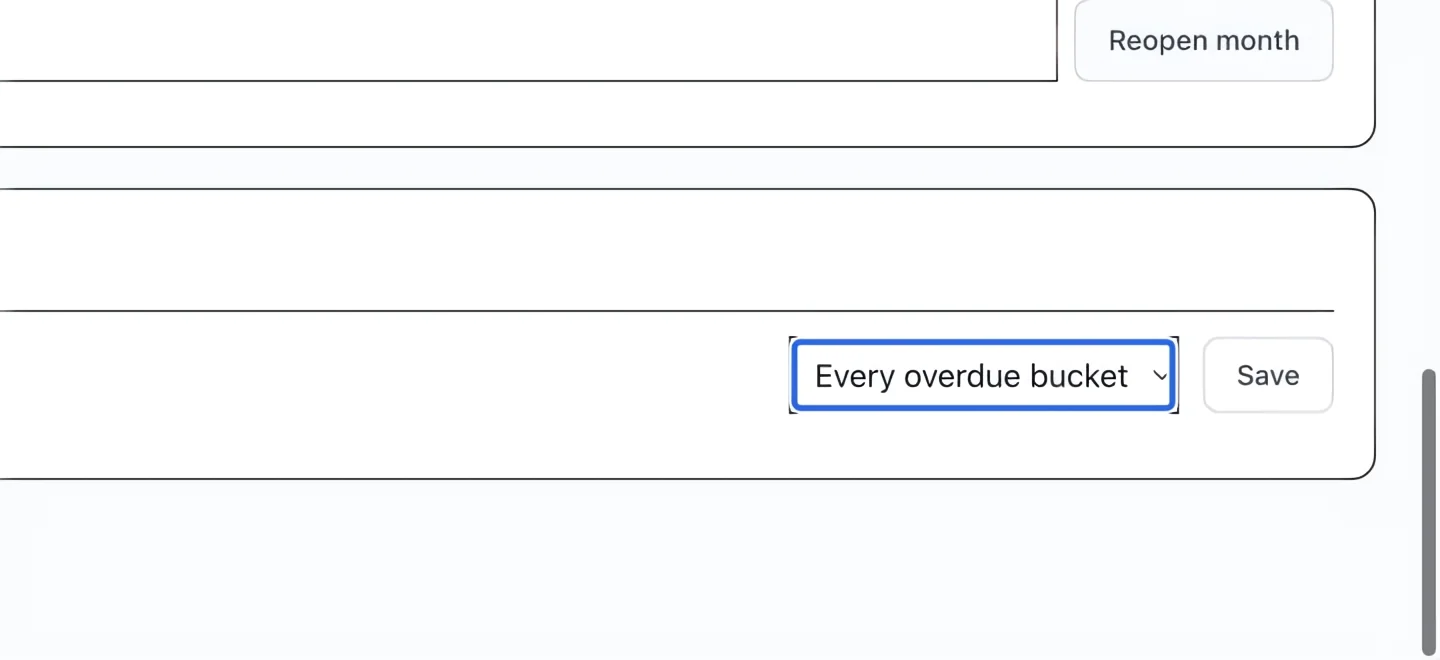
Select the screenshot to enlarge it. The blue outline marks the control to use.
Keep going
Connect existing unpaid-balance automations to overdue buckets and stop reminders after payment.
Accounting & financial reportsIdentify outstanding balances by due date and overdue bucket.
MarketingBuild a branded layout once, reuse it for every campaign, plus the system templates that ship ready-made.