Design reusable newsletter templates
Build a branded layout once, reuse it for every campaign, plus the system templates that ship ready-made.
- 1
Start a reusable template
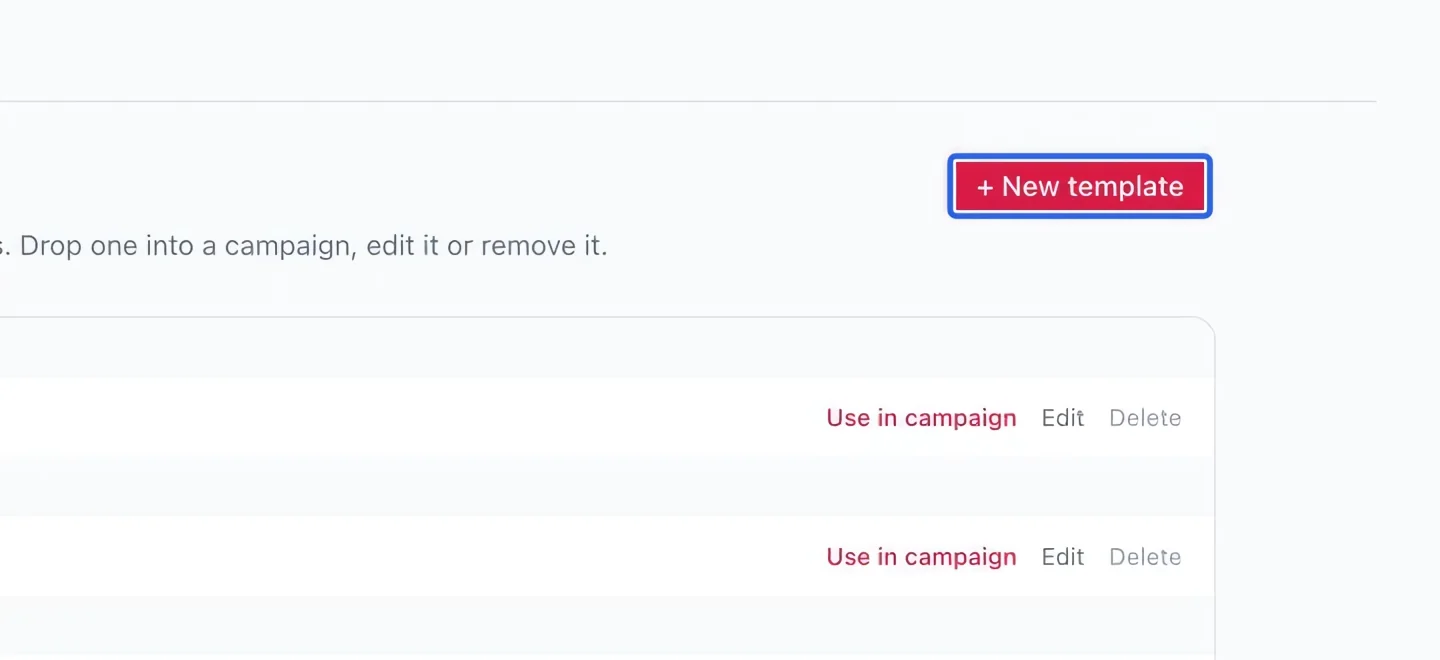
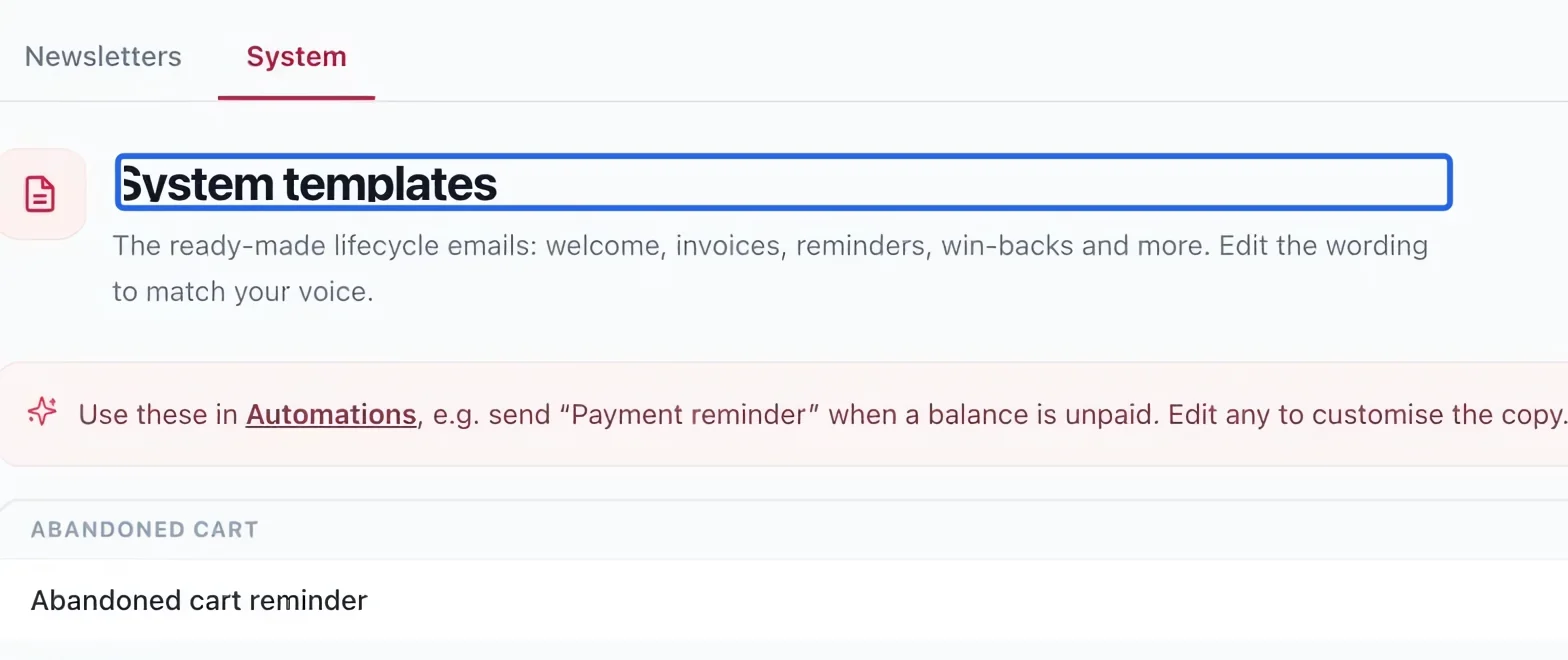
Open Marketing → Templates → Newsletters. Choose the new-template action or an existing template to edit. A template lets you reuse the layout across campaigns.
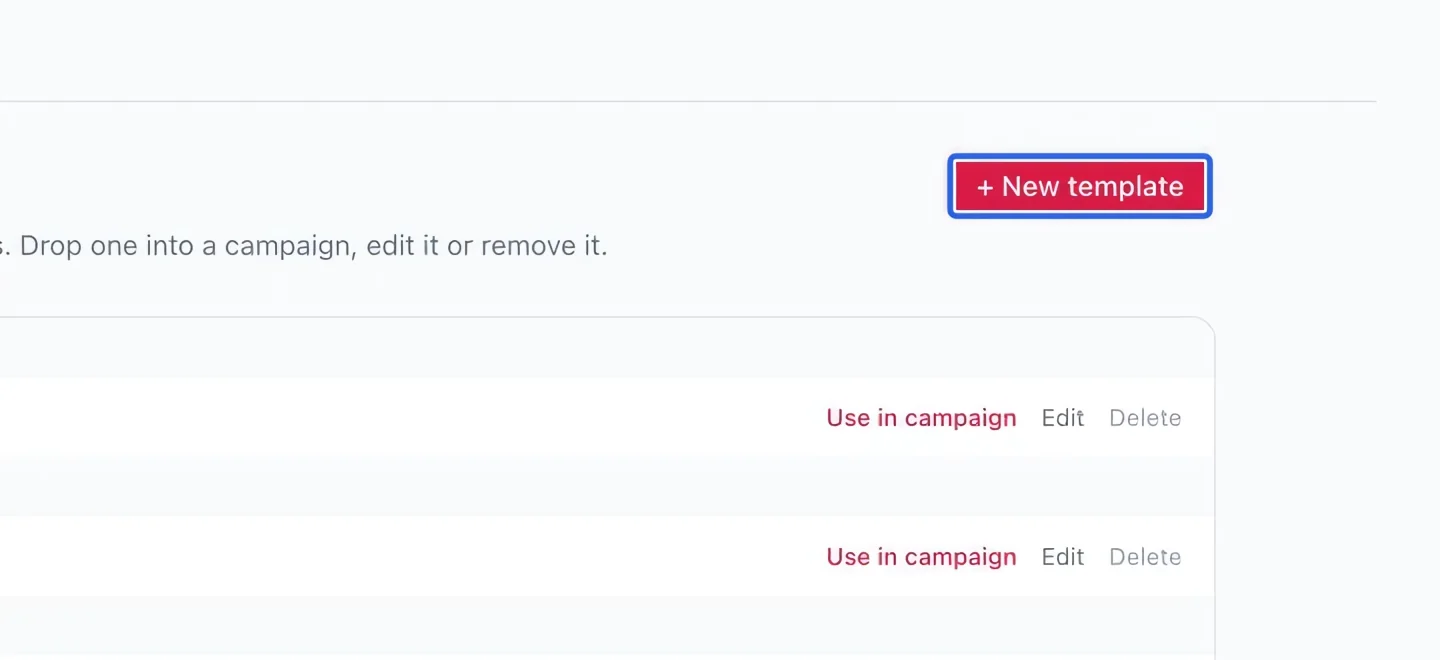
Select the screenshot to enlarge it. The blue outline marks the control to use.
- 2
Name the template
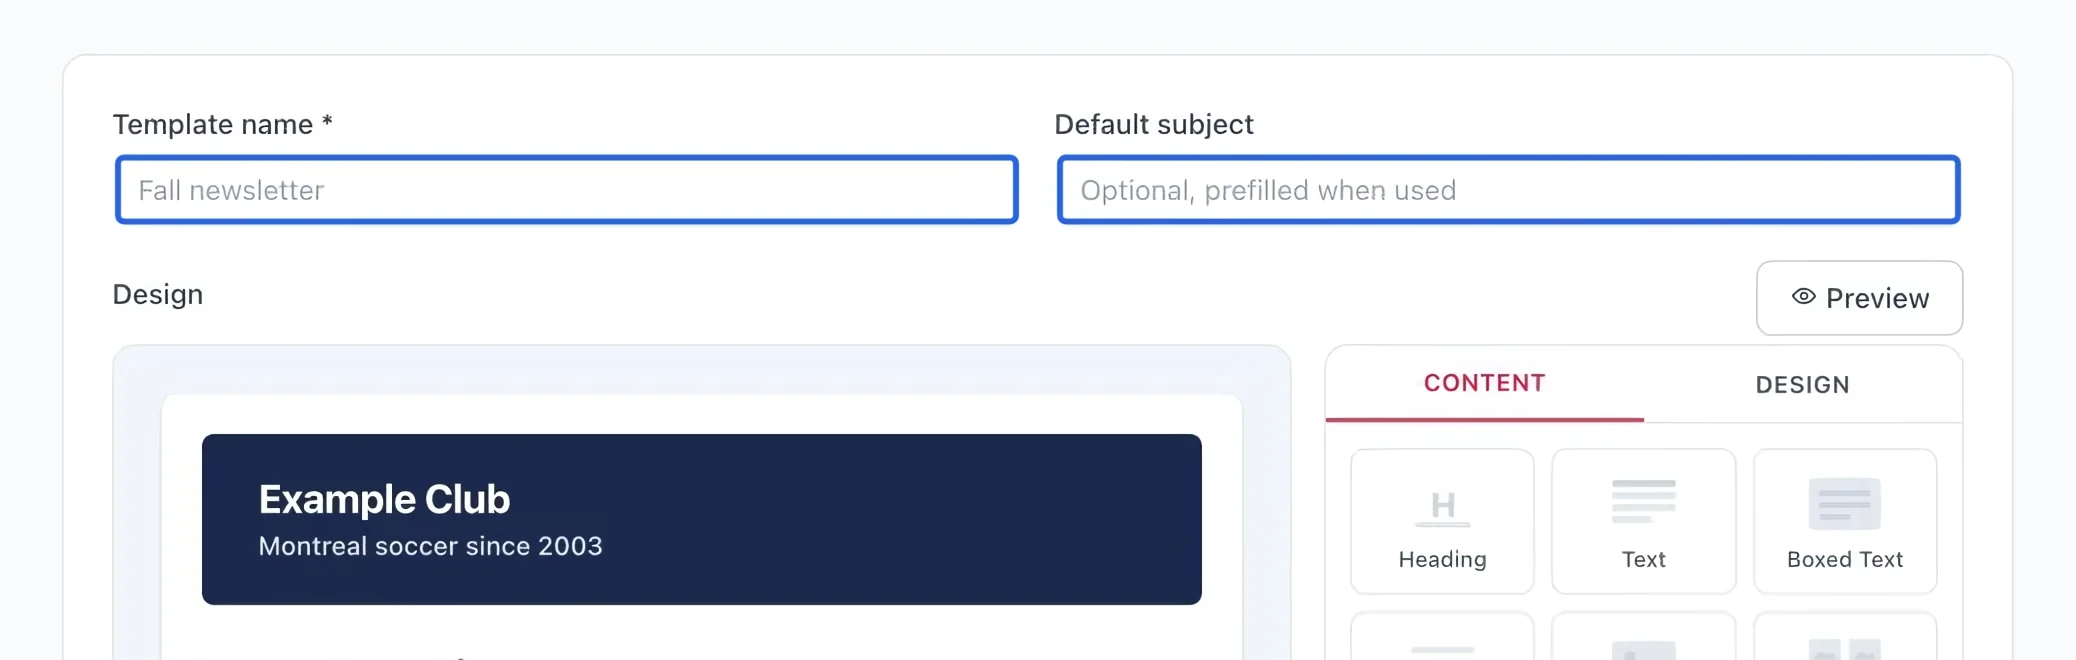
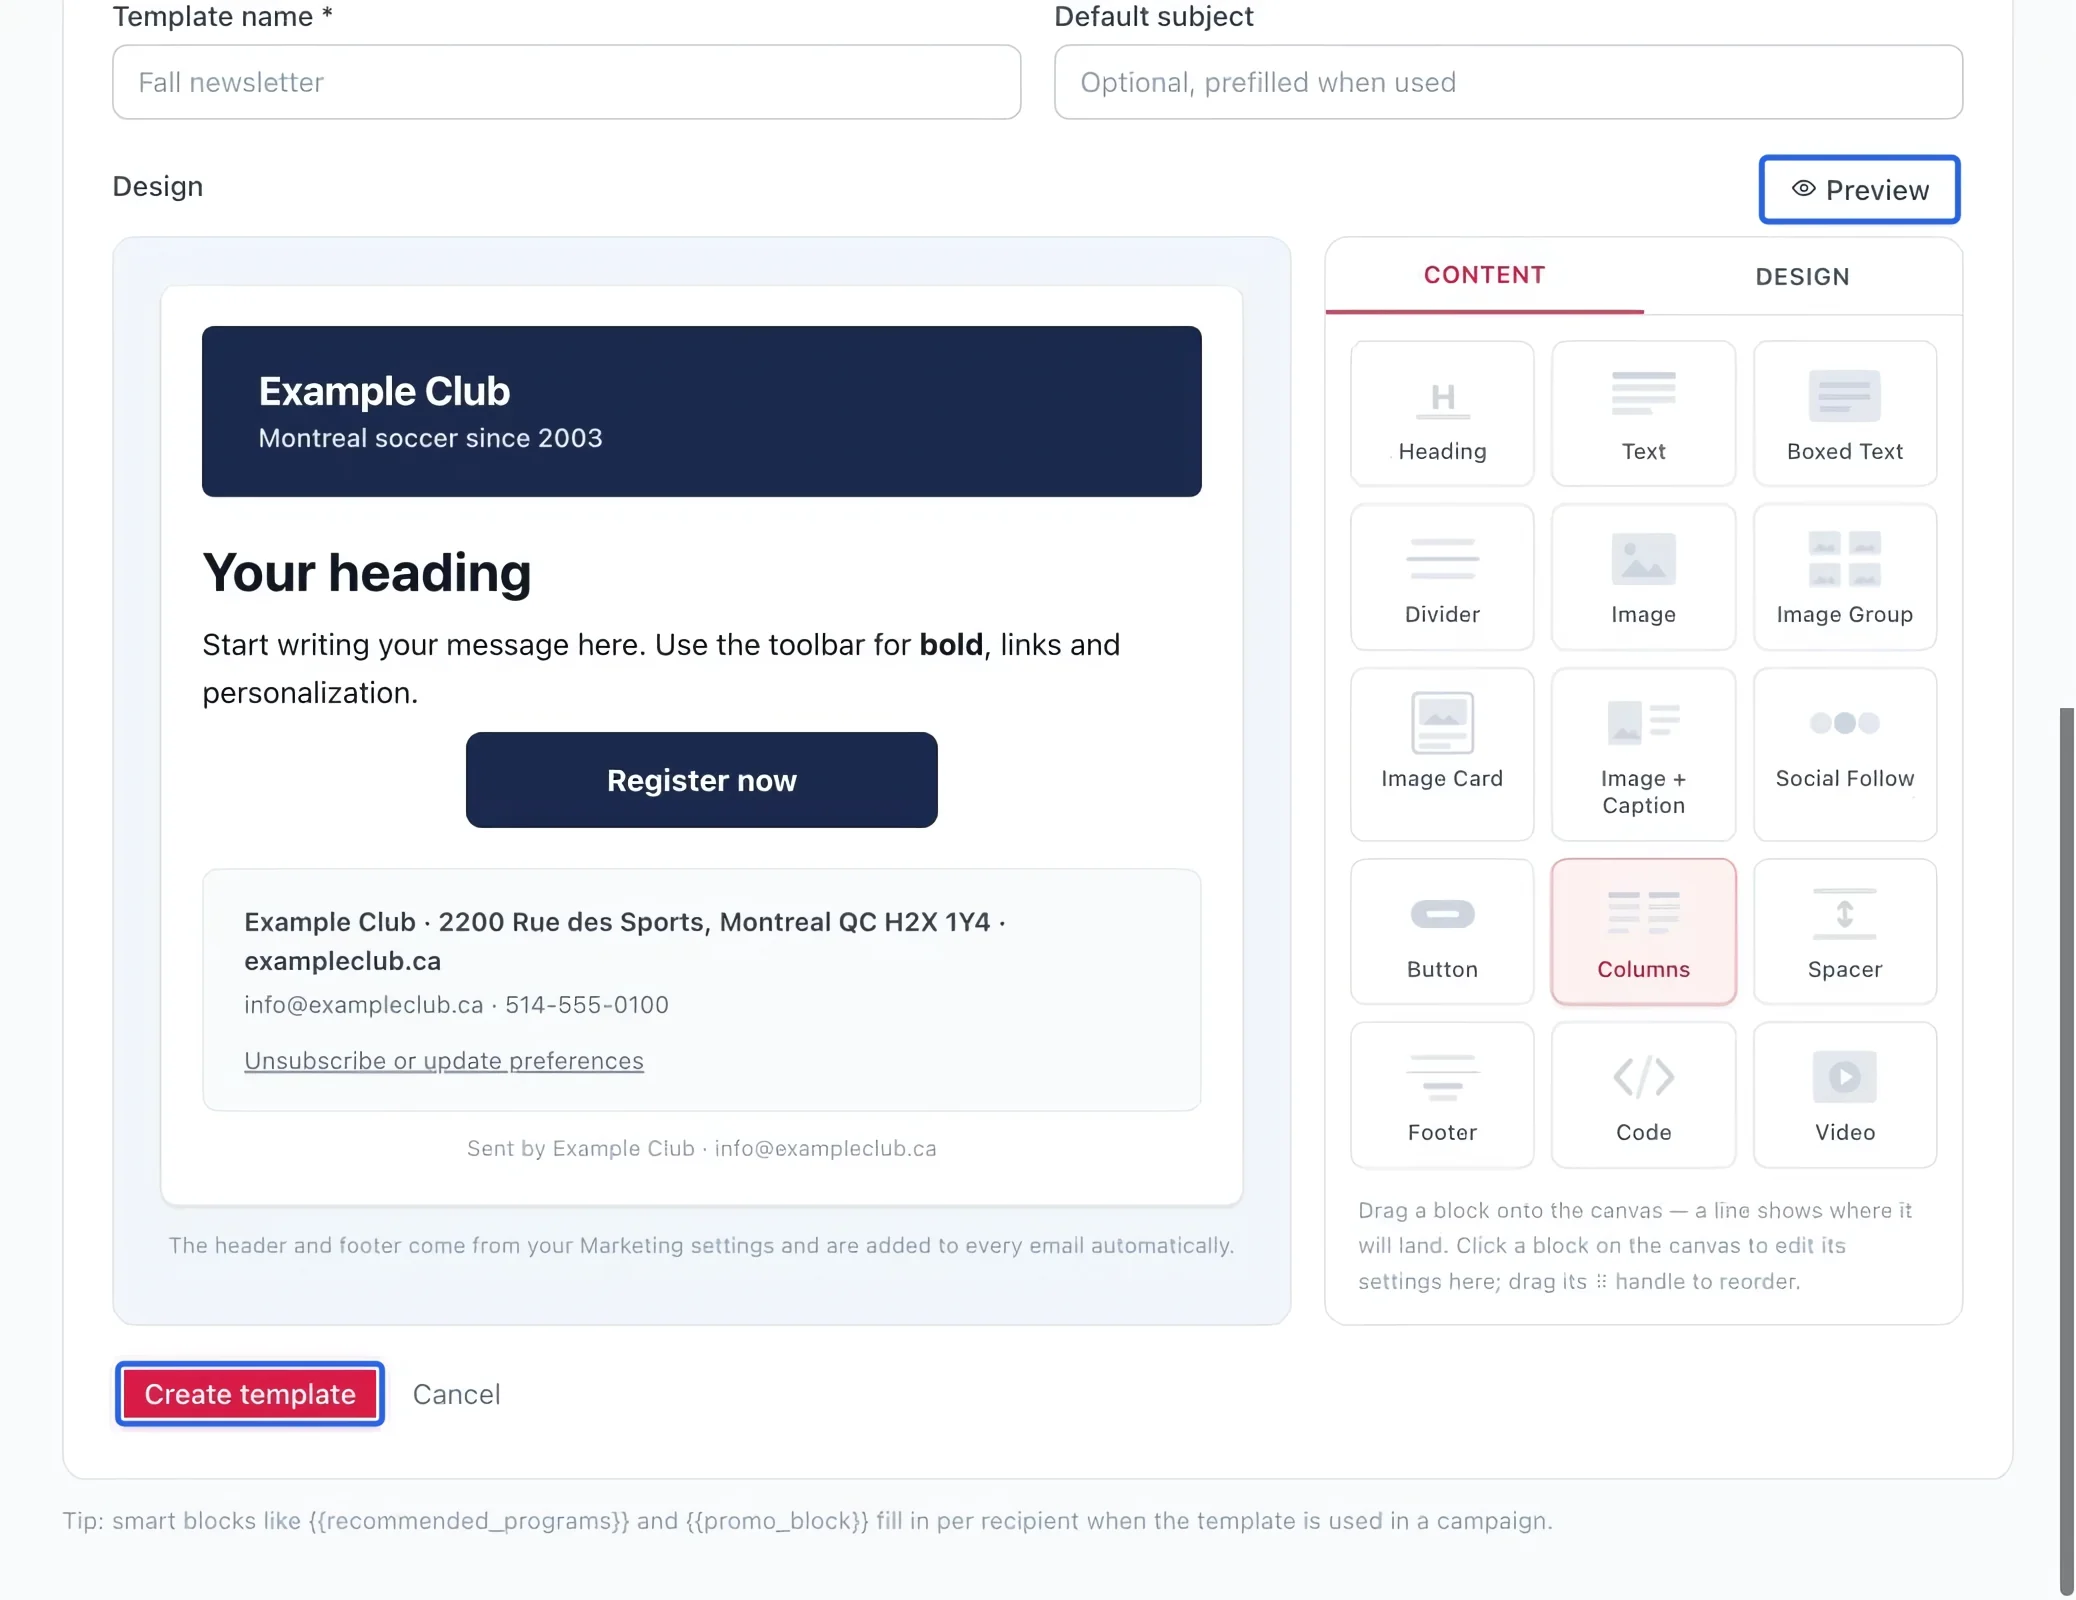
Enter Template name and an optional Default subject. Use a purpose-based name such as “Monthly newsletter”, rather than a single campaign date.
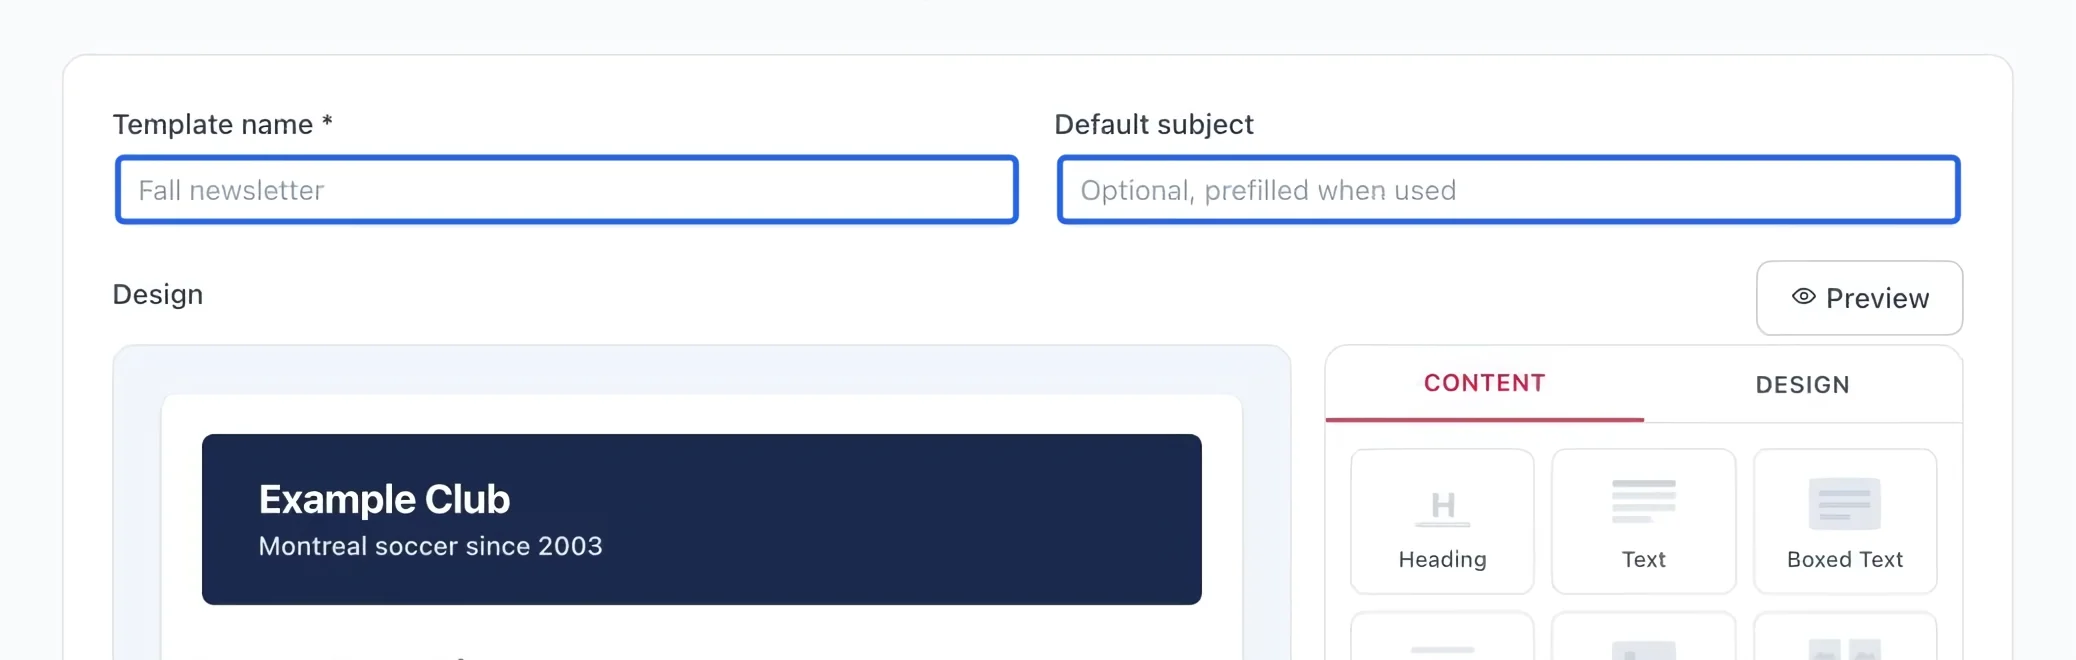
Select the screenshot to enlarge it. The blue outline marks the control to use.
- 3
Design the reusable content
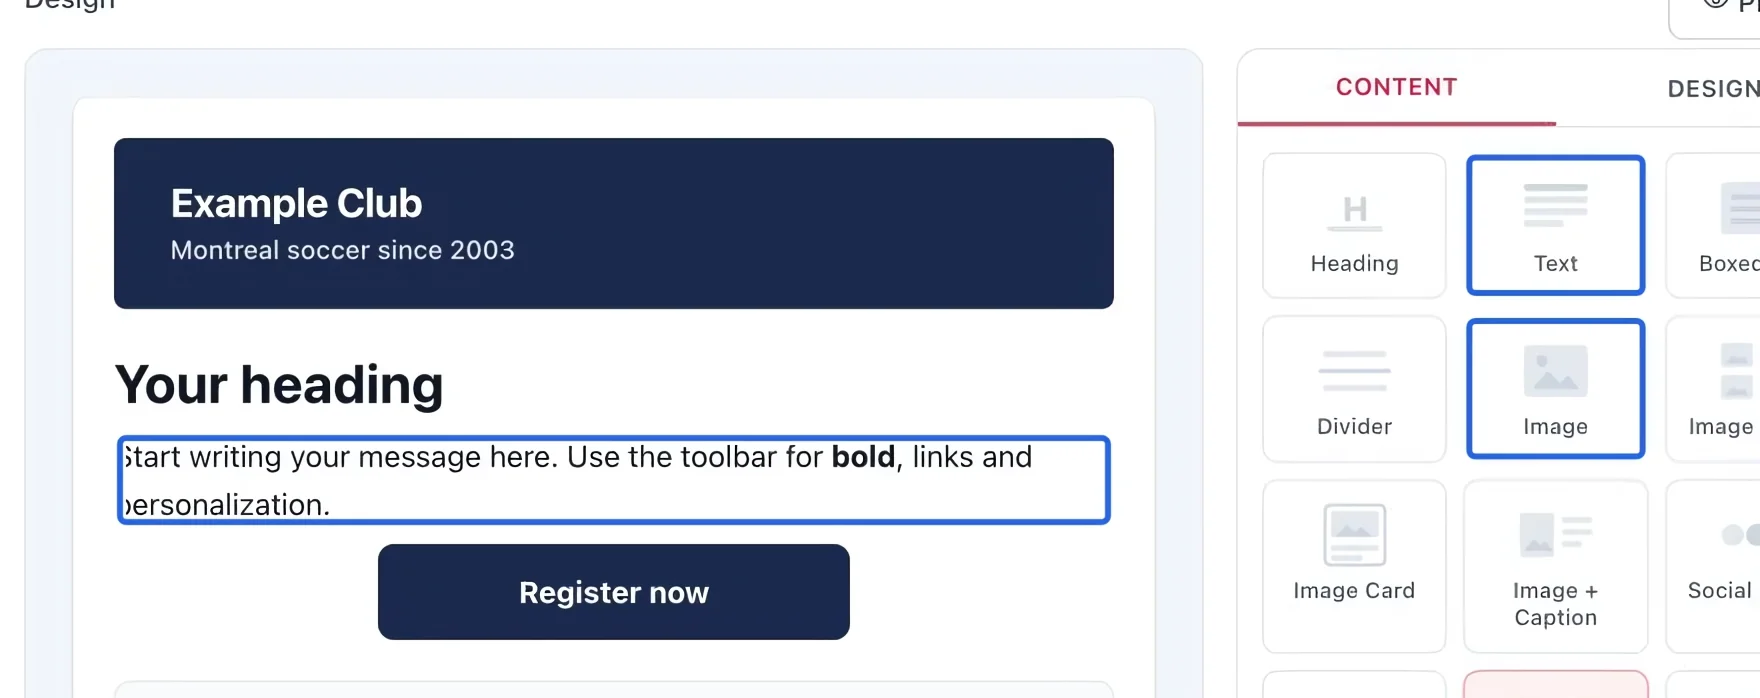
Use the block editor to add headings, text, images and a clear action button. Keep reusable wording here; change dates and event details in each campaign.
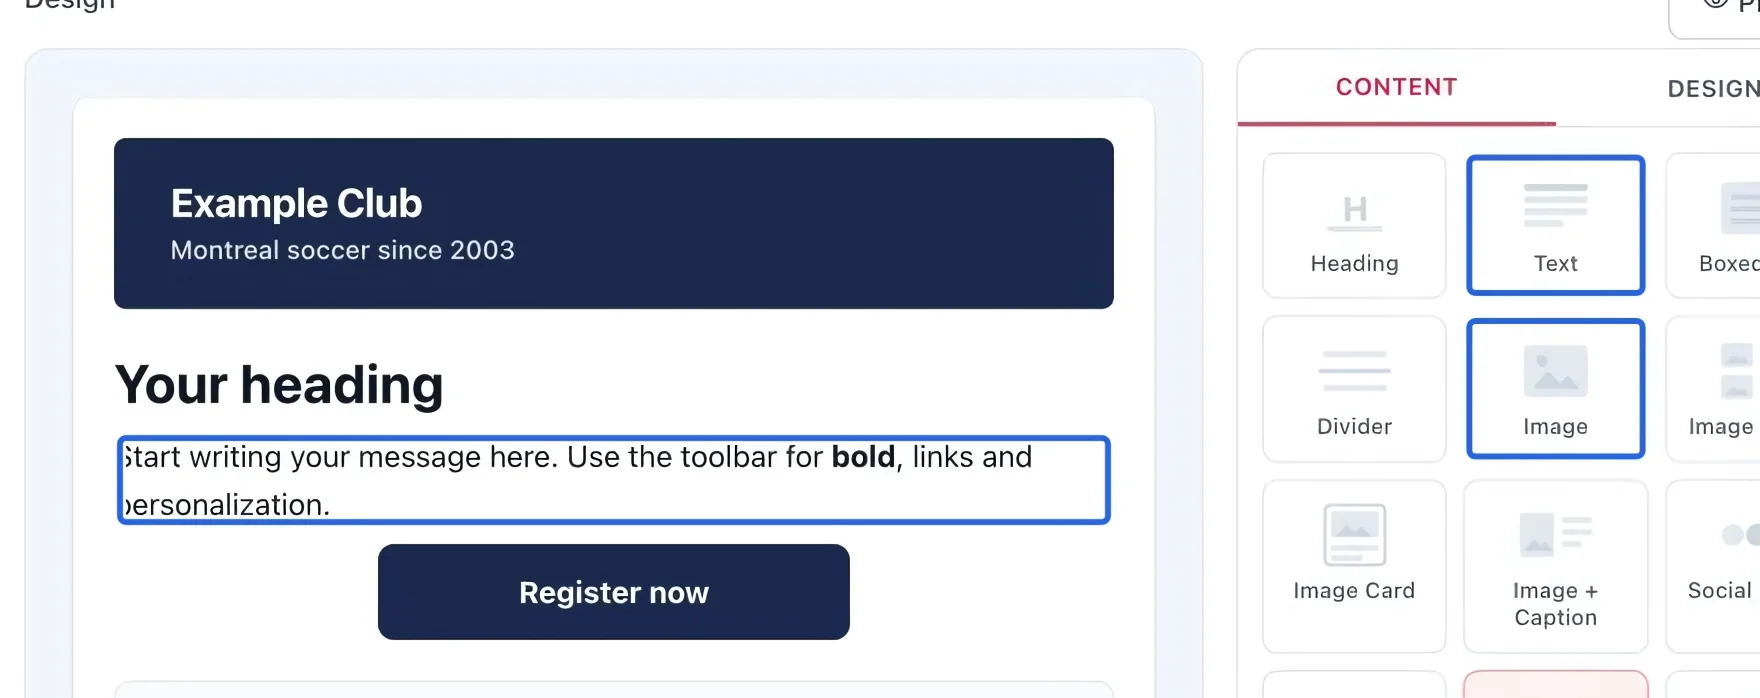
Select the screenshot to enlarge it. The blue outline marks the control to use.
- 4
Preview and save
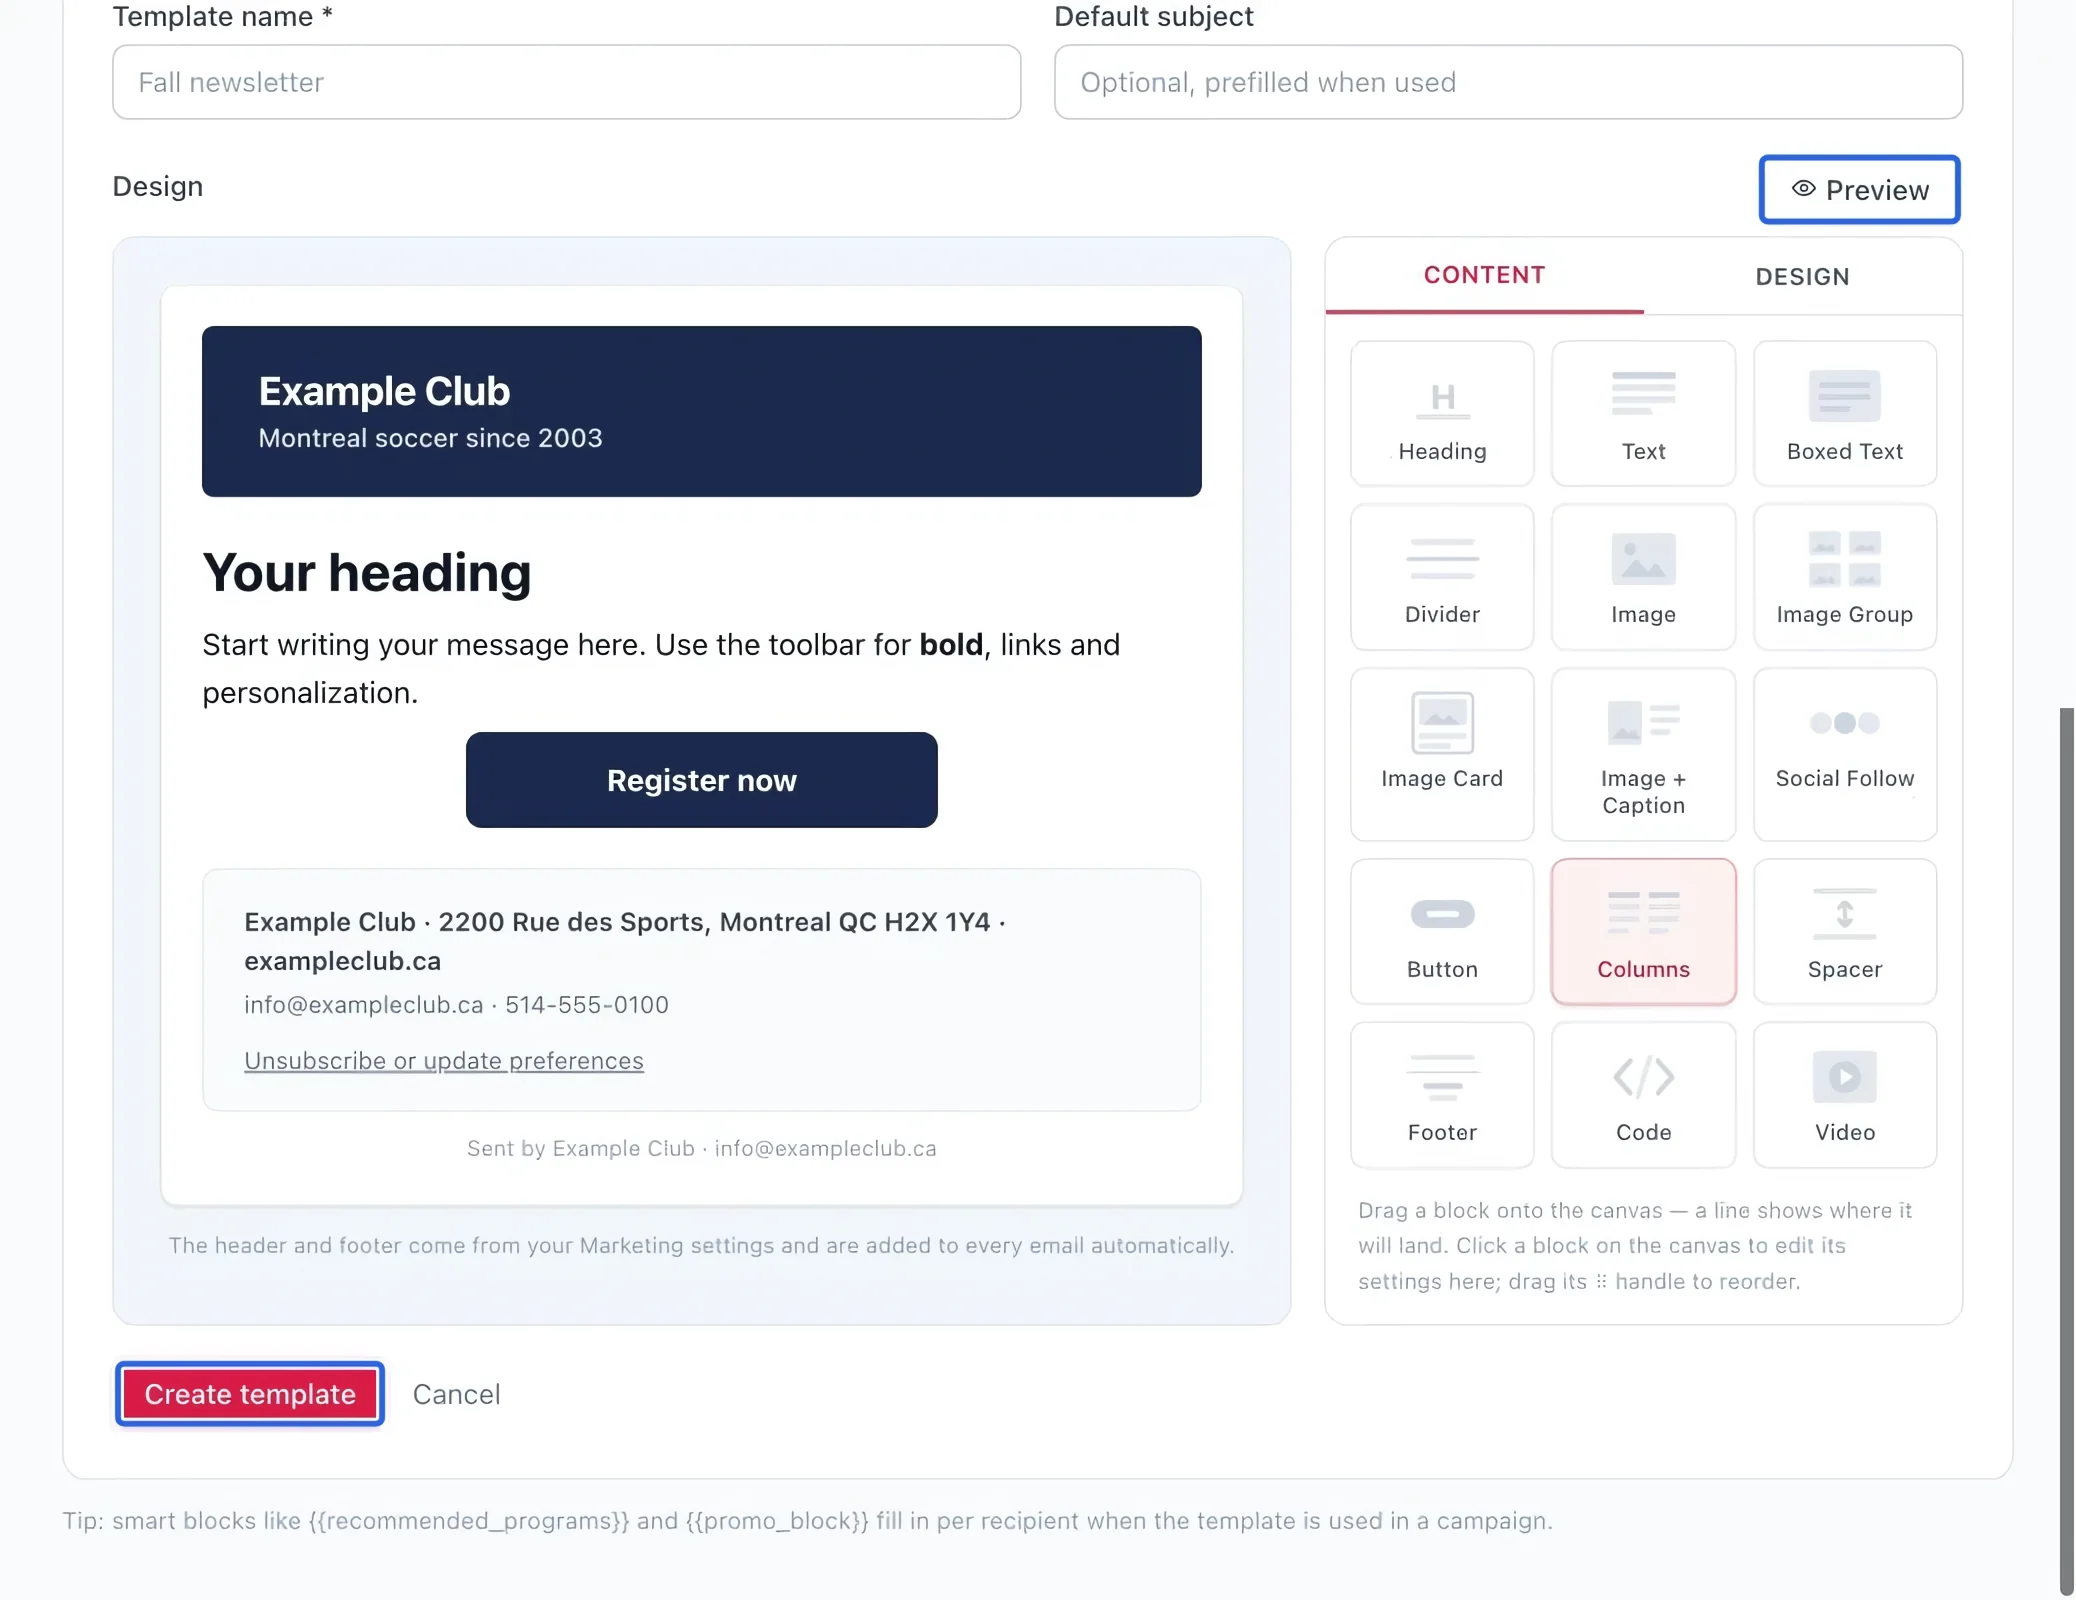
Click Preview to check the layout, then Create template. For an existing template, use its save action. Confirm it appears in the template library before starting a campaign from it.
Select the screenshot to enlarge it. The blue outline marks the control to use.
- 5
Review system emails separately
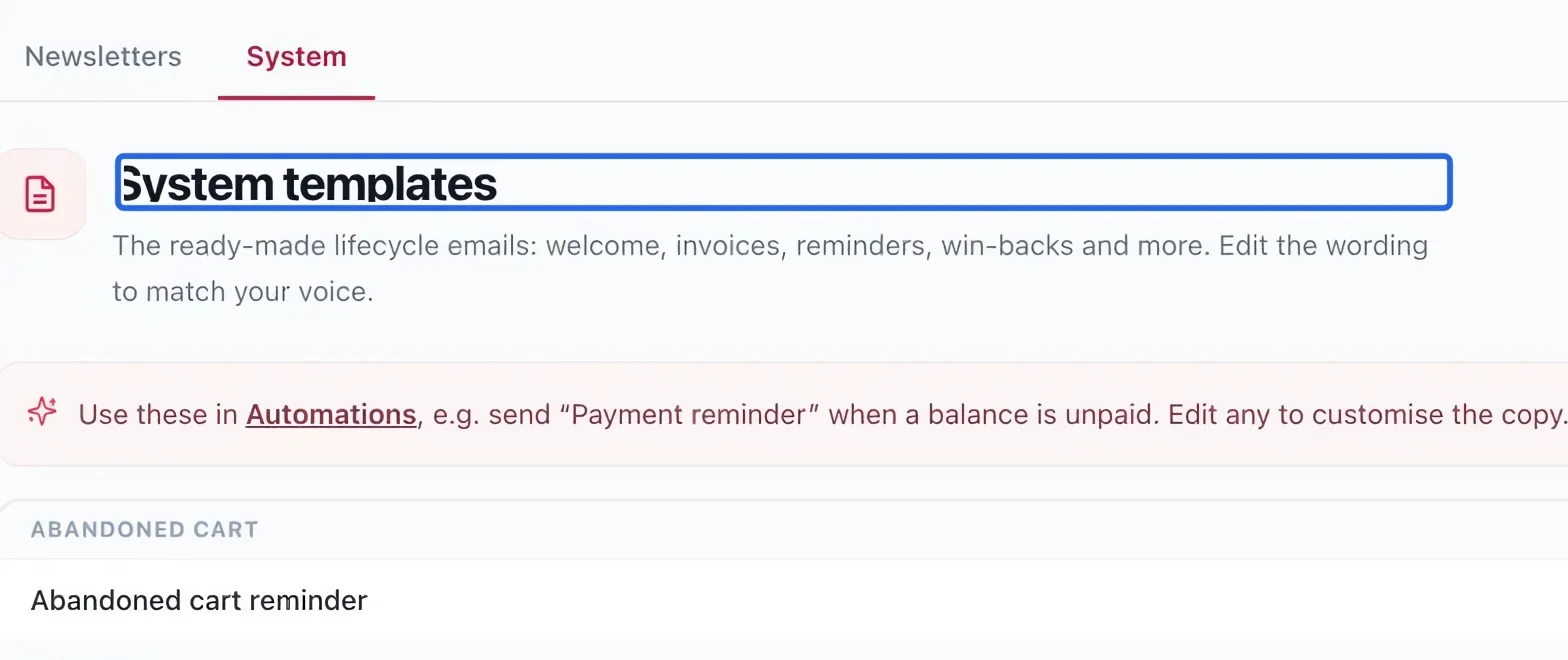
Open Templates → System for automatic transactional emails. Review each template’s purpose and preserve required payment or registration information when adjusting wording.
Select the screenshot to enlarge it. The blue outline marks the control to use.