Prepare the Relevé 24 export
Review service-year records and export the preparation file for authorized tax software.
- 1
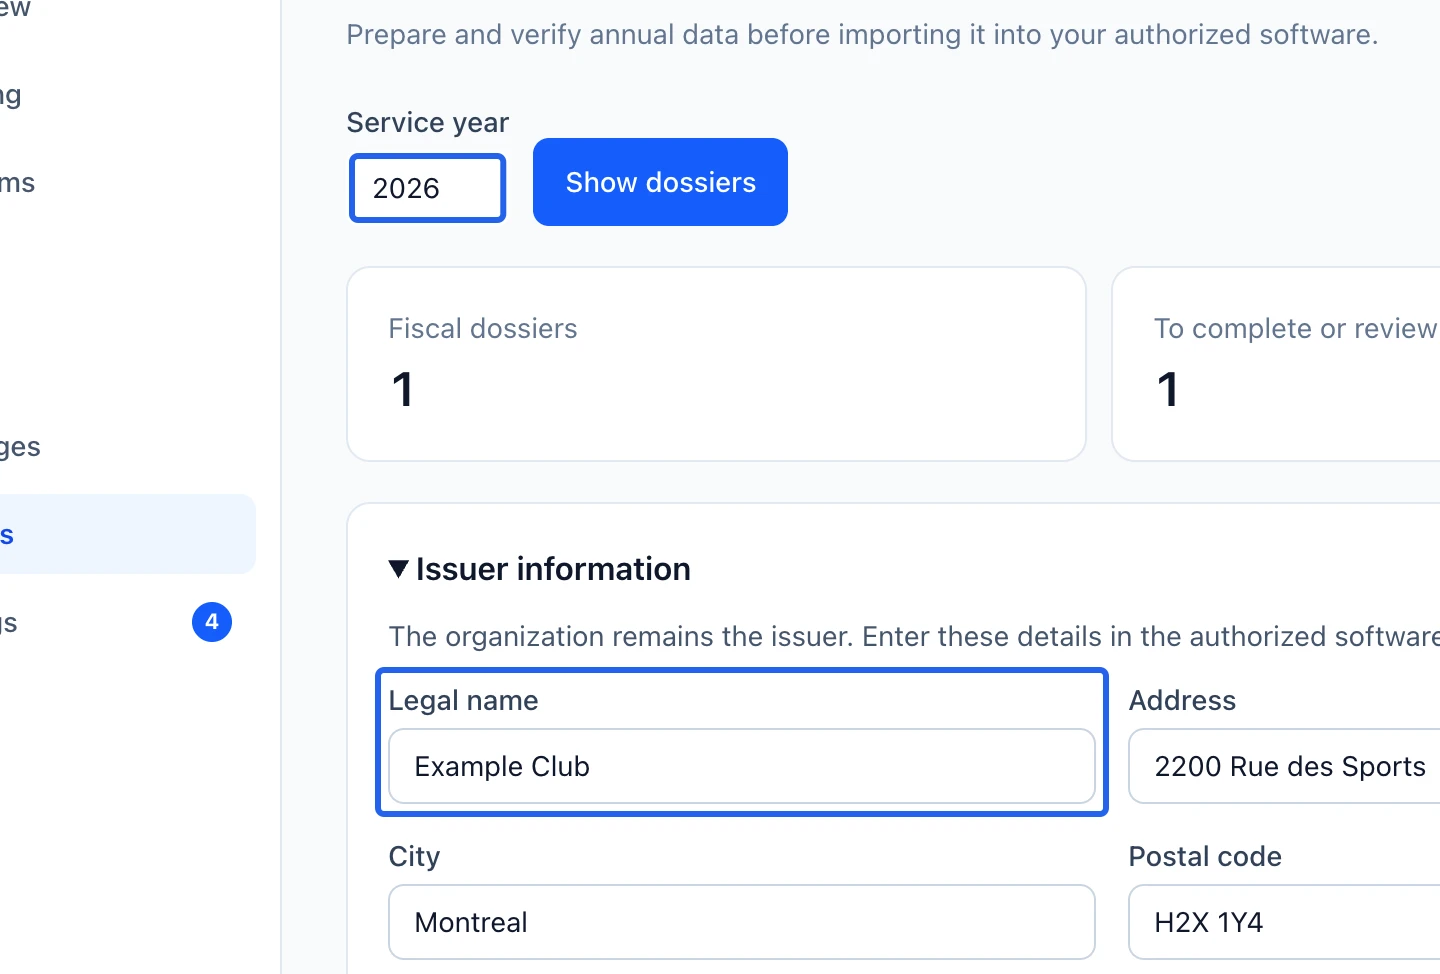
Select the service year and issuer
Open Relevé 24 with the required financial access. Select the service year and review the issuer information. The organization remains responsible for determining eligibility and preparing accurate fiscal records; this guide describes the platform workflow.
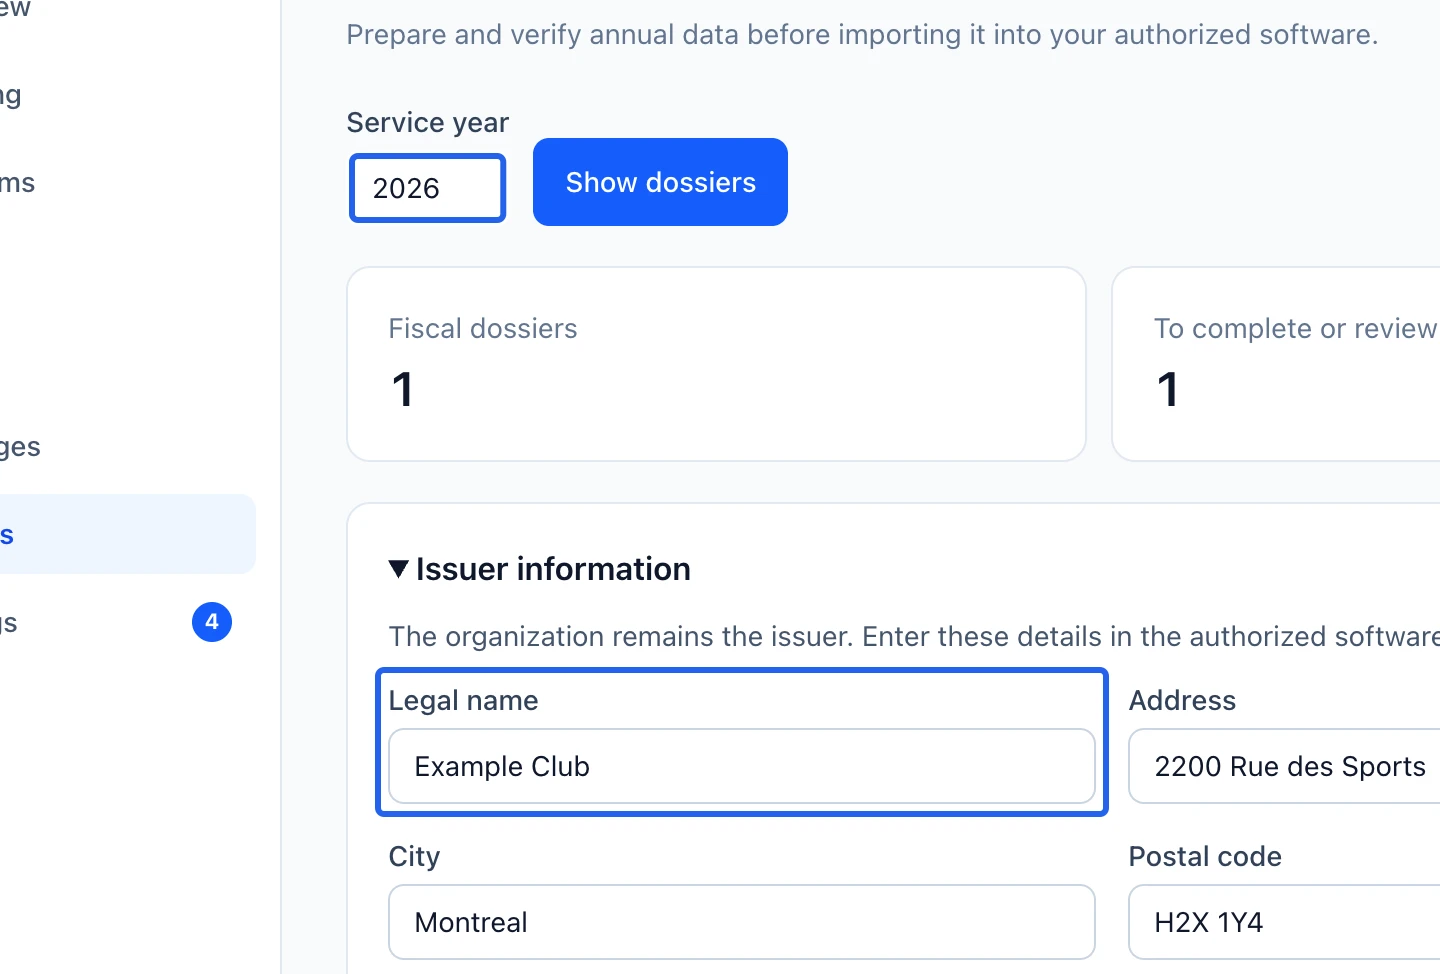
Select the screenshot to enlarge it. The blue outline marks the control to use.
- 2
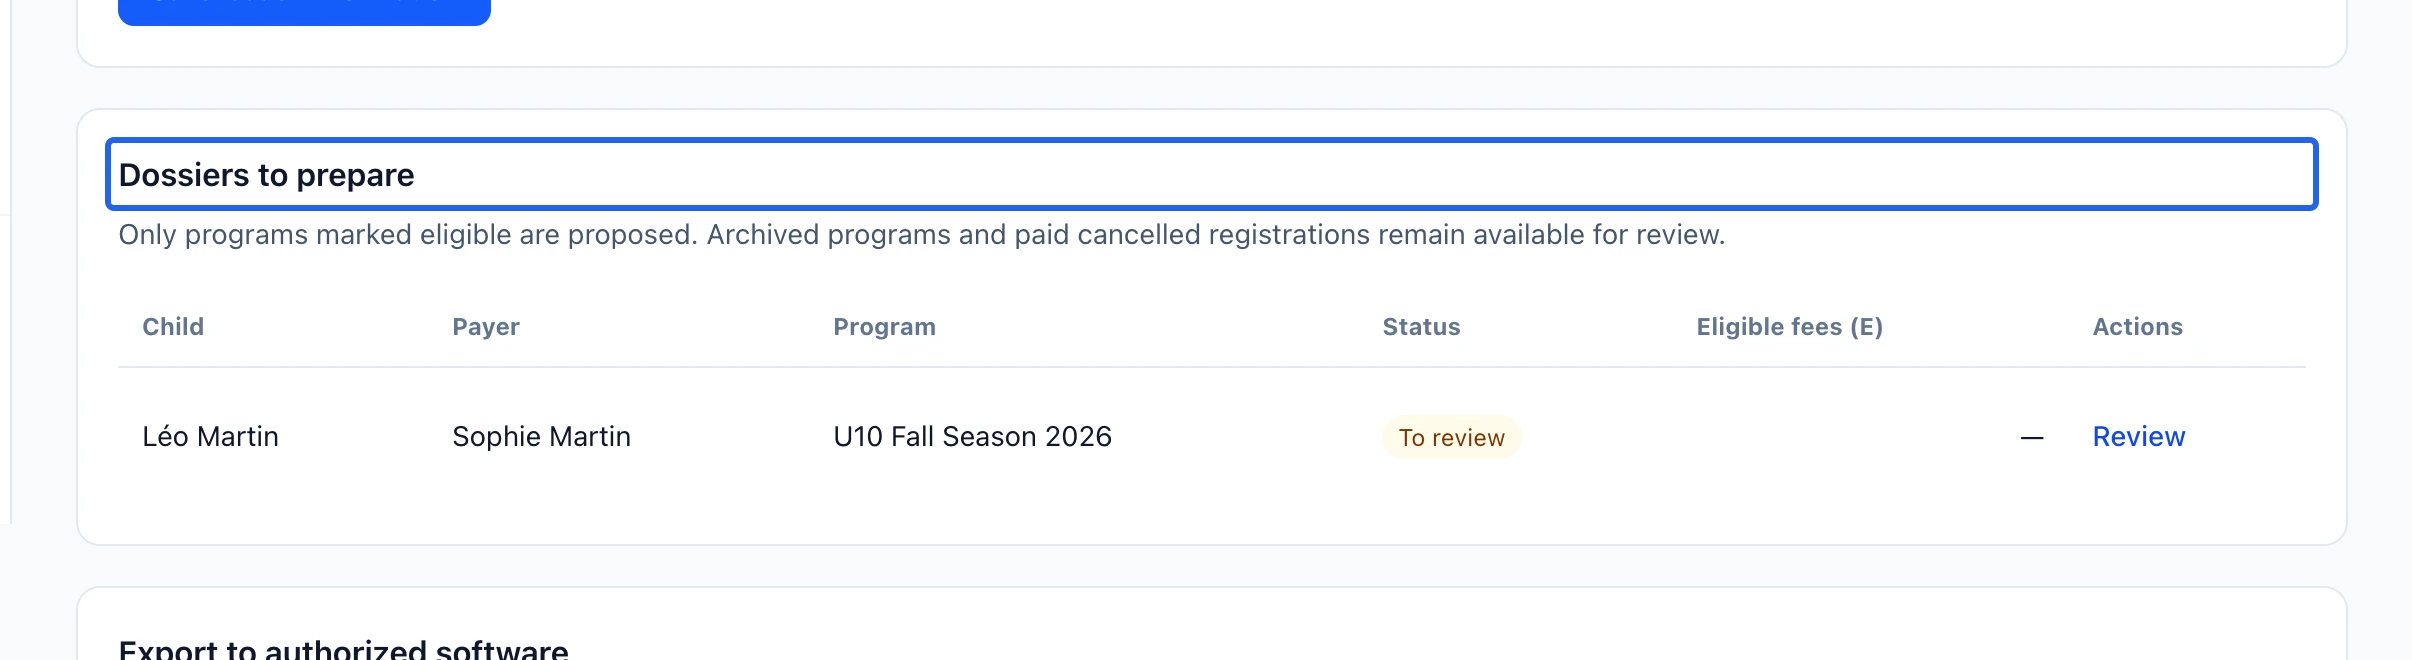
Review every eligible registration
Open Review for each dossier. Verify child and payer identity, service dates, payment sources, excluded fees and review notes. Resolve the displayed issues rather than assuming that a paid registration is fully eligible. The payer saves their own SIN securely in their account profile.
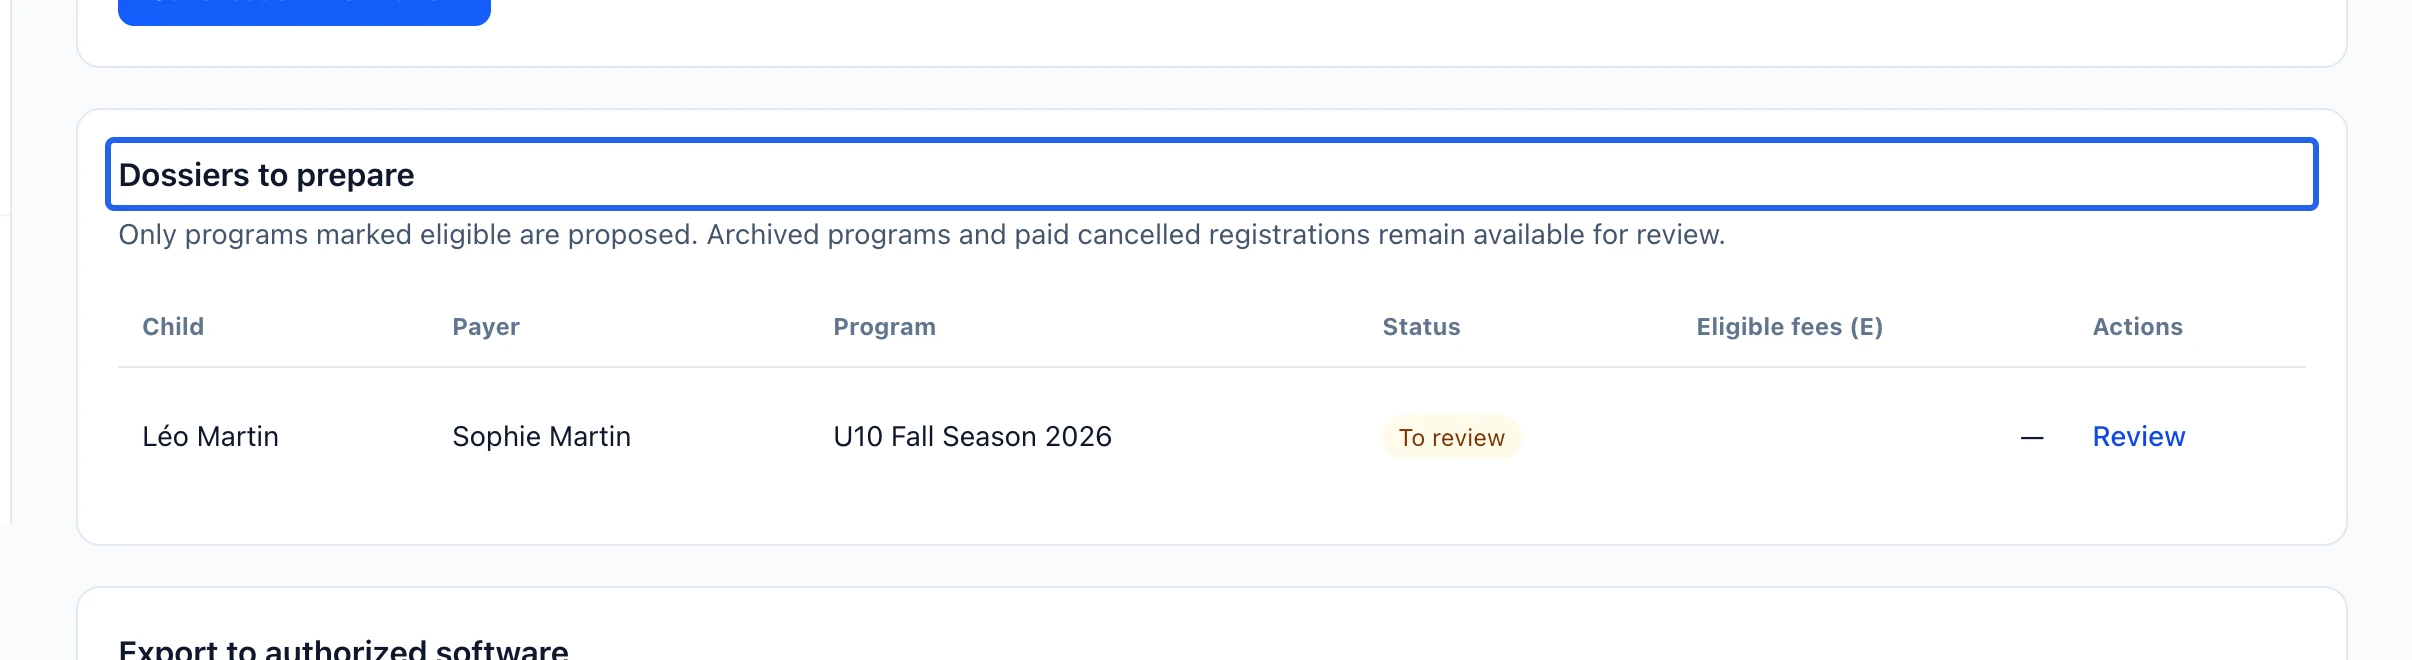
Select the screenshot to enlarge it. The blue outline marks the control to use.
- 3
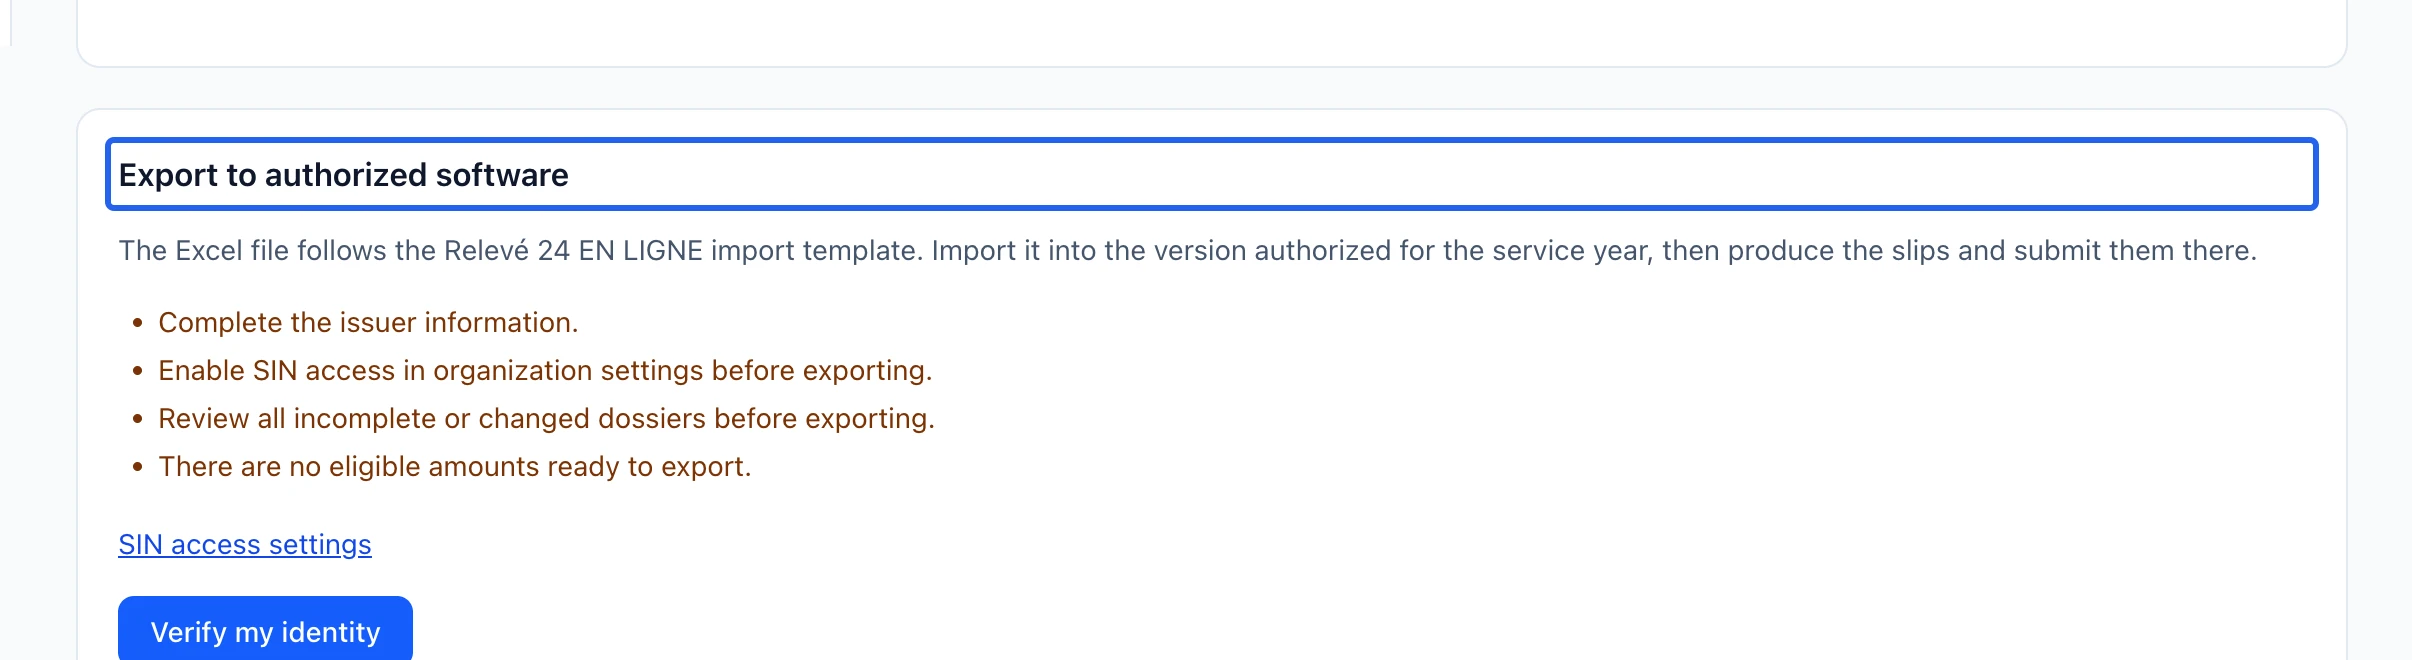
Export after identity verification
Review the consolidated child/payer rows and totals. Complete the identity verification required for protected fiscal access, then use the offered Excel export. Import it into the authorized software version for the service year and produce/transmit the slips there. Ubouk’s export is not a tax transmission.
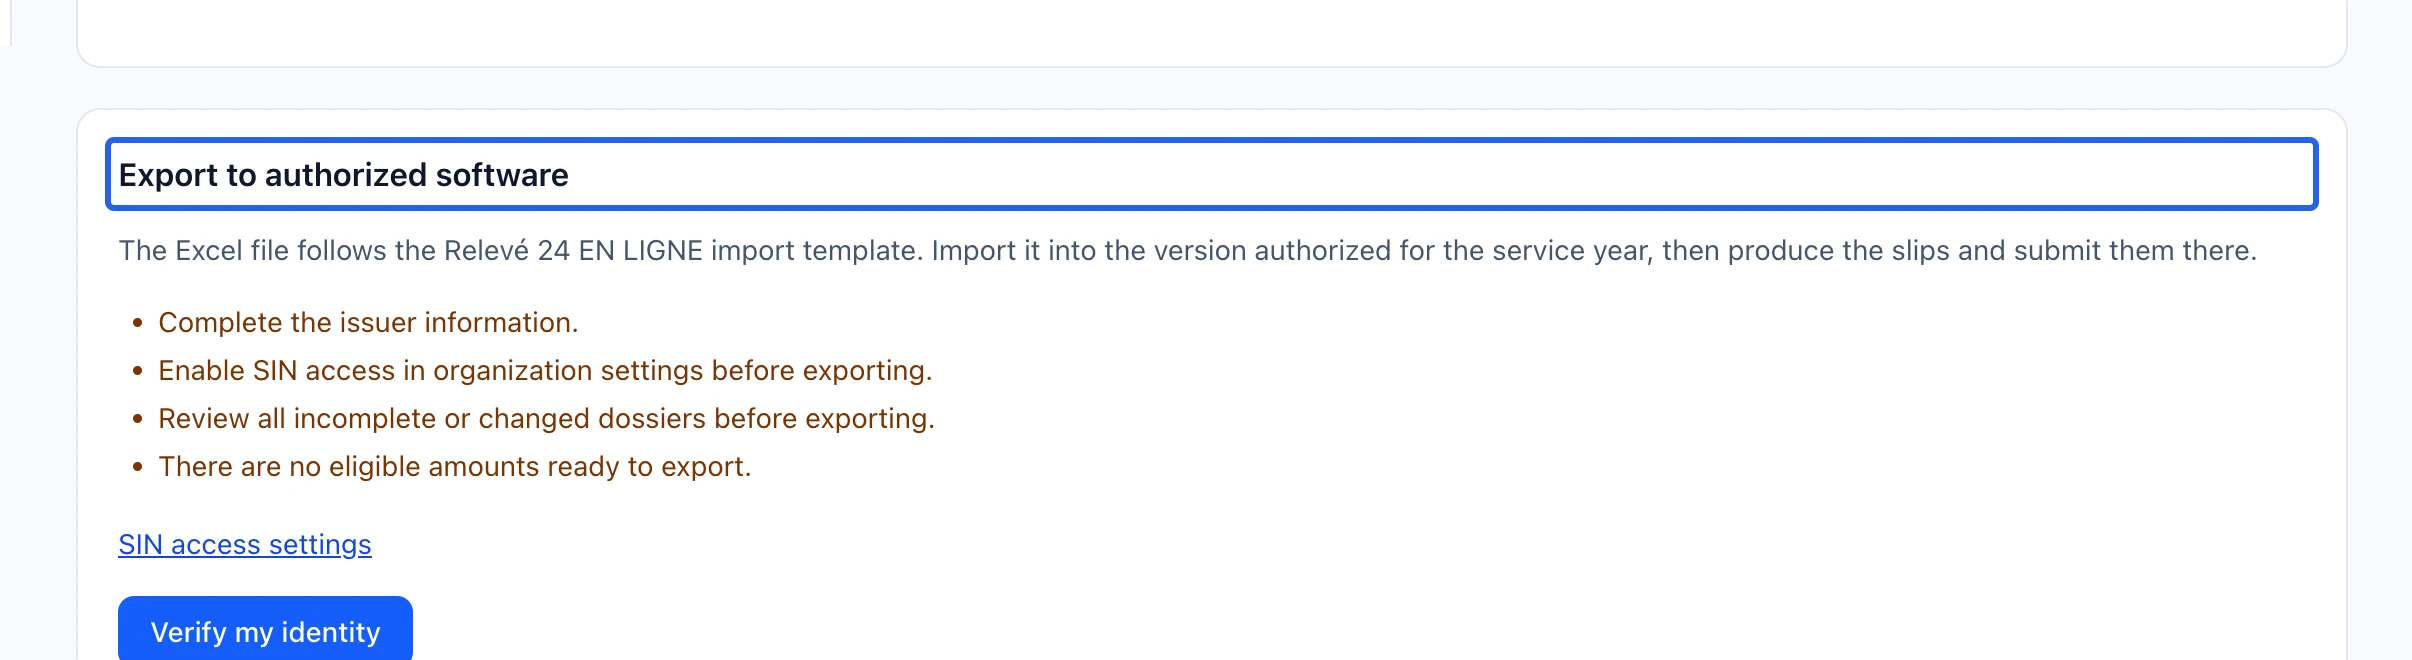
Select the screenshot to enlarge it. The blue outline marks the control to use.
- 4
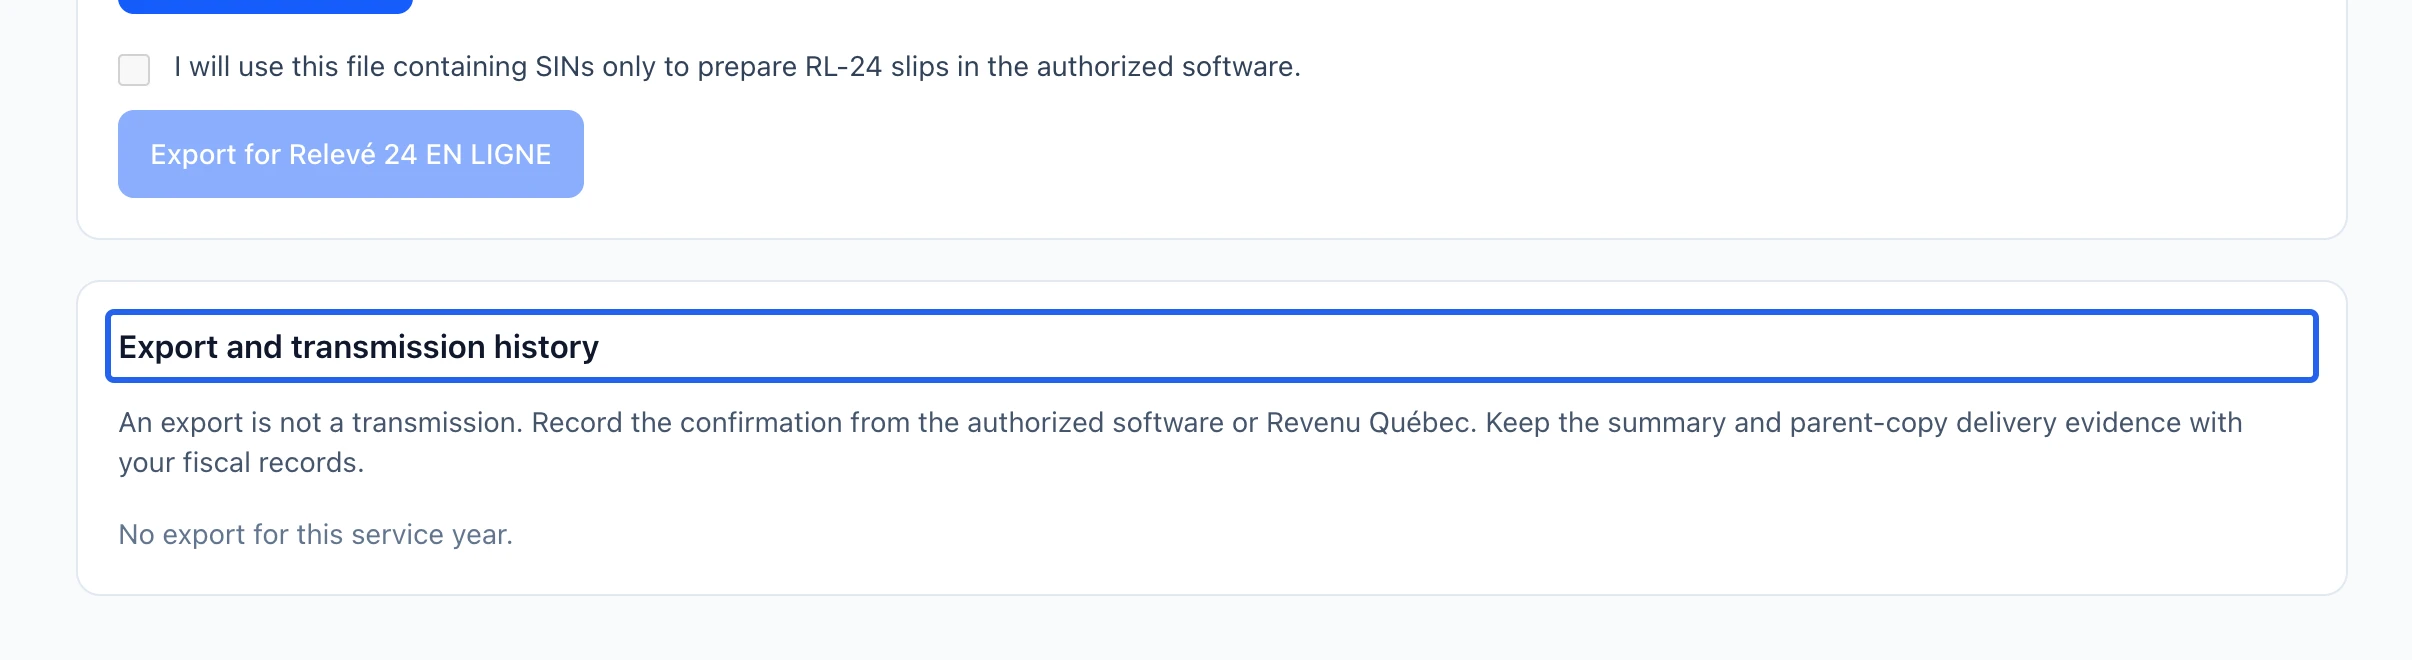
Record the external confirmation
After successful external transmission, record its confirmation reference in the export history and retain the supporting evidence. If the year has already been transmitted, follow the correction workflow and prepare amended slips in the authorized software.
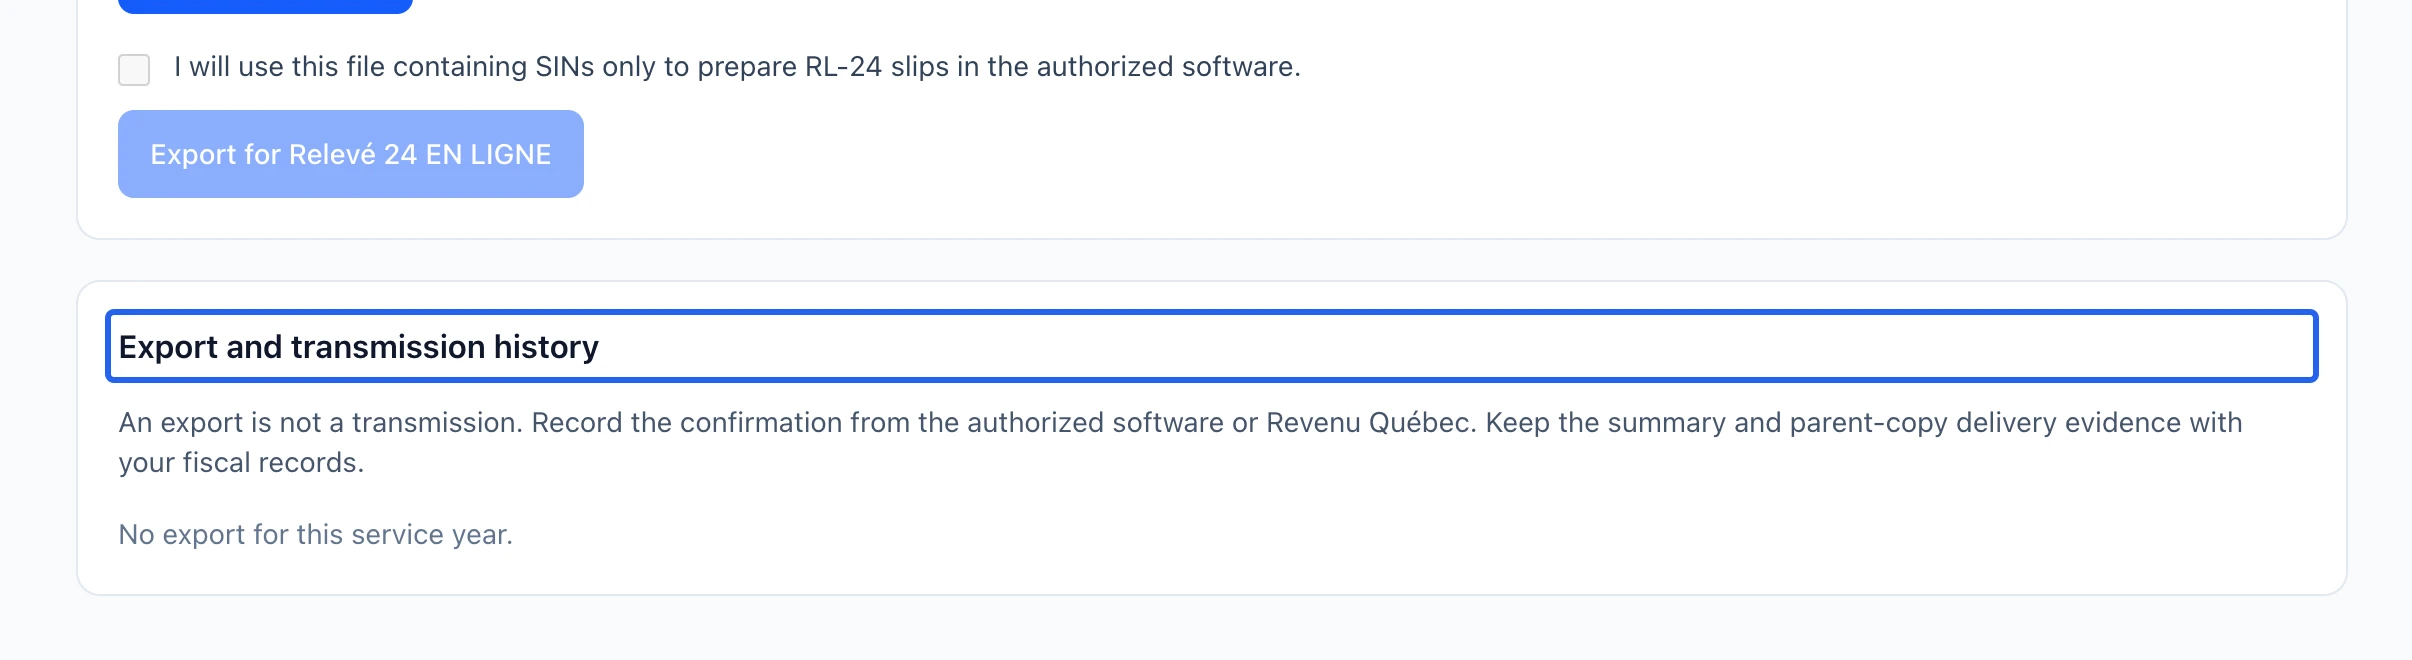
Select the screenshot to enlarge it. The blue outline marks the control to use.