
Build and publish a schedule
Create a shift, check its employee and times, resolve conflicts, then publish the week.
- 1
Choose the week
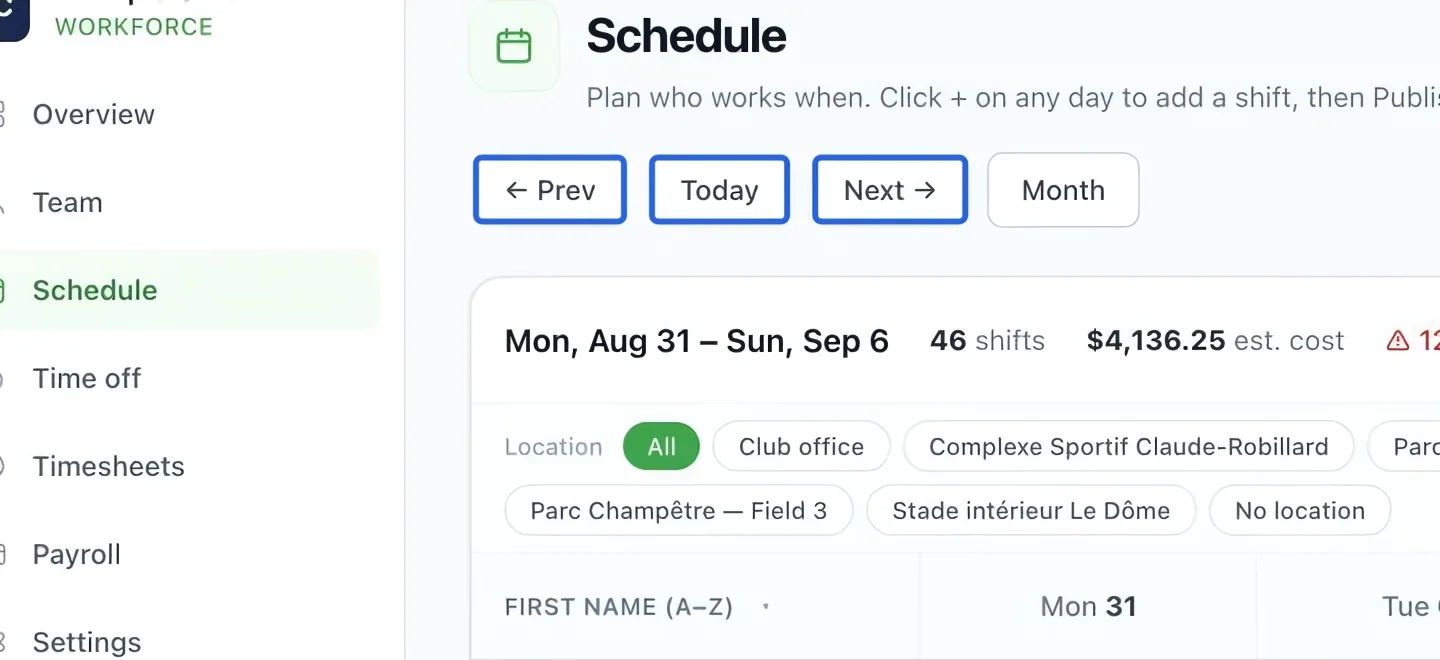
Open Workforce → Schedule. Use the week navigation and check the date range before adding shifts. Draft shifts must be published before staff can see them.
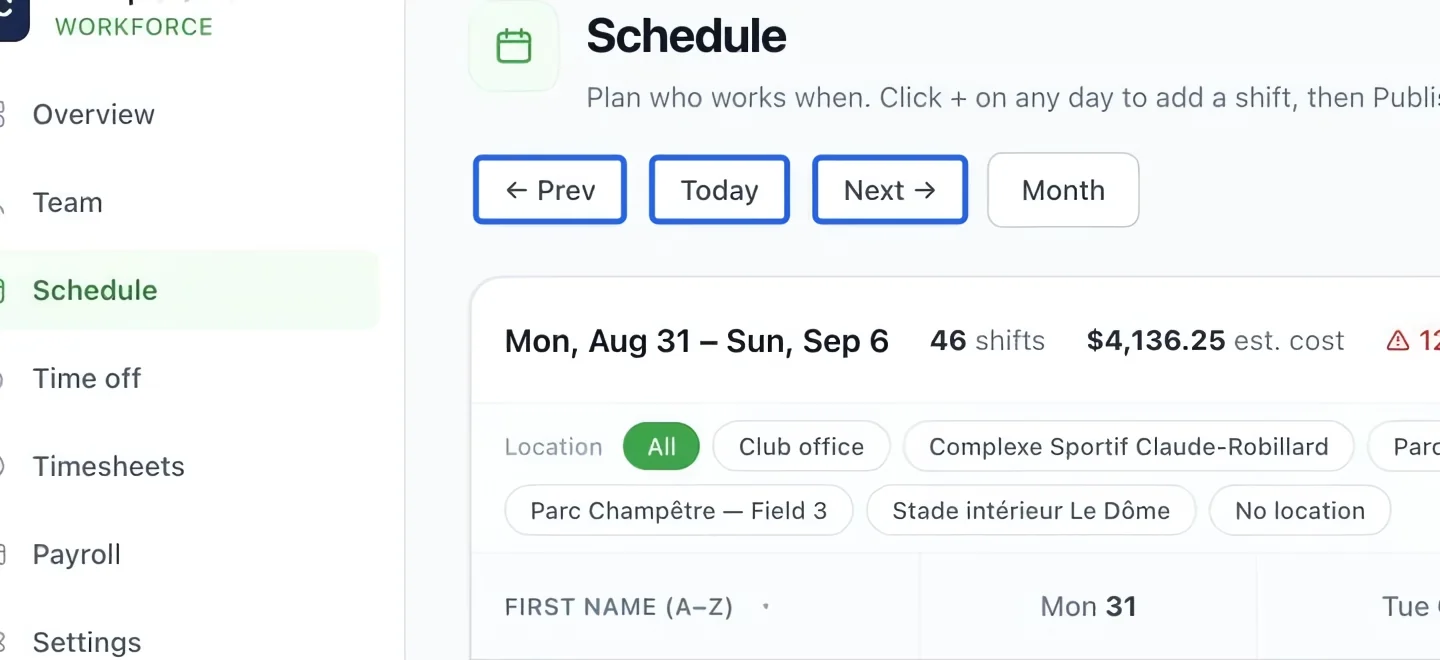
Select the screenshot to enlarge it. The blue outline marks the control to use.
- 2
Open the shift form
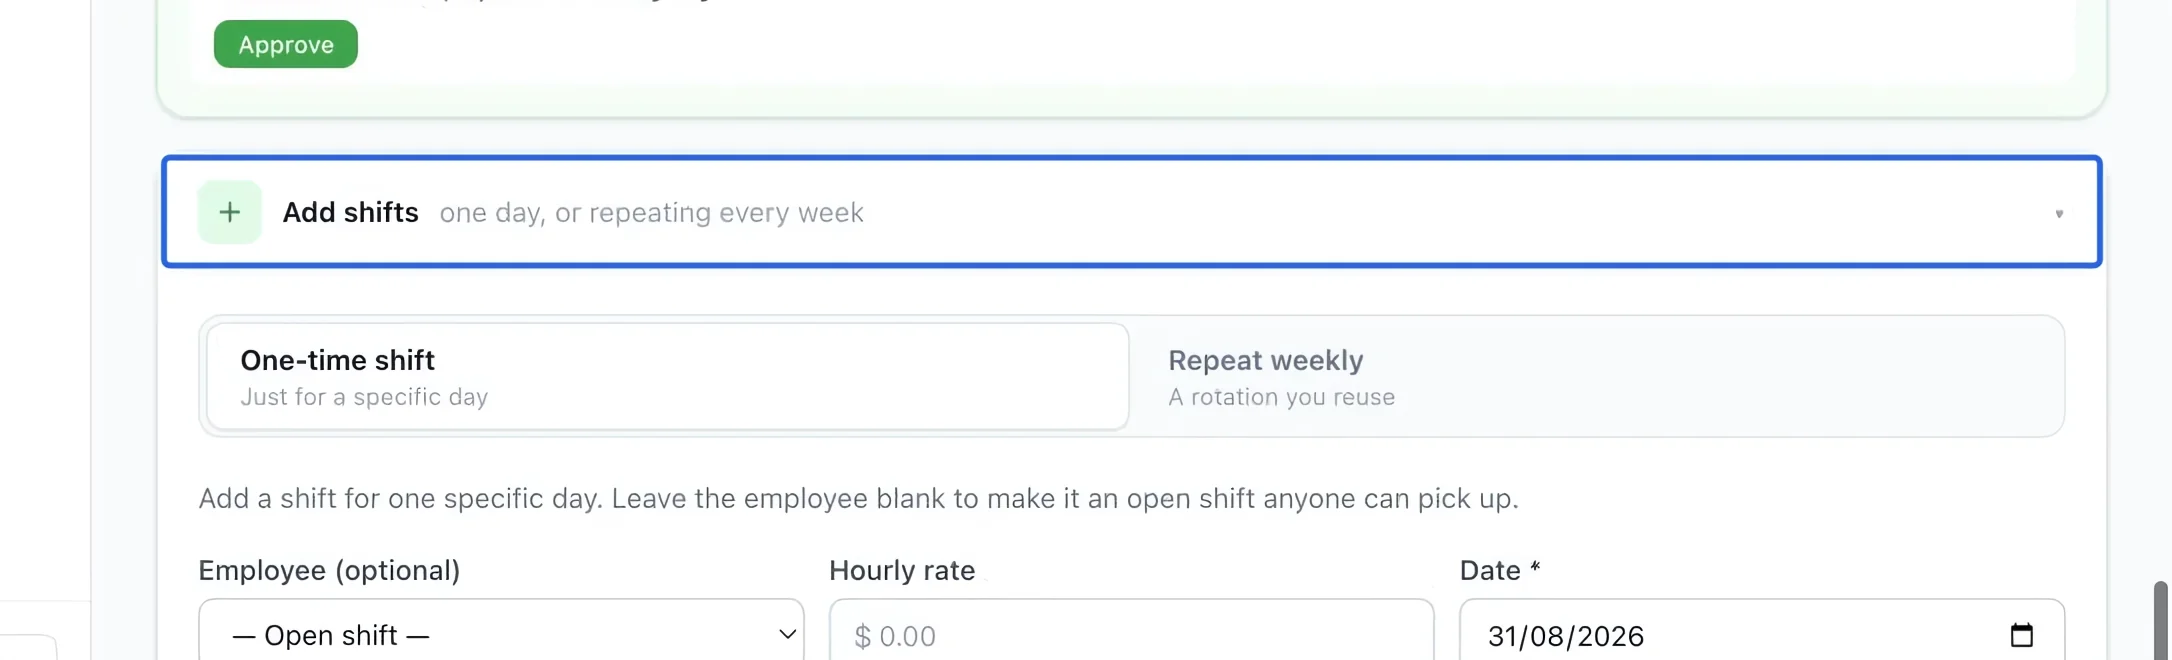
Expand Add shifts and choose One-time shift for a single date. Use the repeating option only when the same pattern should recur.
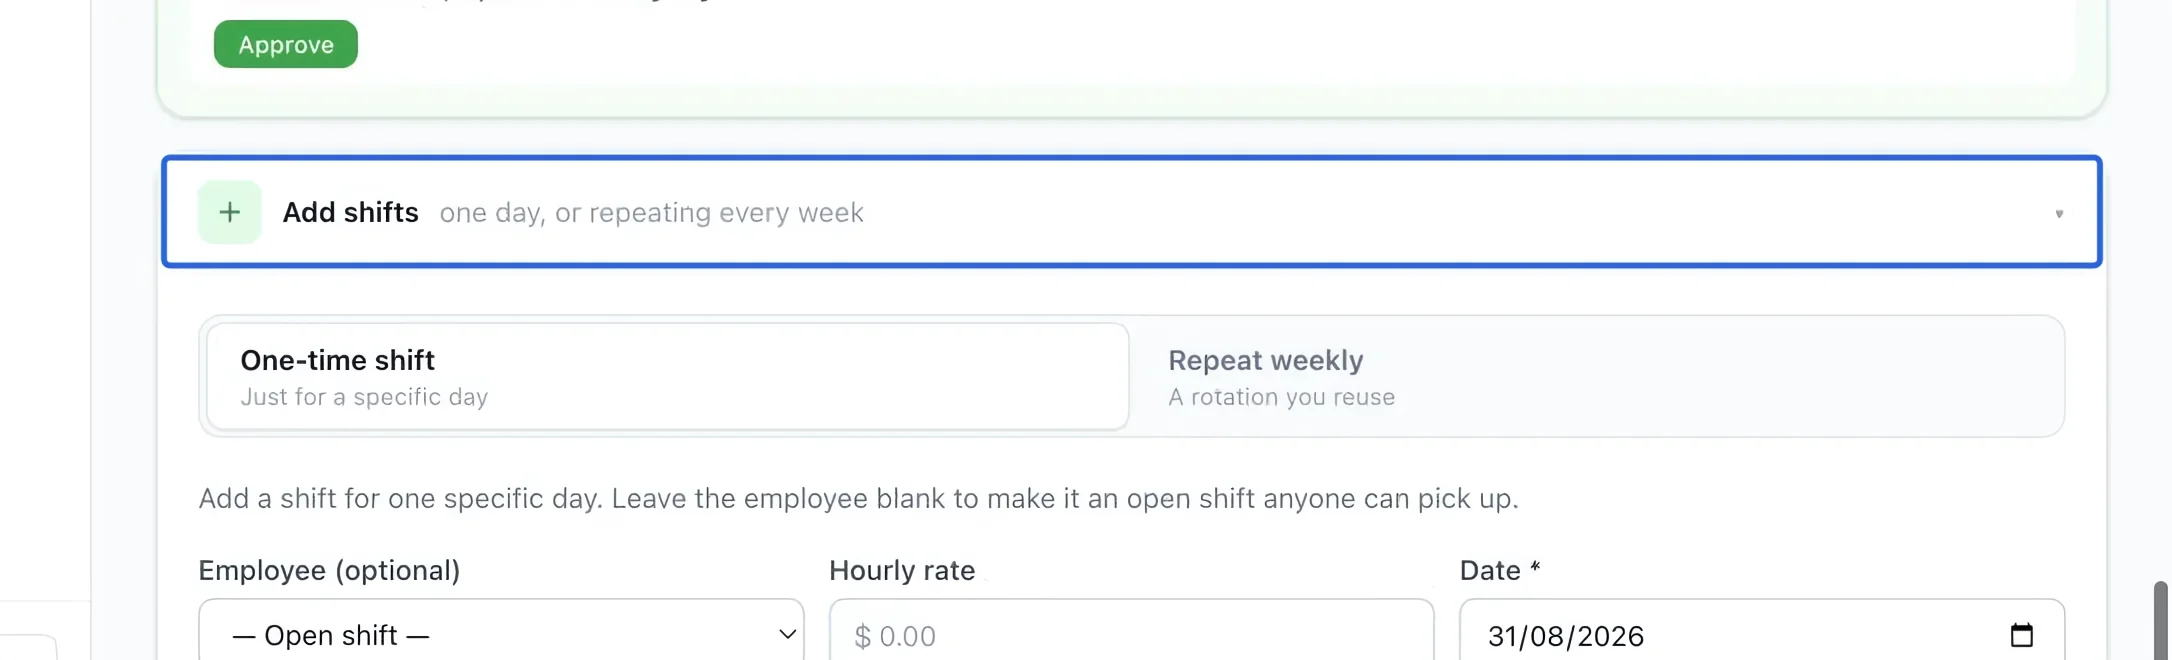
Select the screenshot to enlarge it. The blue outline marks the control to use.
- 3
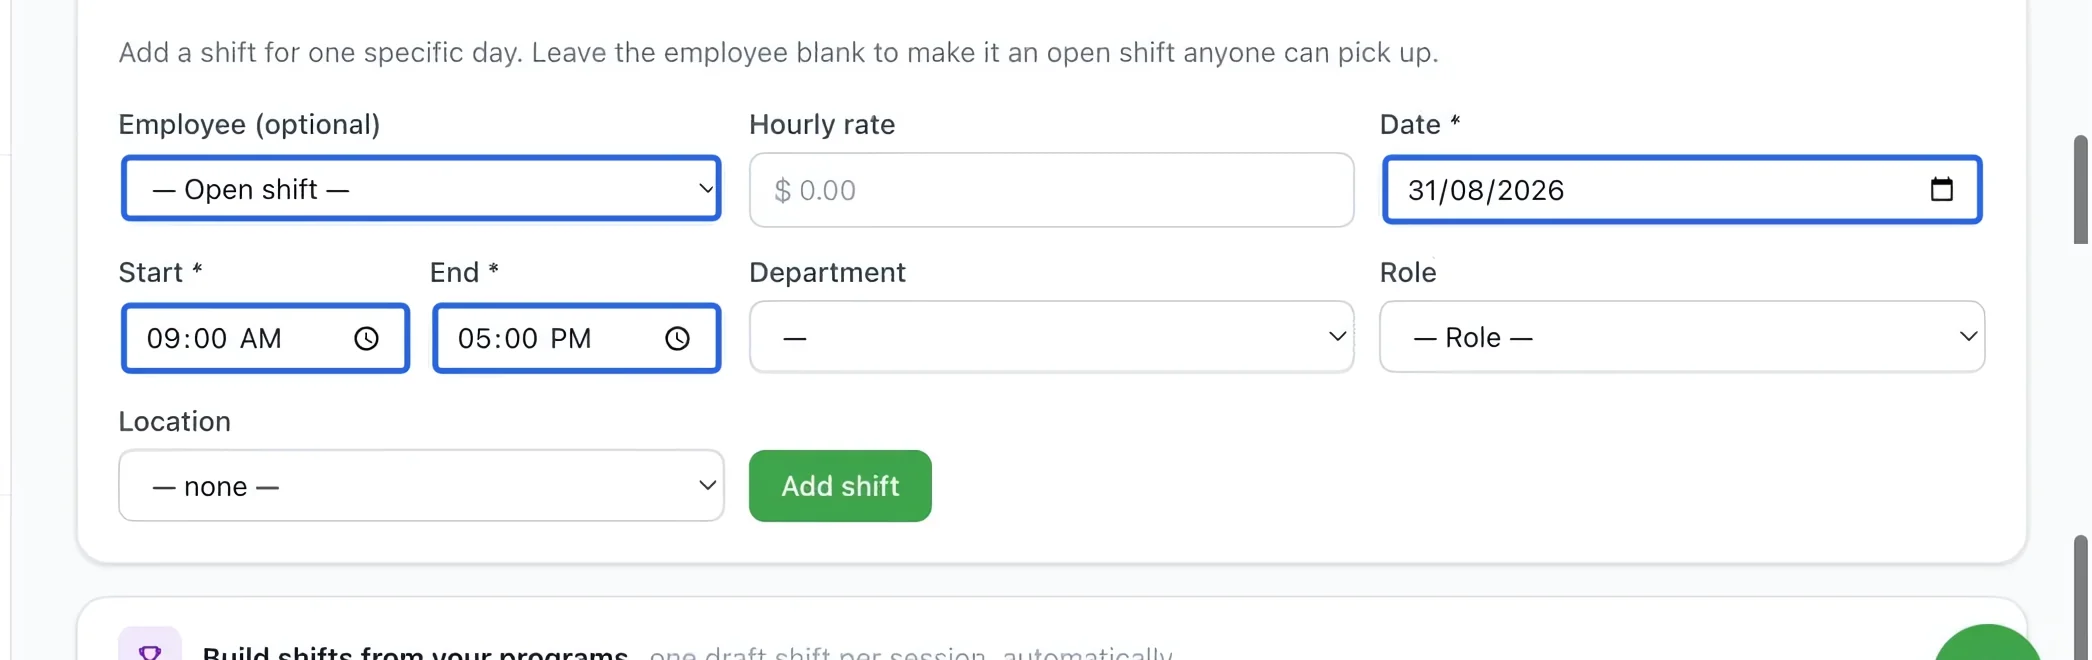
Set the person and time
Select the employee, date, start time and end time. Leave the employee as Open shift only when you intend to assign it later. Review any hourly-rate override.
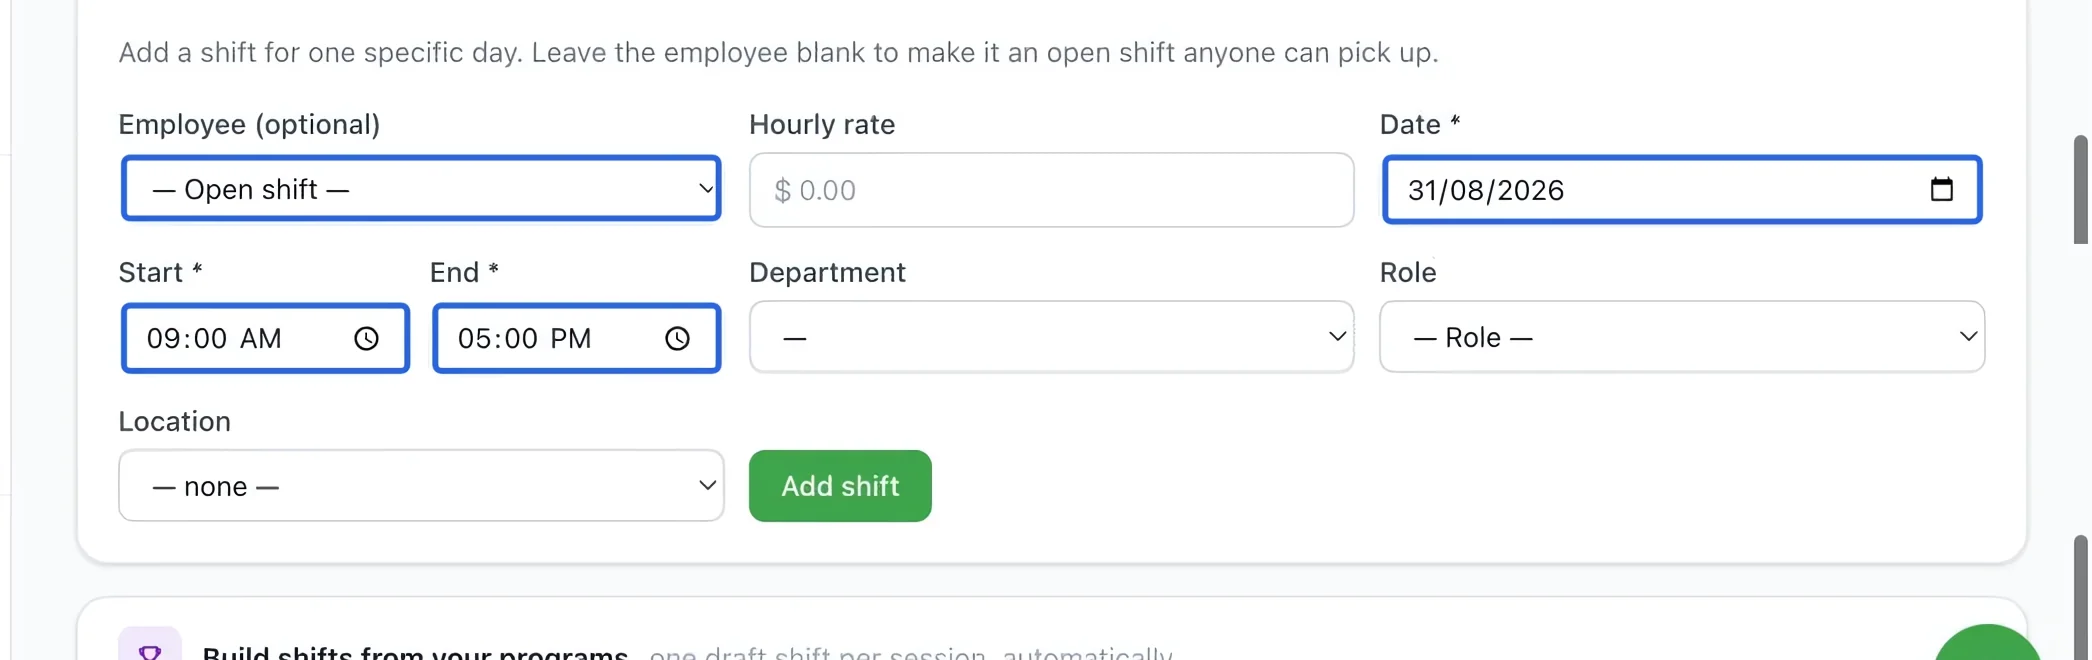
Select the screenshot to enlarge it. The blue outline marks the control to use.
- 4
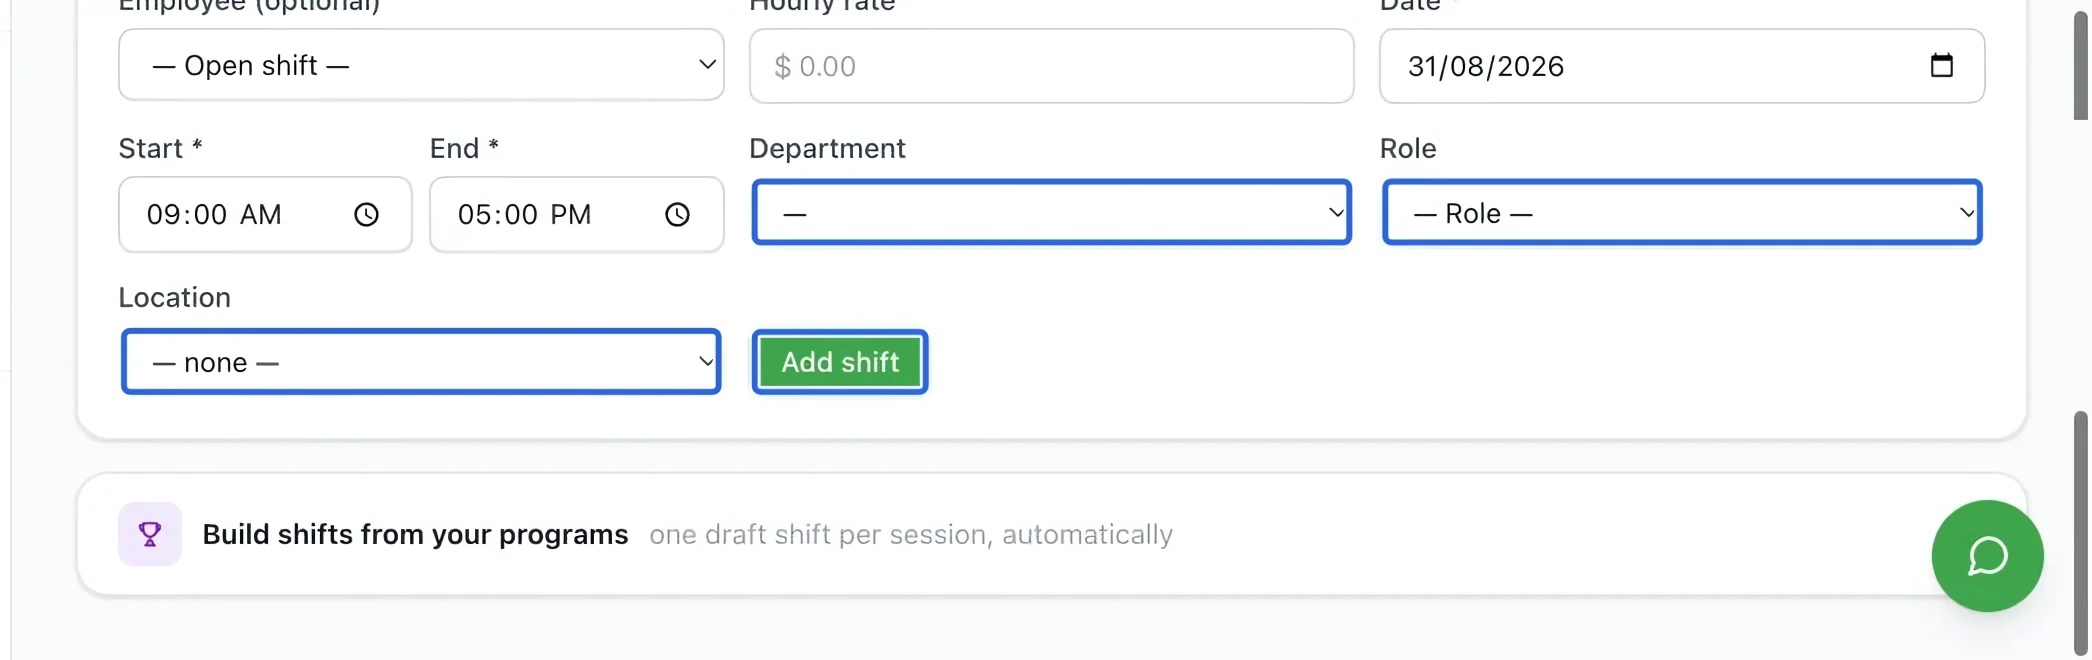
Assign the work and save
Choose the department, role and location, then click Add shift. Confirm that the draft appears on the intended day for the correct employee.
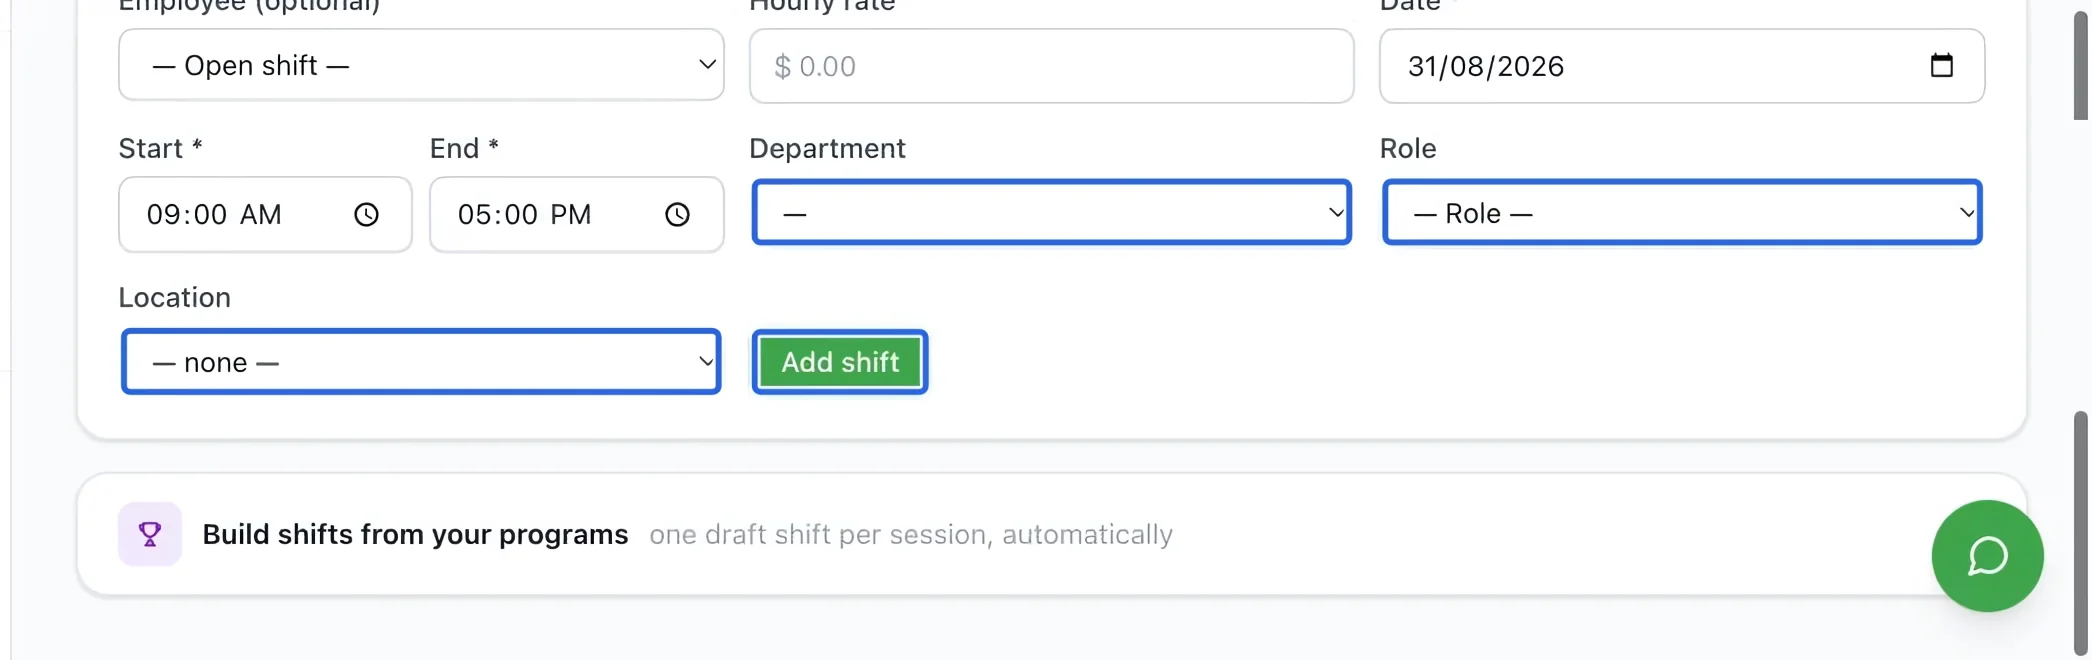
Select the screenshot to enlarge it. The blue outline marks the control to use.
- 5
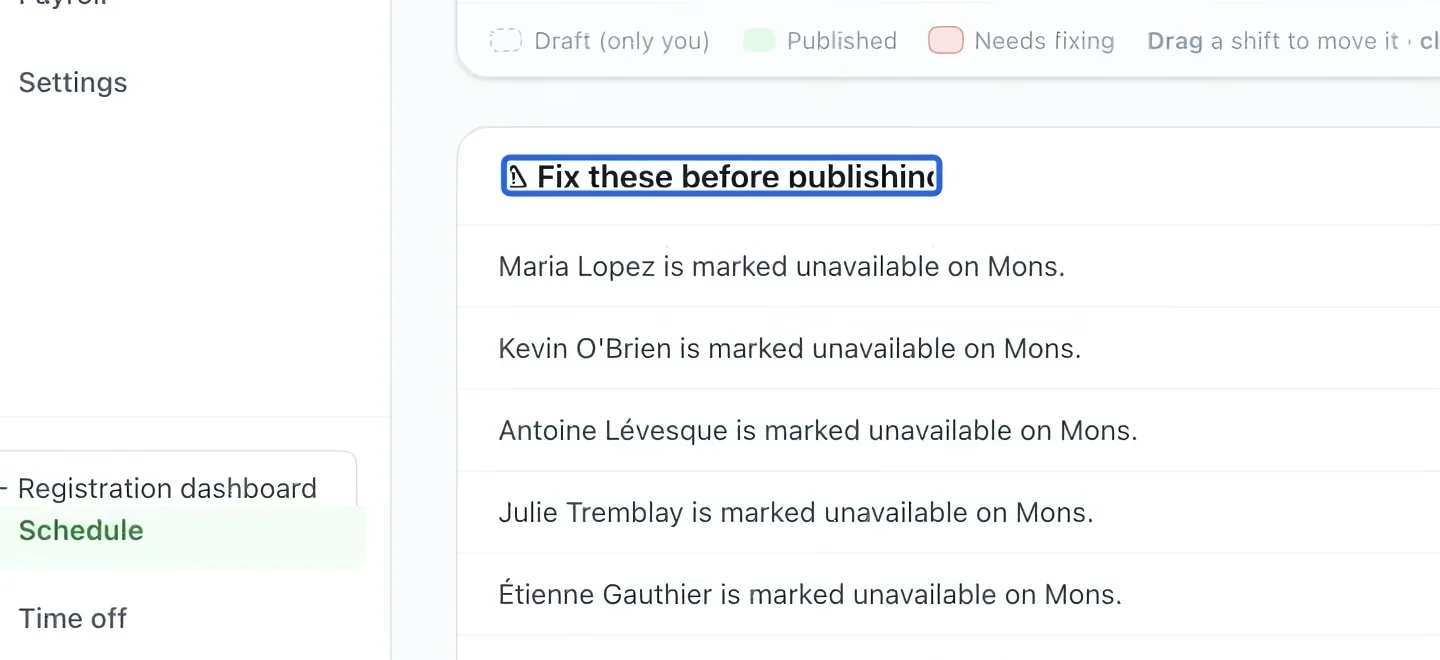
Resolve scheduling conflicts
Review Fix these before publishing. Correct overlapping shifts, leave conflicts or availability problems by editing the affected shift. A warning is a prompt to review the schedule, not a substitute for checking staffing needs.
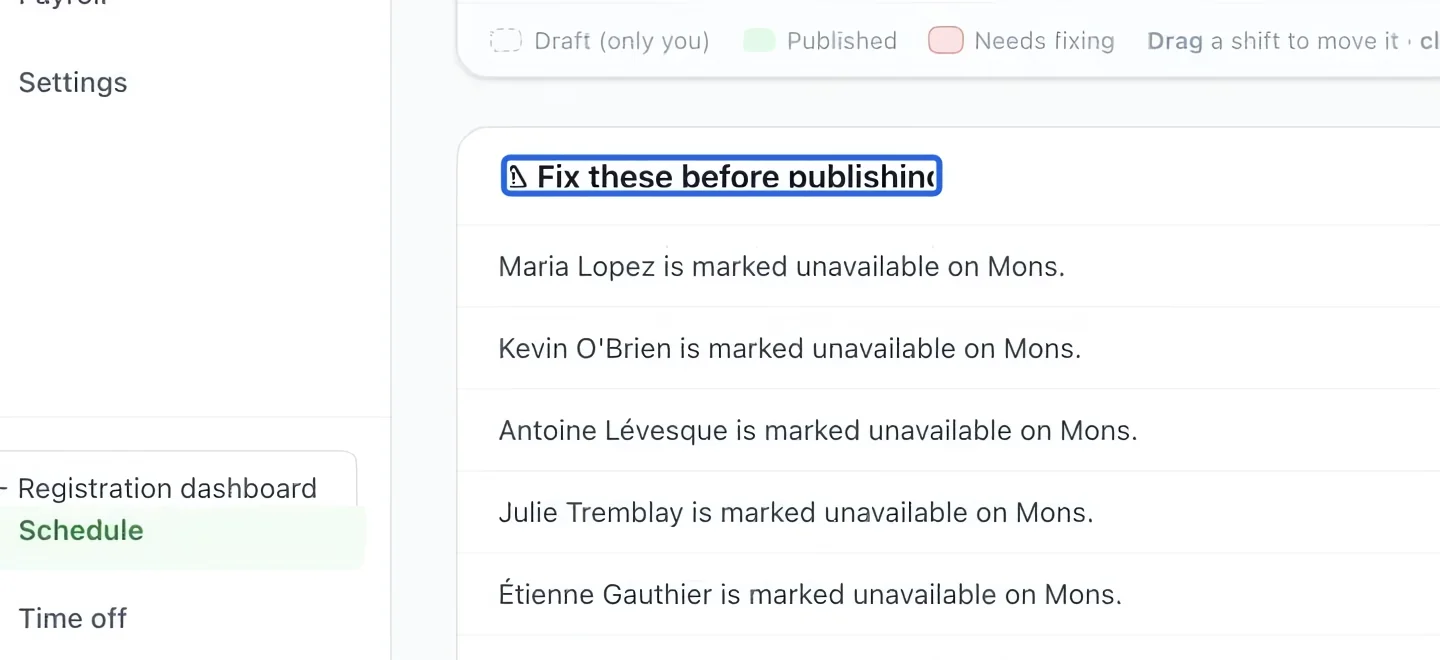
Select the screenshot to enlarge it. The blue outline marks the control to use.
- 6
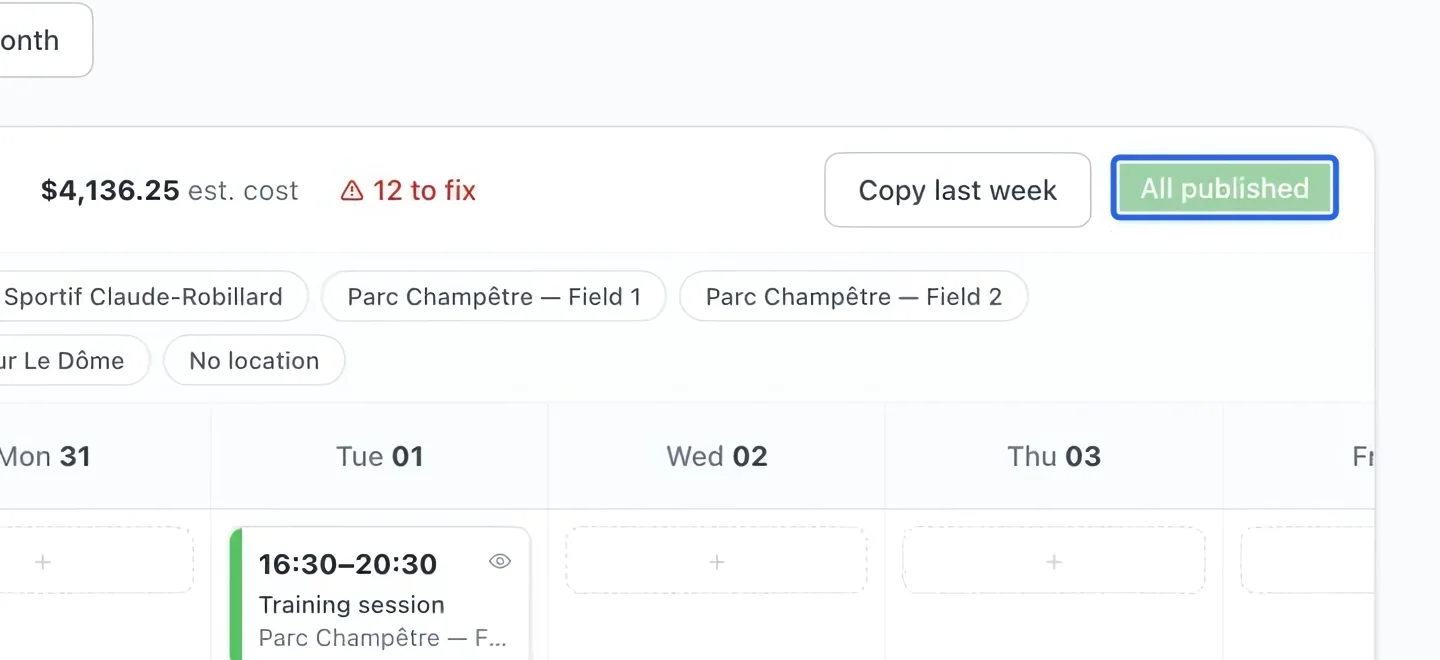
Publish and check the status
Once ready, use the week’s publish action. The screenshot shows the resulting All published state. Staff notifications depend on your settings; delivery and employee acknowledgement are tracked separately.
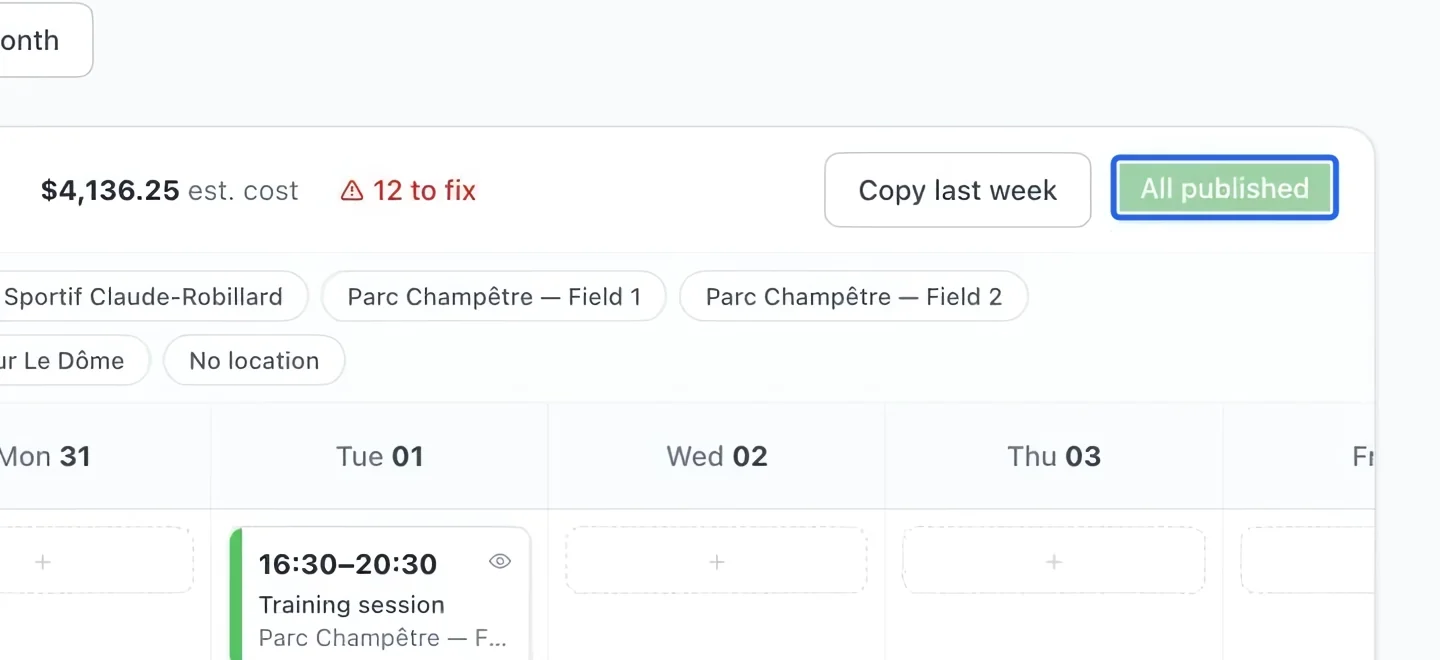
Select the screenshot to enlarge it. The blue outline marks the control to use.
- 7
Resolve invalid shifts before publishing
Review the employee, department, week and local start/end times. Overnight shifts and clock changes can change the actual duration. If a shift is flagged, open and correct it; copying a schedule must not reassign a former employee.
Keep going
Build your team roster: profiles, departments, hourly rates and portal access for self-service.
WorkforcePublished shifts become timesheet entries by themselves; you adjust real hours, approve, and lock for payroll.
WorkforceRequests, approvals, multi-type leave balances, and how time off feeds the schedule's conflict warnings.