
Add your employees
Build your team roster: profiles, departments, hourly rates and portal access for self-service.
- 1
Open the employee form
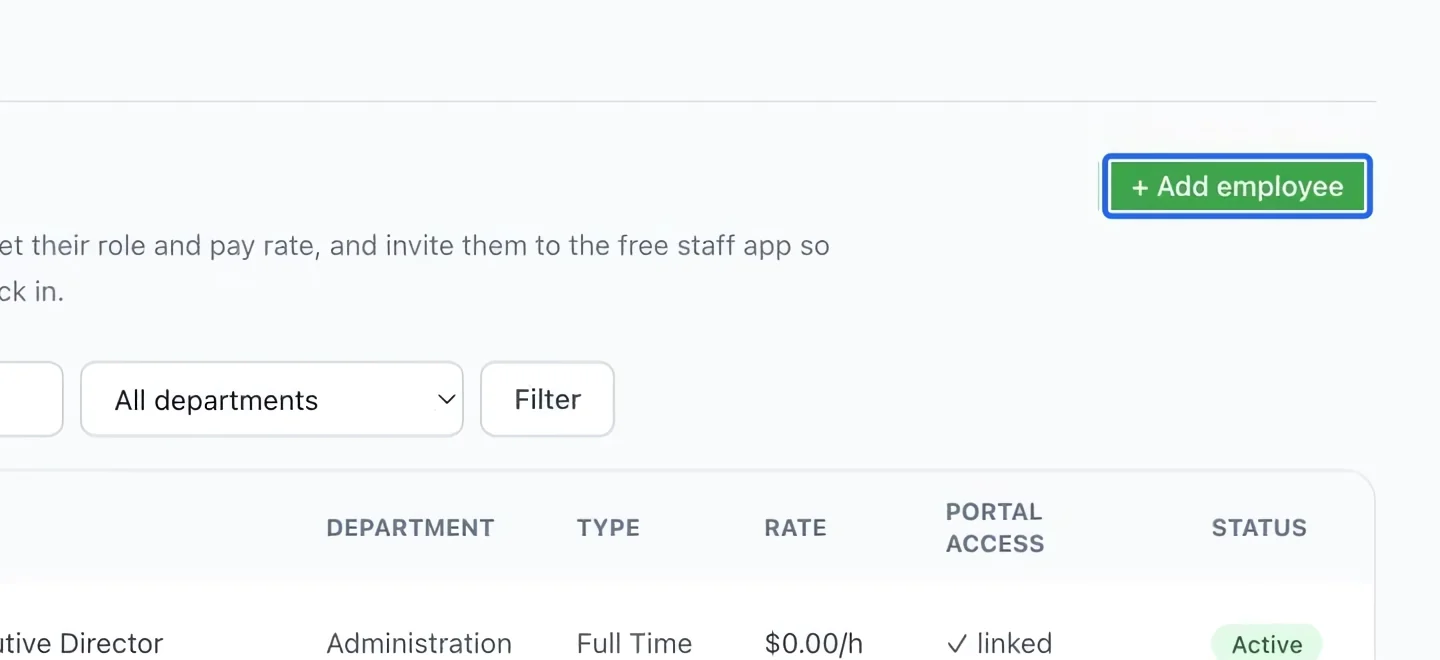
Open Workforce → Team → Employees and click + Add employee. Employee records are separate from staff permission roles.
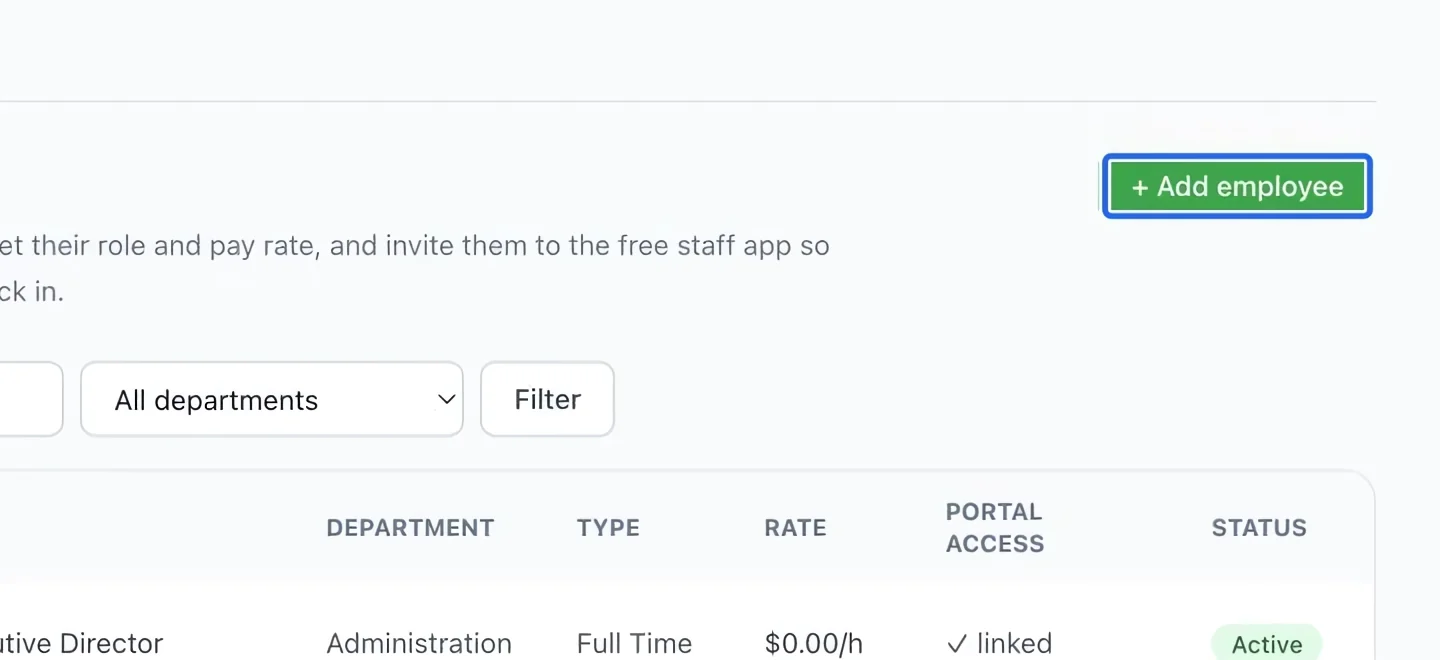
Select the screenshot to enlarge it. The blue outline marks the control to use.
- 2
Enter the person’s identity
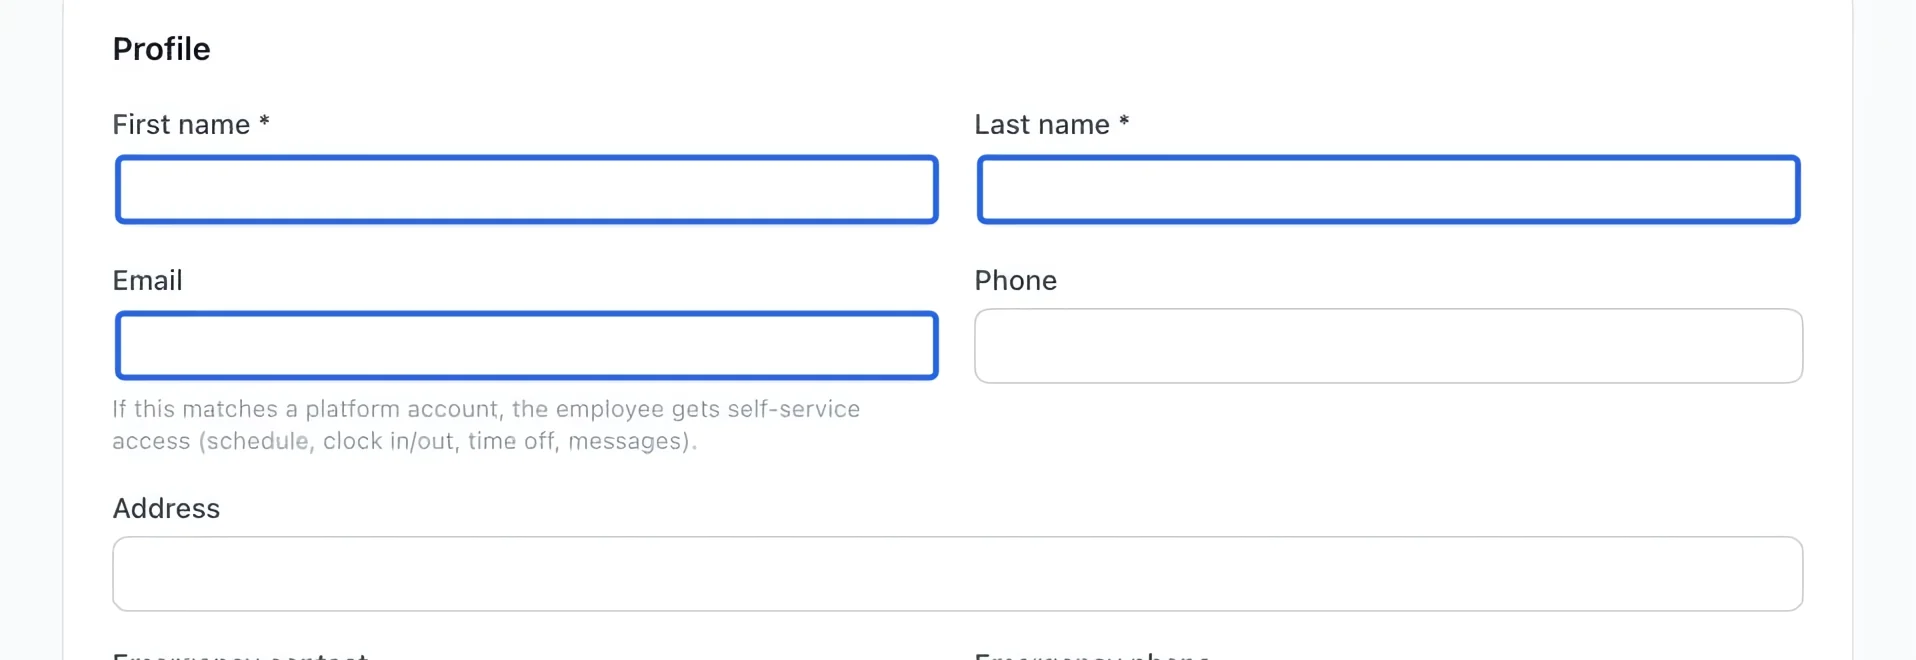
Enter First name, Last name and Email. Use the employee’s own address; an address matching their platform account can link their self-service access. Complete contact and emergency details as appropriate.
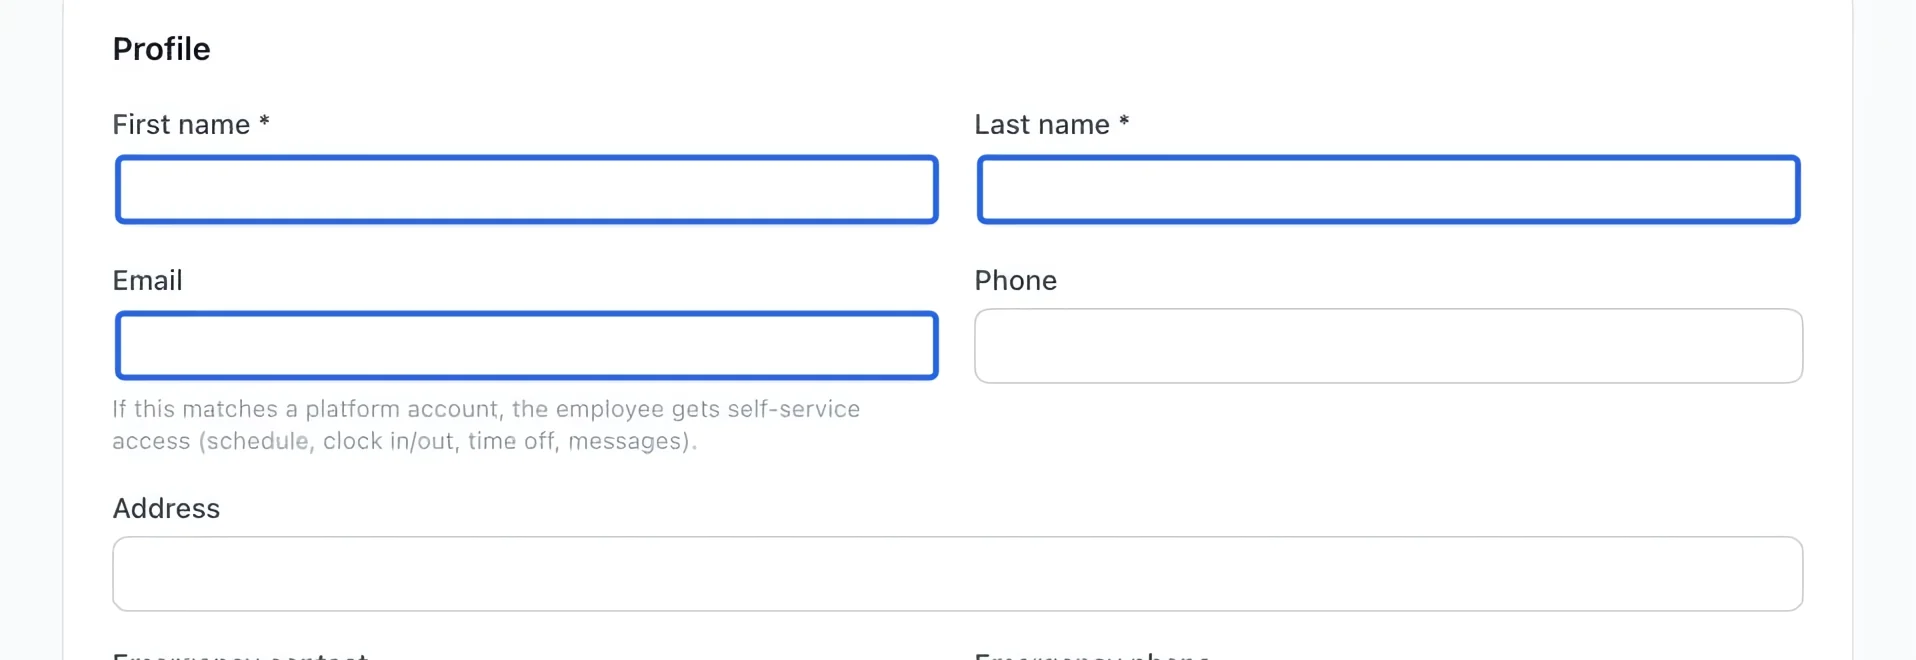
Select the screenshot to enlarge it. The blue outline marks the control to use.
- 3
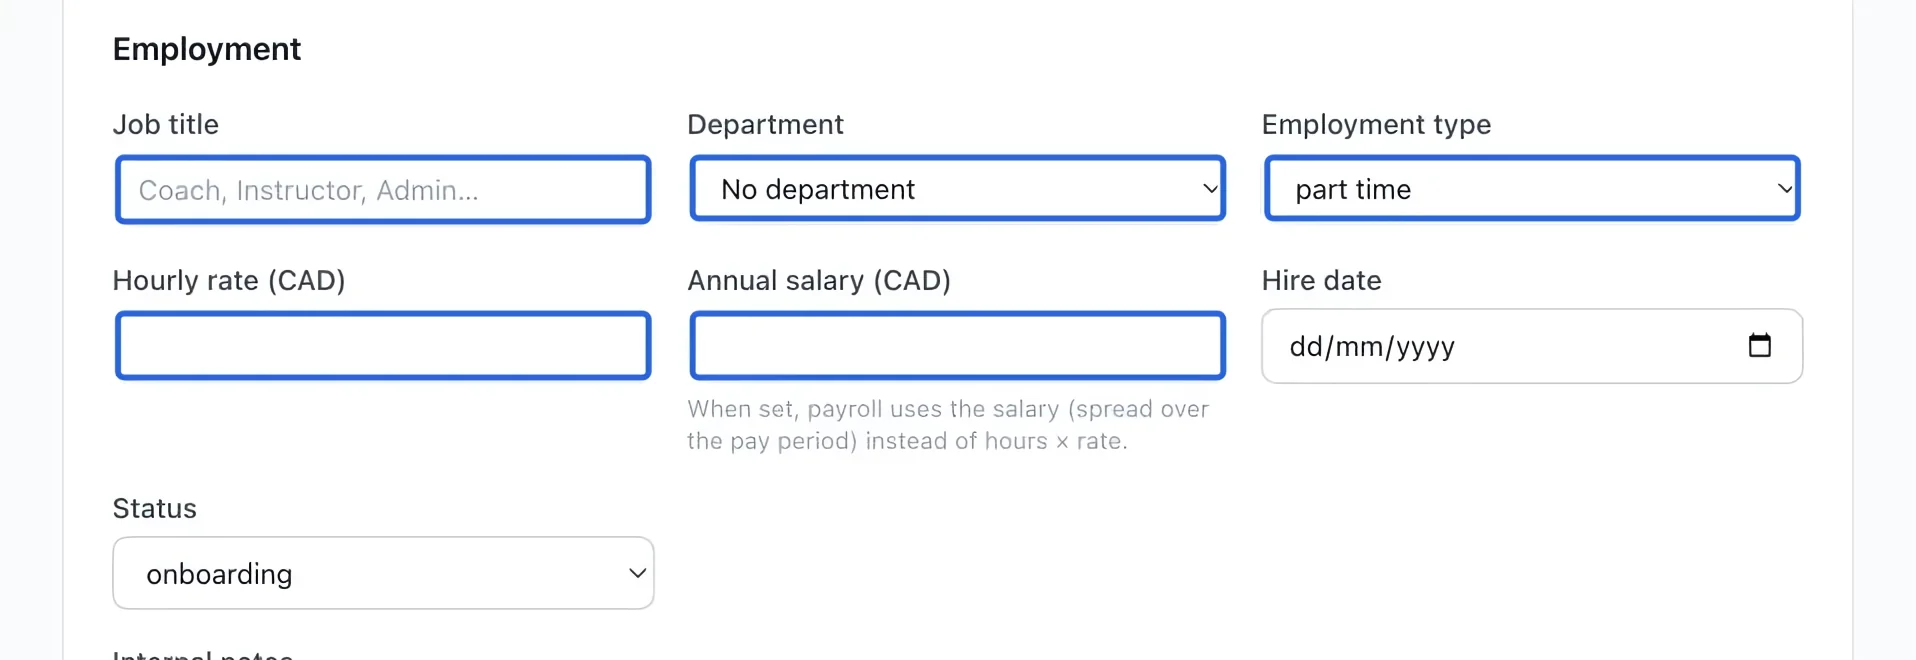
Set the employment details
Choose the job title, department and employment type. Enter the hourly rate, or annual salary when applicable. When an annual salary is set, payroll uses it instead of hours multiplied by the hourly rate.
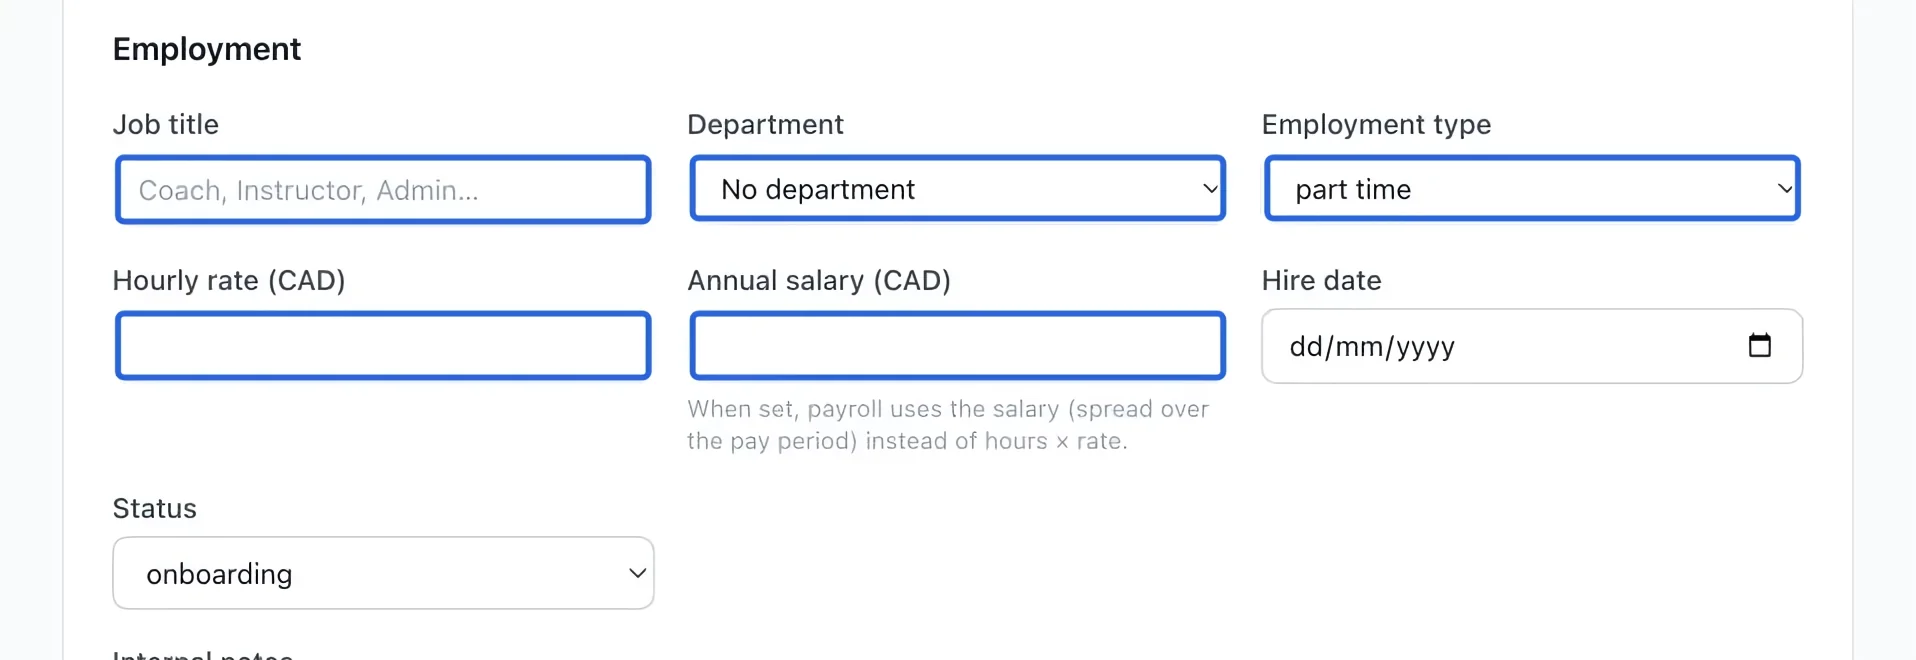
Select the screenshot to enlarge it. The blue outline marks the control to use.
- 4
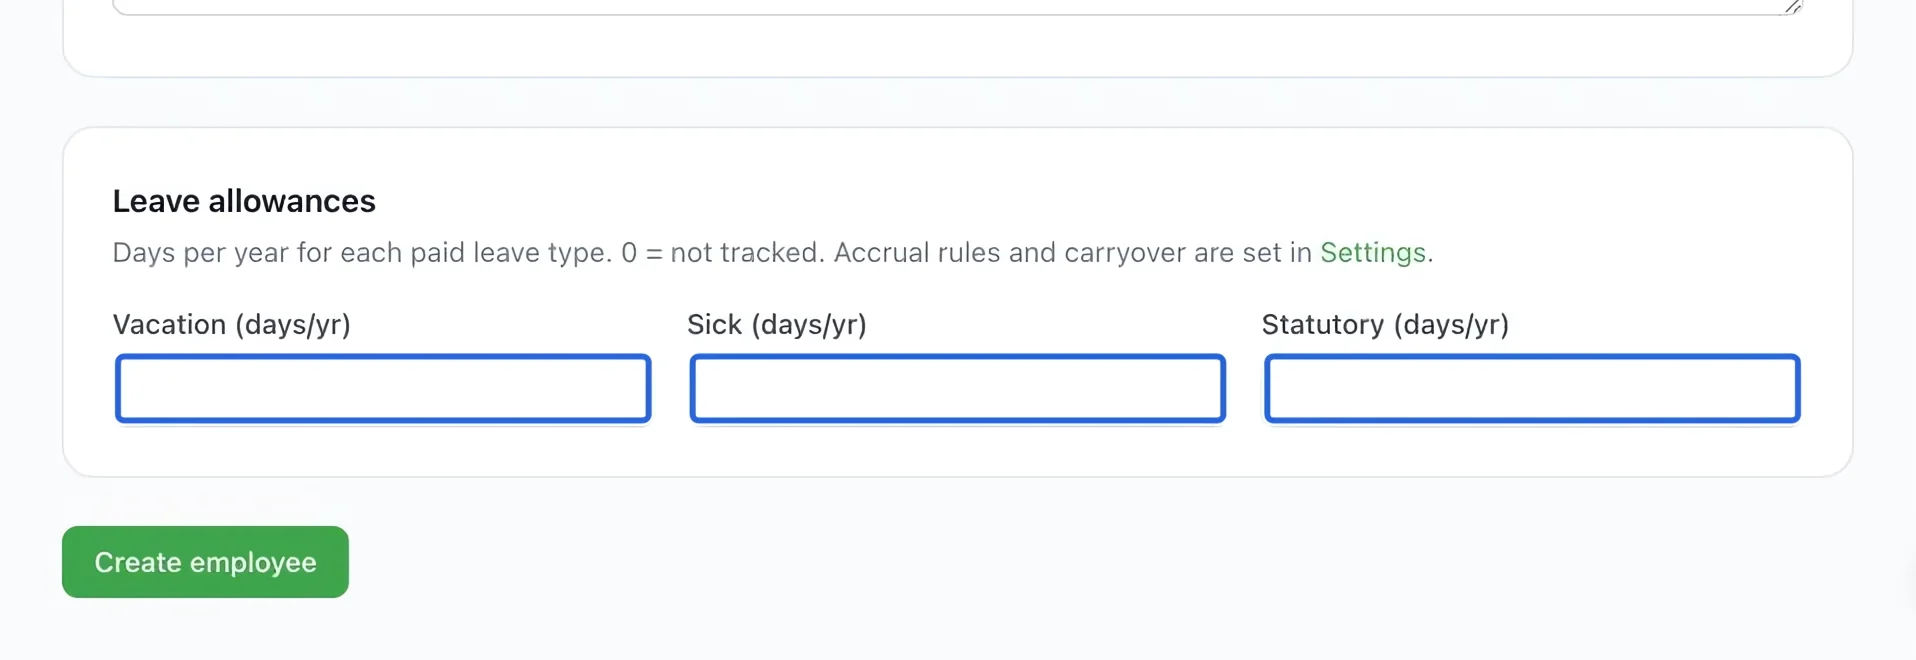
Enter leave allowances
Under Leave allowances, enter the annual days for the displayed paid leave types. 0 means the allowance is not tracked. Accrual and carryover rules are configured in Workforce settings.
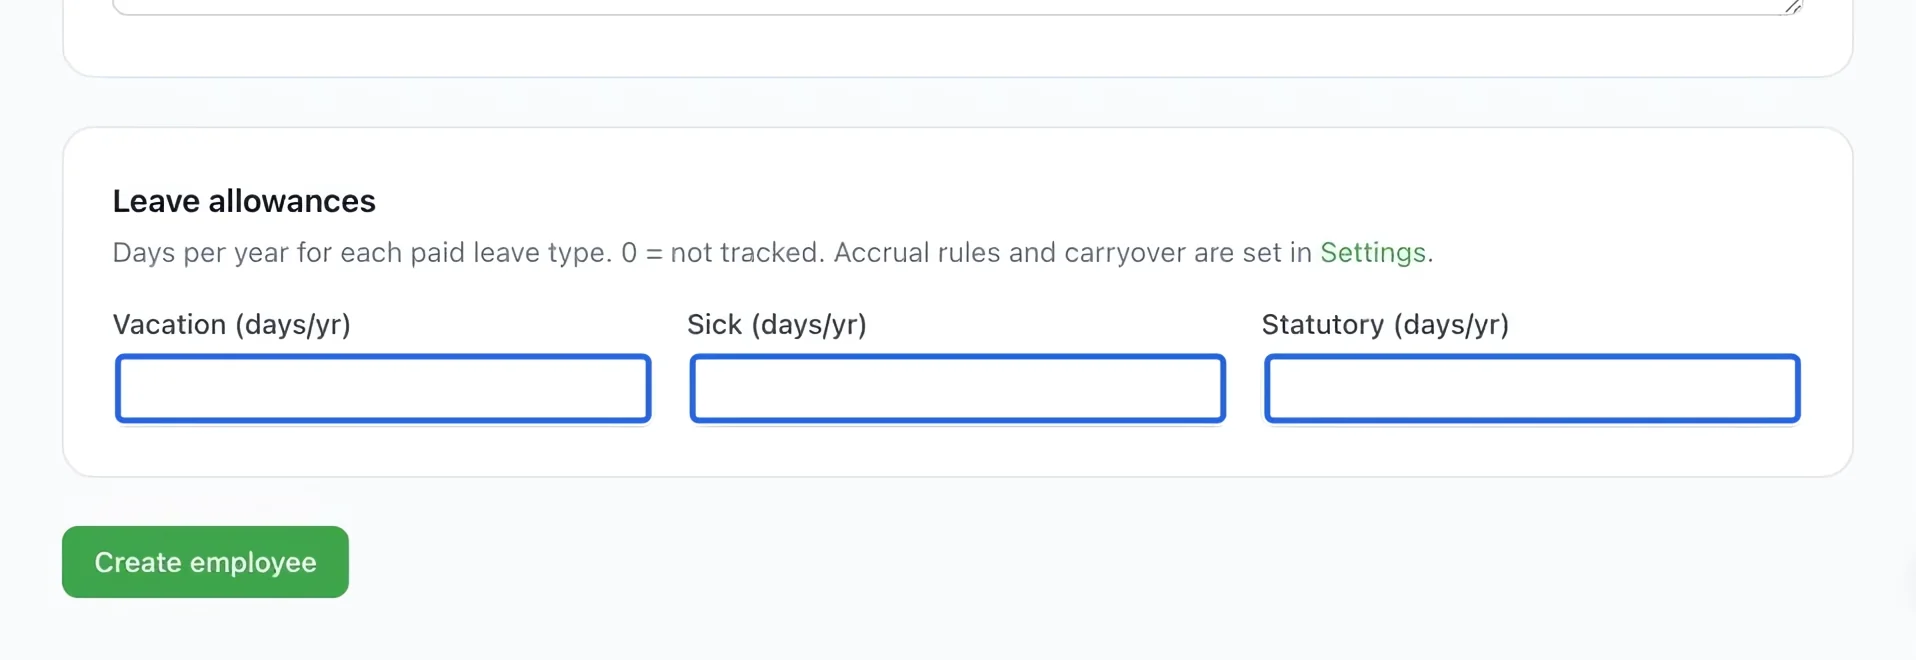
Select the screenshot to enlarge it. The blue outline marks the control to use.
- 5
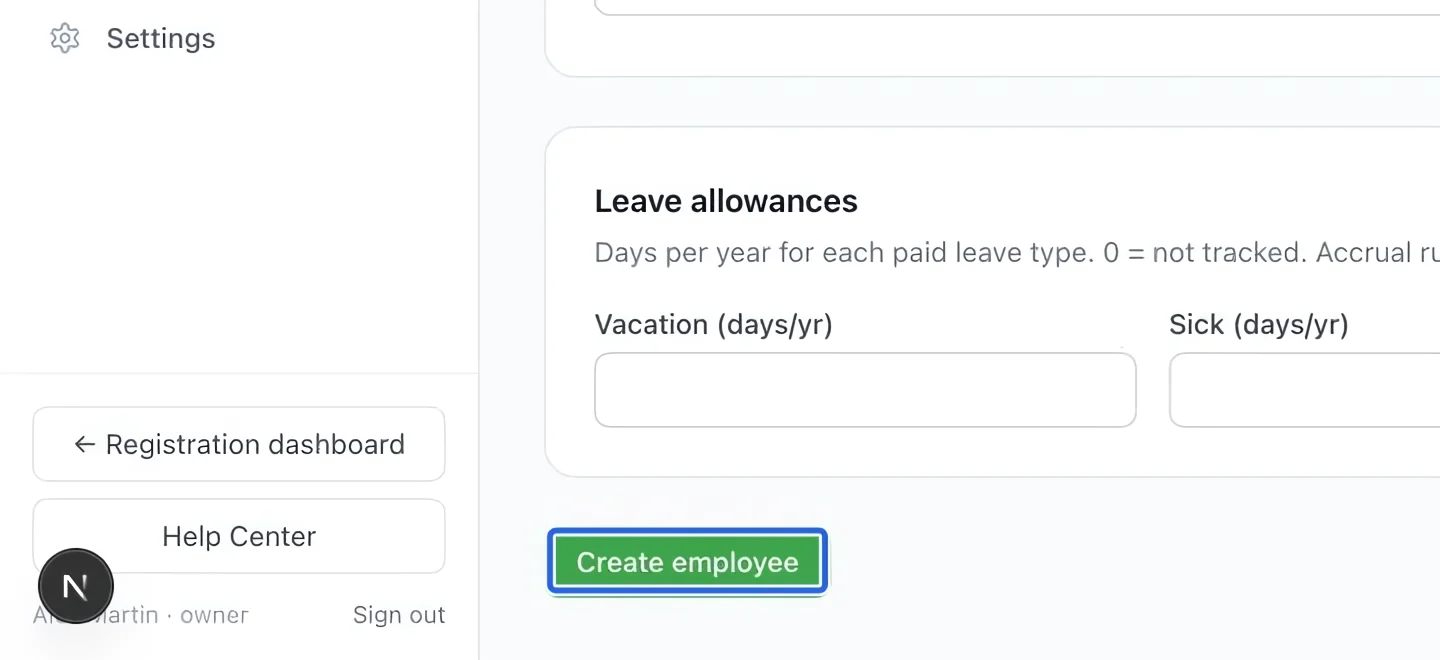
Create the employee
Click Create employee and check the saved profile. Review the onboarding checklist created for the new hire. If portal access is not linked, use Send invite from their row in the employee list.
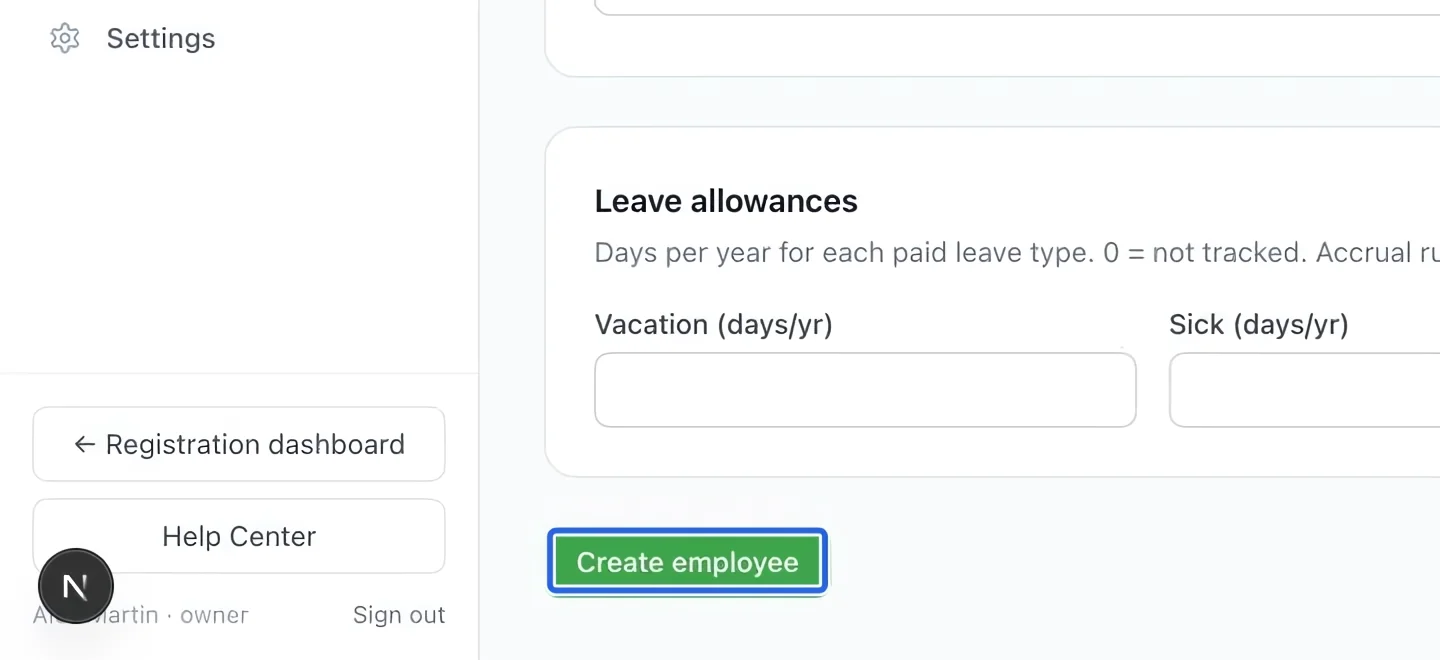
Select the screenshot to enlarge it. The blue outline marks the control to use.
- 6
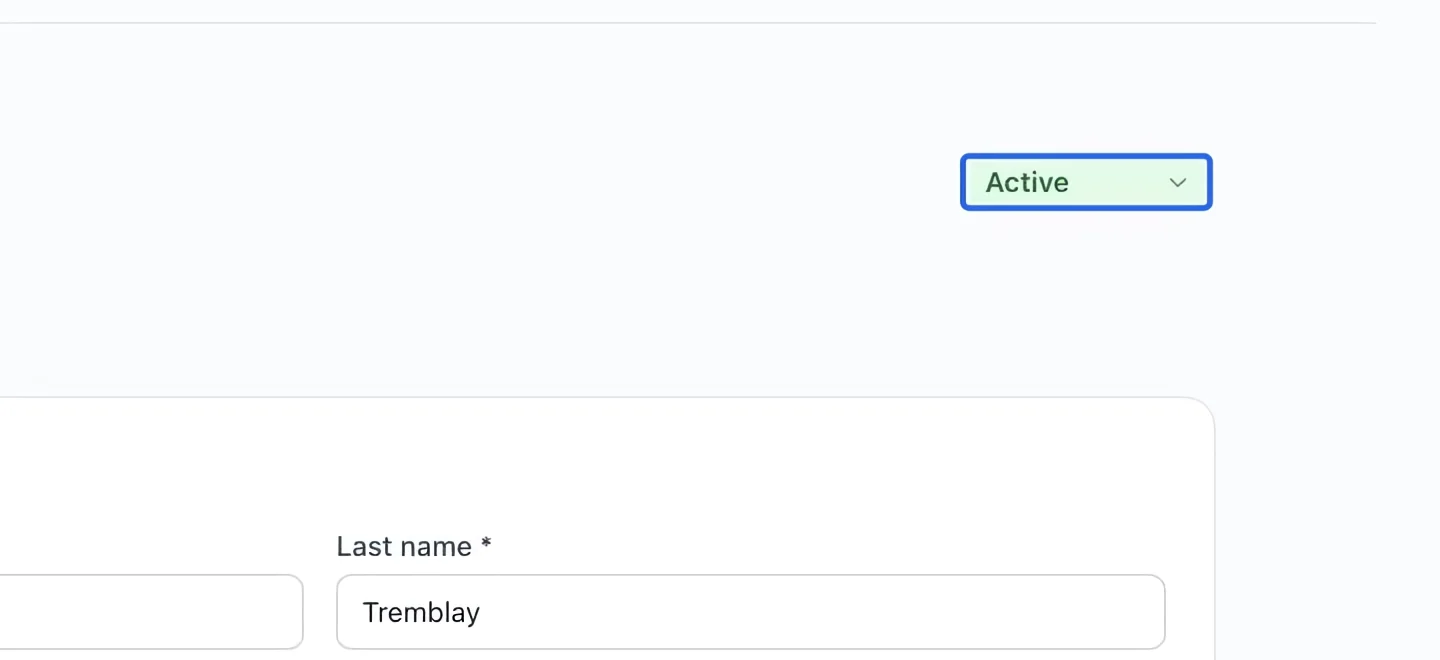
Keep employment status current
In the saved profile’s header, choose the correct status: active, onboarding, on leave or terminated. For a departure, follow the HR offboarding process and review access separately.
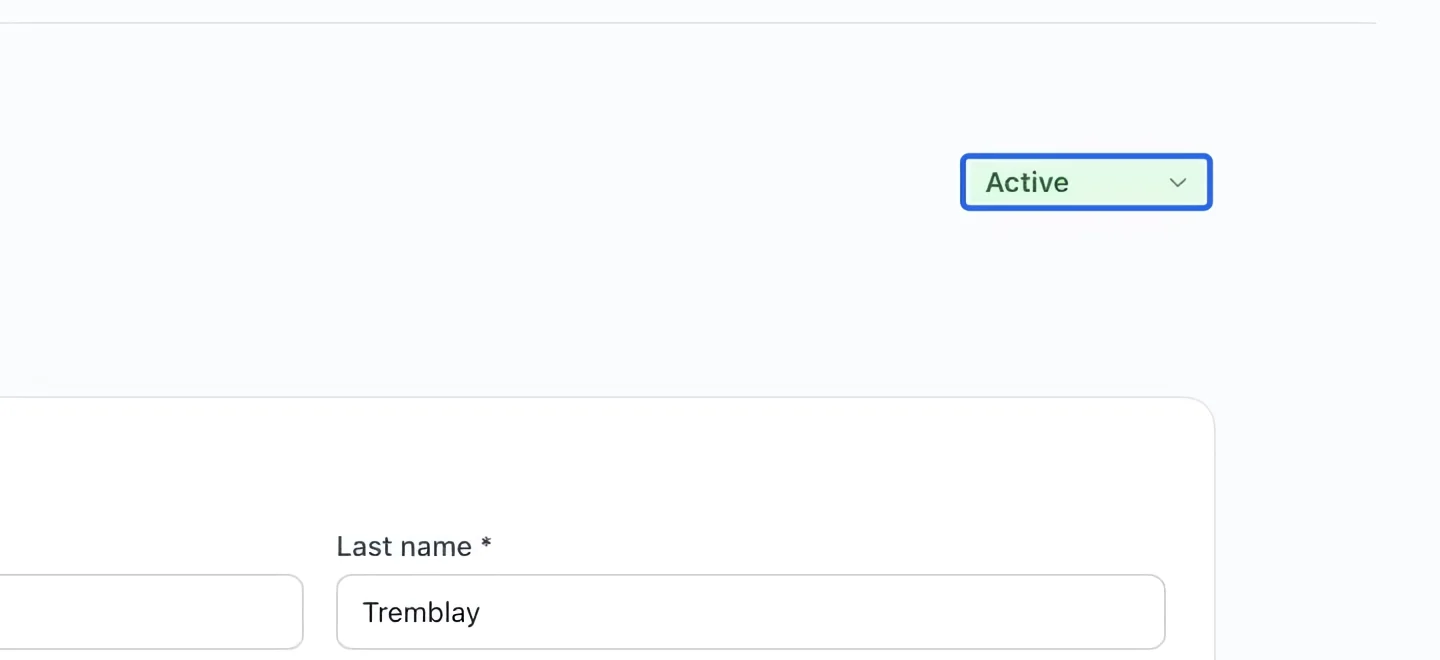
Select the screenshot to enlarge it. The blue outline marks the control to use.
Keep going
Create a shift, check its employee and times, resolve conflicts, then publish the week.
WorkforceCertifications with expiry dates, onboarding checklists, notes and reviews, per employee, in one place.
WorkforceDepartments, shift roles, pay rules, leave types, statutory holidays and manager permissions.