
Manage waiting lists and offered places
Review each waiting list, offer a place and follow the family’s response and deadline.
- 1
Open the correct queue
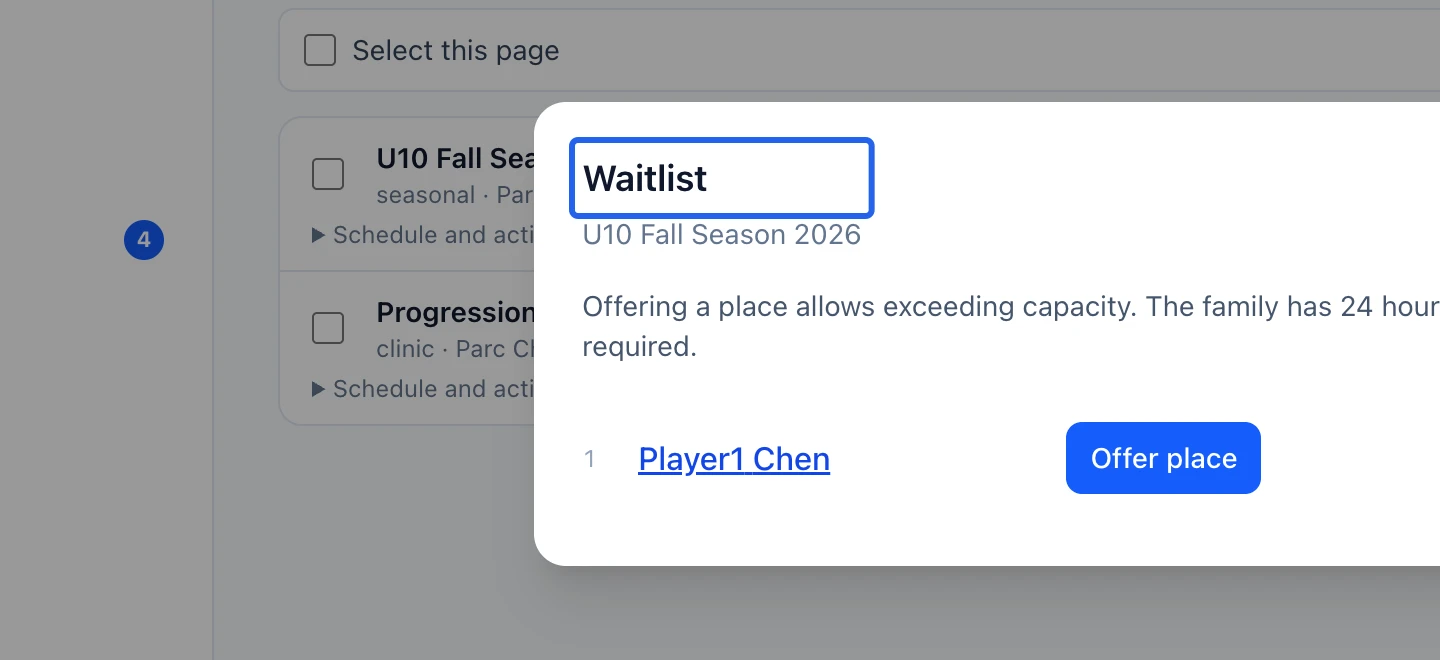
Open Programs and click the program’s Waitlist count. Identify the participant and selected option. Programs with options keep separate queues for each option. An entry is not a confirmed registration and no payment is due until an offered place is accepted.
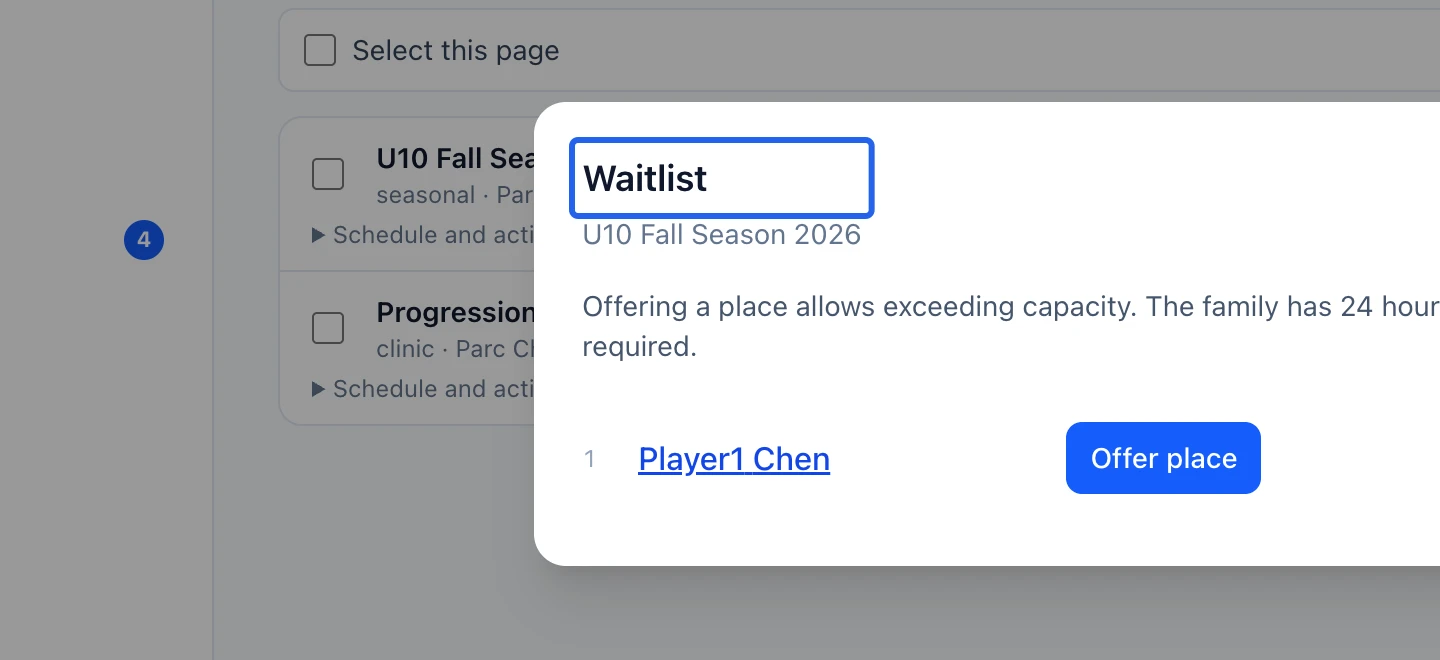
Select the screenshot to enlarge it. The blue outline marks the control to use.
- 2
Review an offer before sending it
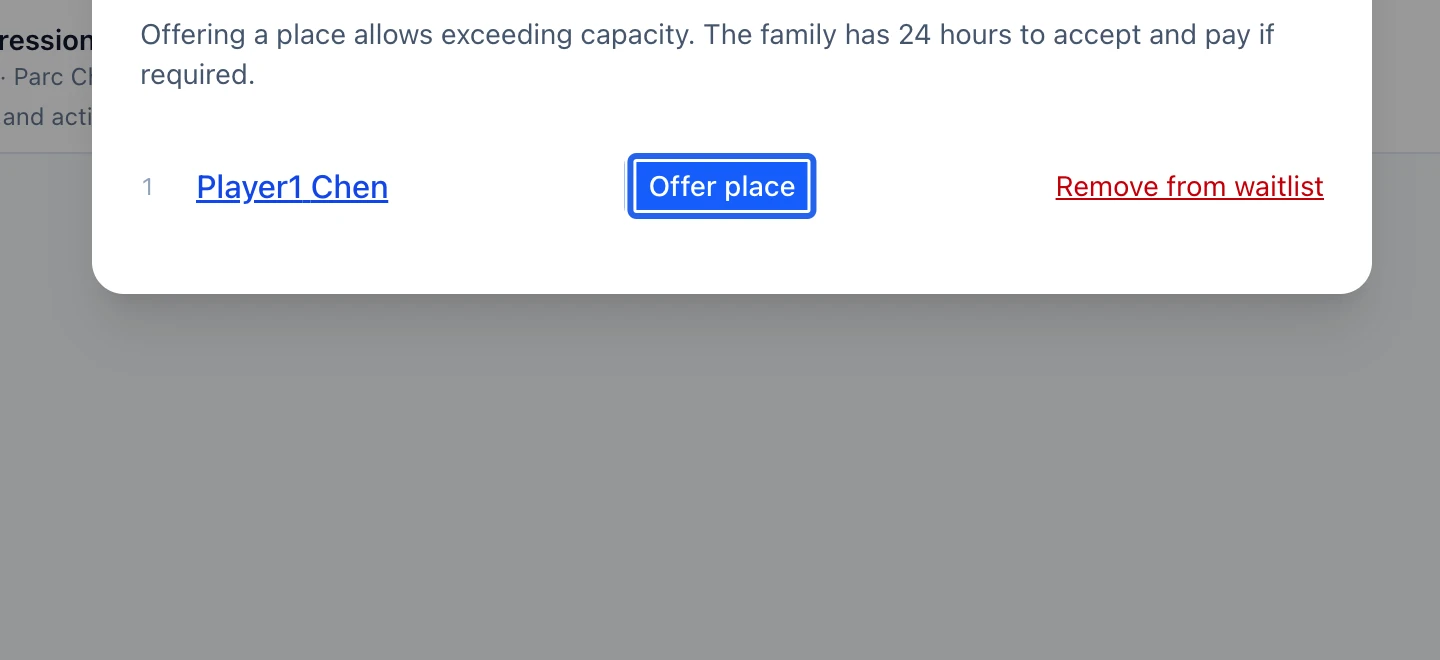
Eligible vacancies can trigger automatic offers. Authorized staff can also use Offer place; the screen warns that this can exceed capacity. Check the exact participant and available places first. The family has 24 hours to accept and pay when required.
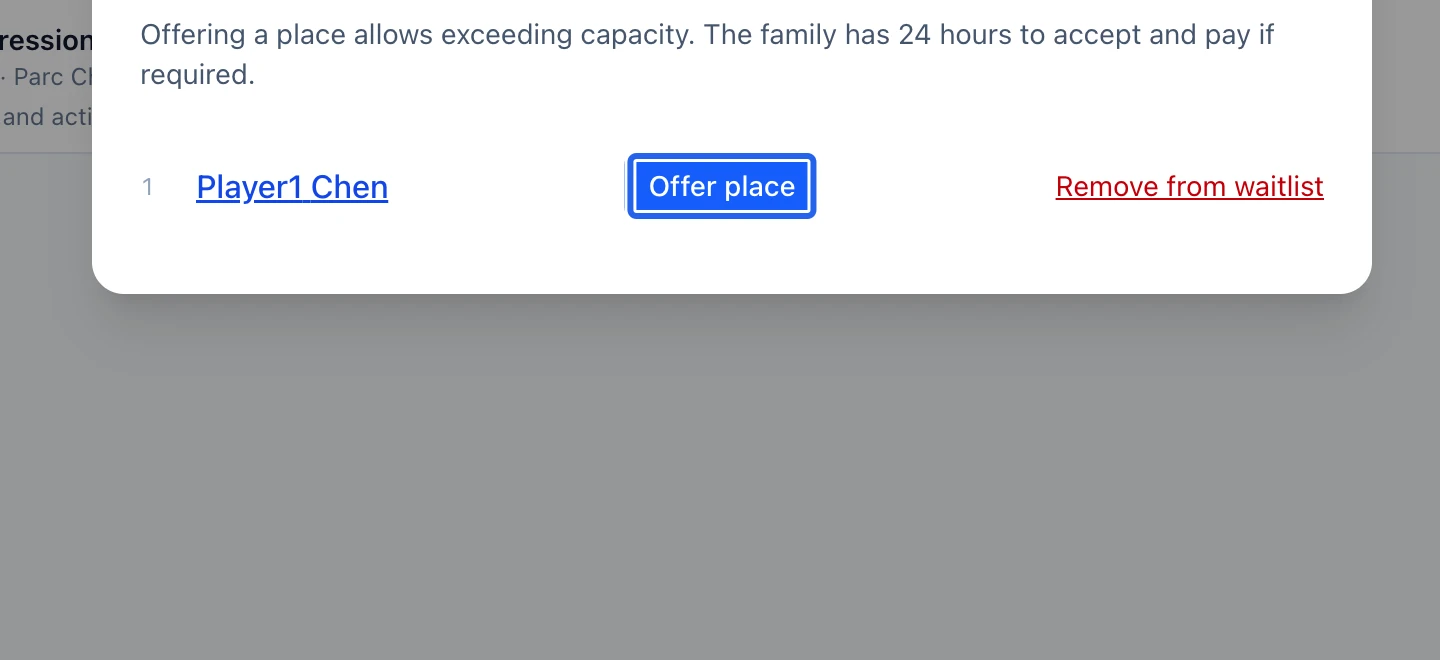
Select the screenshot to enlarge it. The blue outline marks the control to use.
- 3
Follow acceptance, refusal and expiry
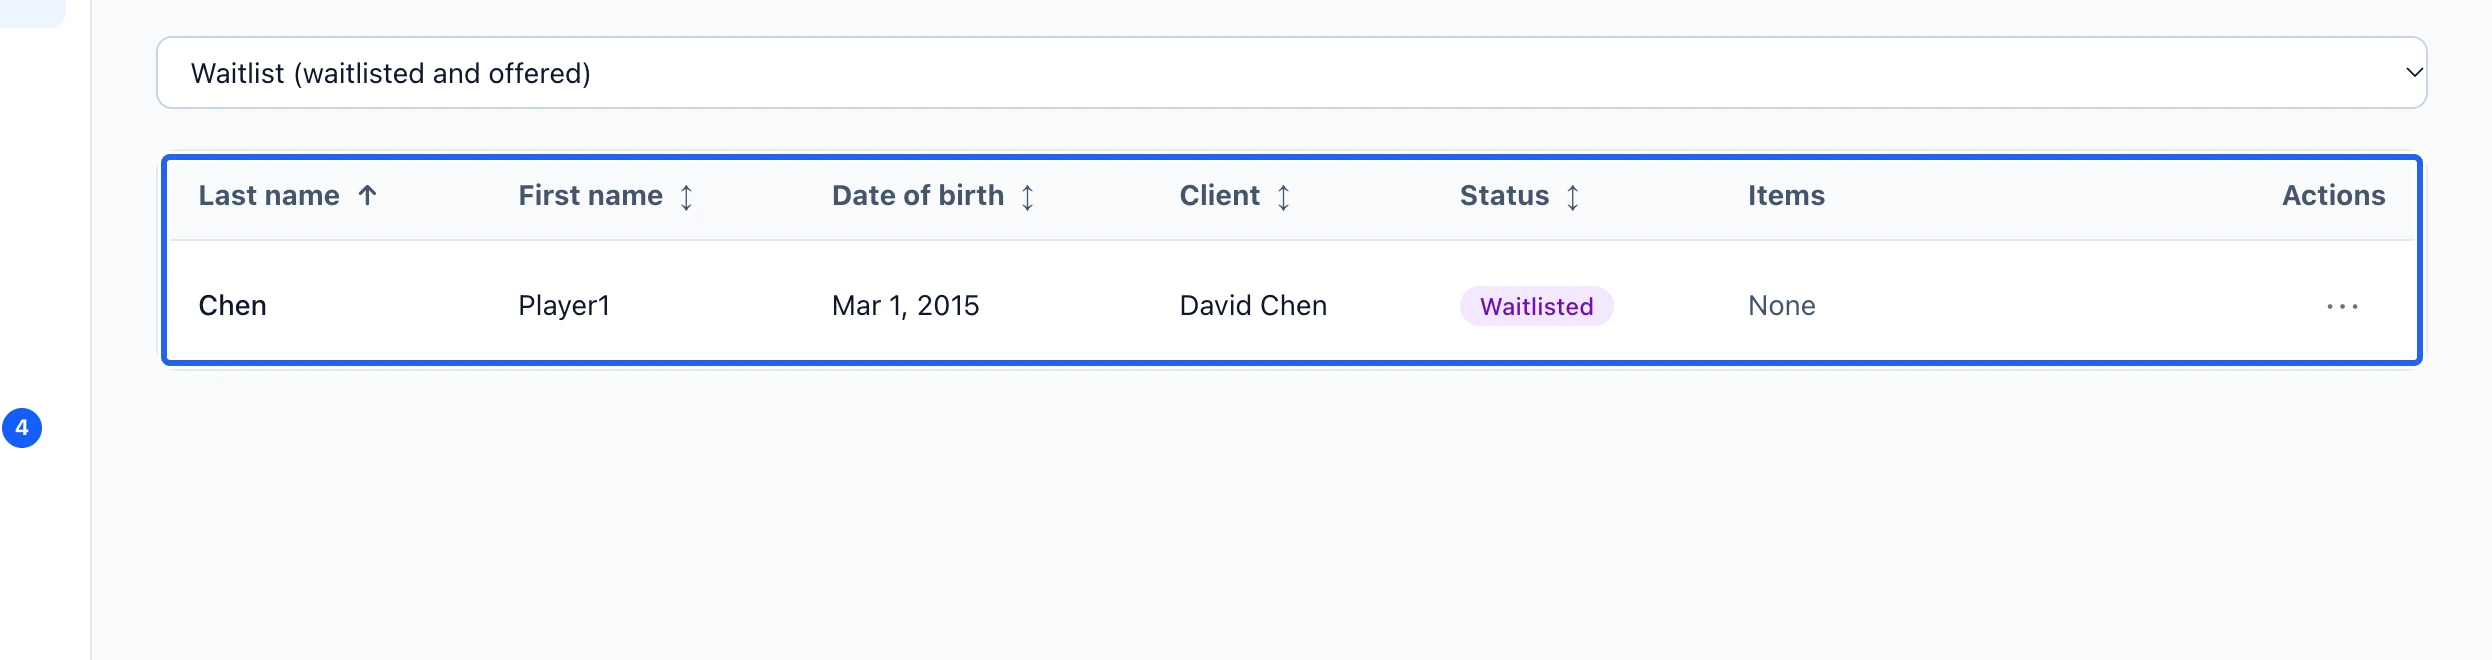
Check the saved status after the family responds. An expired offer releases its reservation and returns the entry to the back of the waiting list; it does not mean the family paid. Another eligible family may receive the place. Do not promise that an expired offer remains usable.
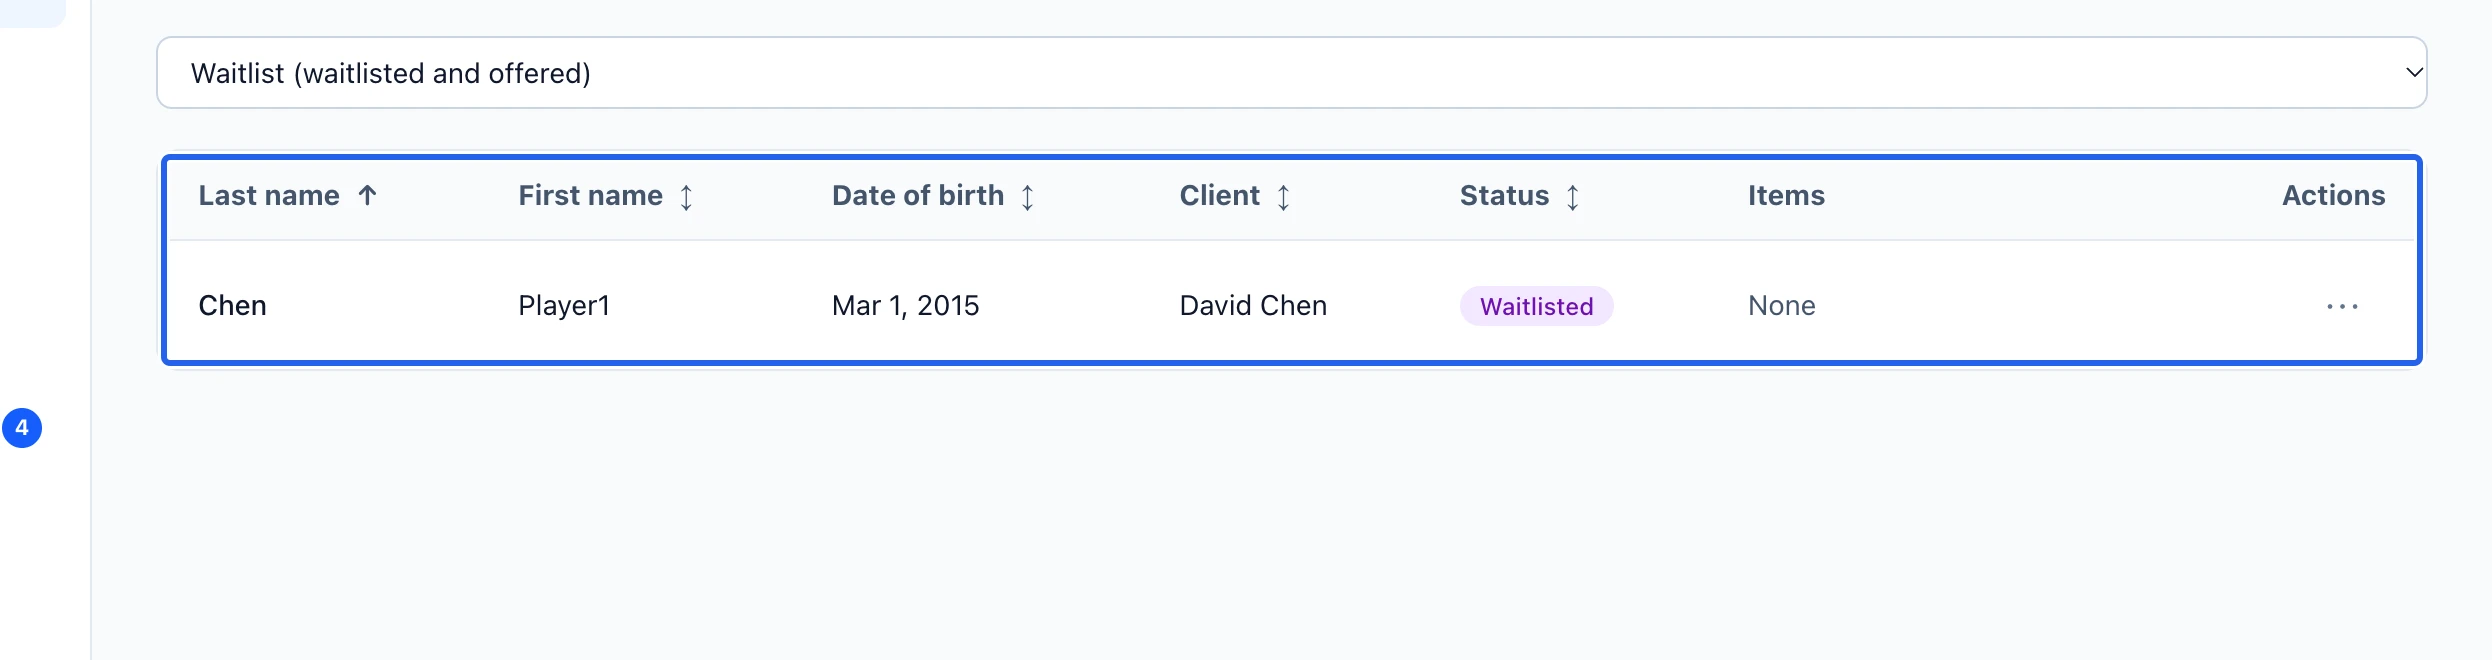
Select the screenshot to enlarge it. The blue outline marks the control to use.
- 4
Remove an unpaid entry deliberately
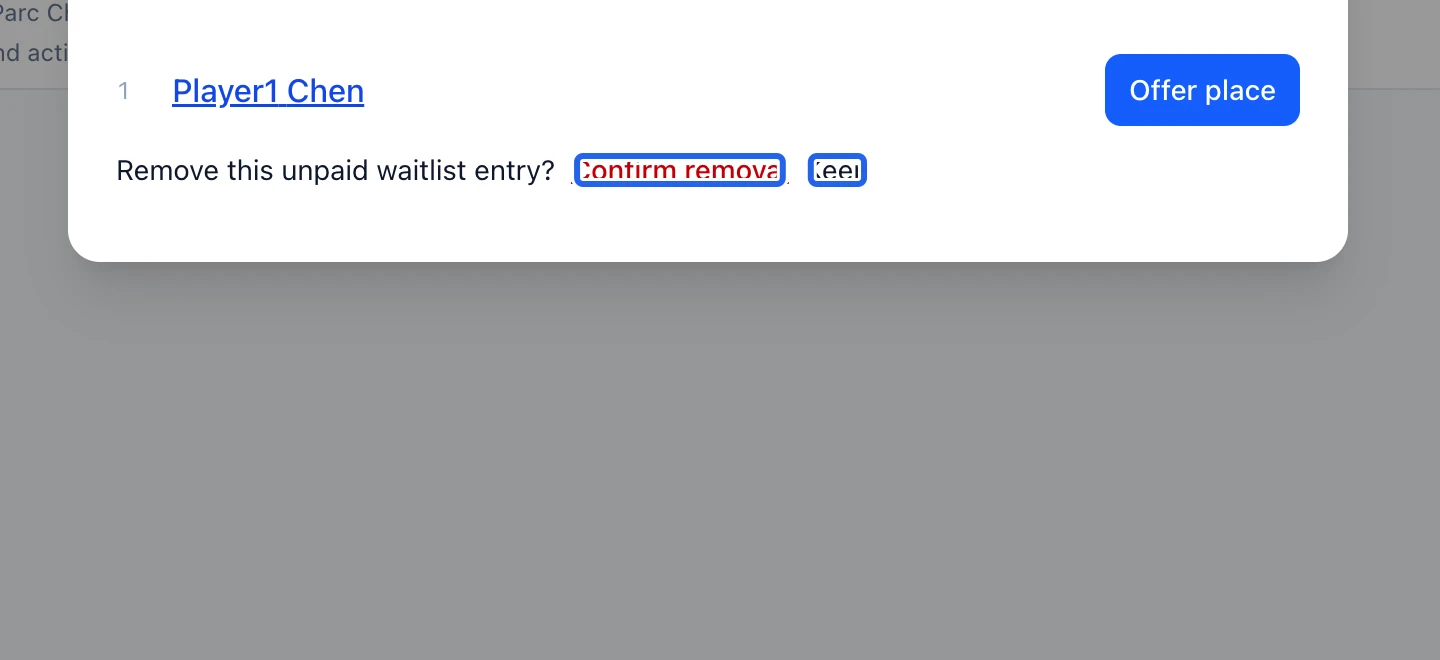
Use Remove from waitlist only for the intended unpaid entry and confirm the removal. Use Messages with the relevant waiting-list audience for an operational update; writing a message does not itself reserve or offer a place.
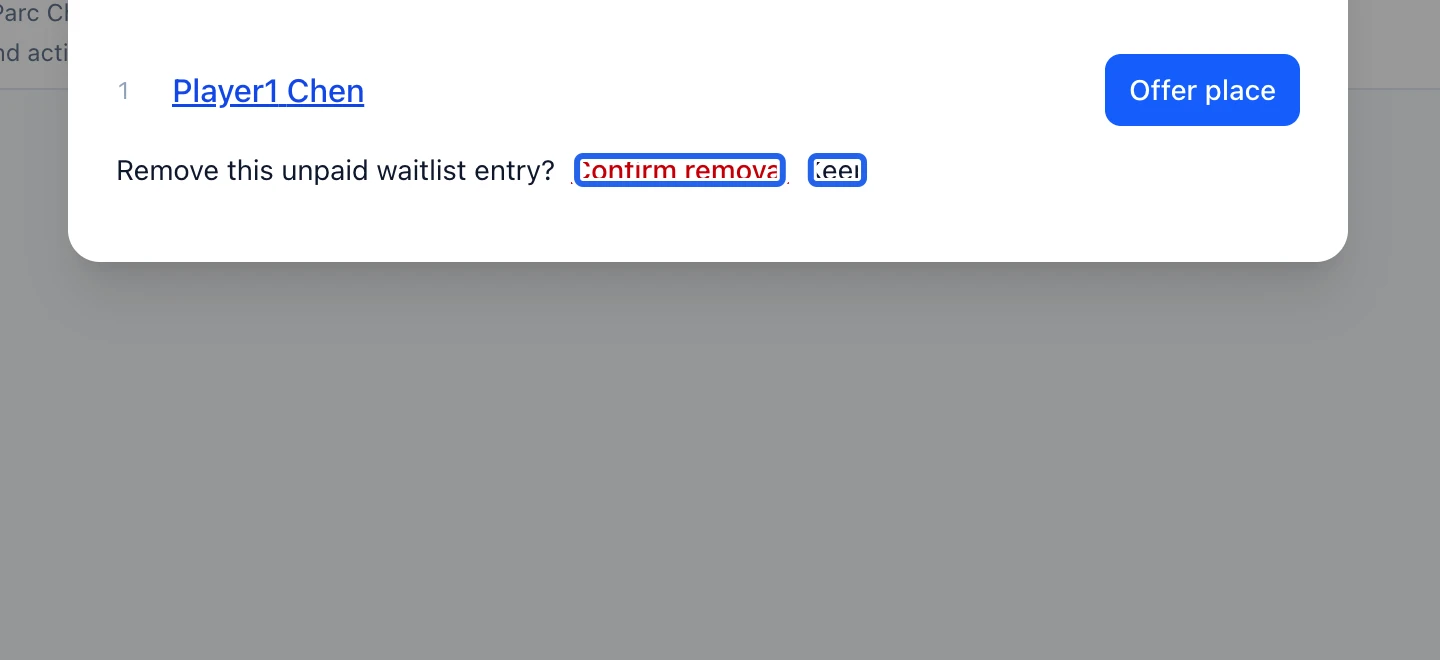
Select the screenshot to enlarge it. The blue outline marks the control to use.
Keep going
Follow the public registration journey, confirm participant details and review the final status.
MessagesChoose recipients and a channel, write an operational message, and send it to the right families.
Clients & attendanceWhen a family asks to cancel, transfer or update a registration from their account, it lands here for your decision.