
Build your contact list
Add contacts one by one, paste a list, or import a CSV, with consent handled correctly from day one.
- 1
Check for an existing contact
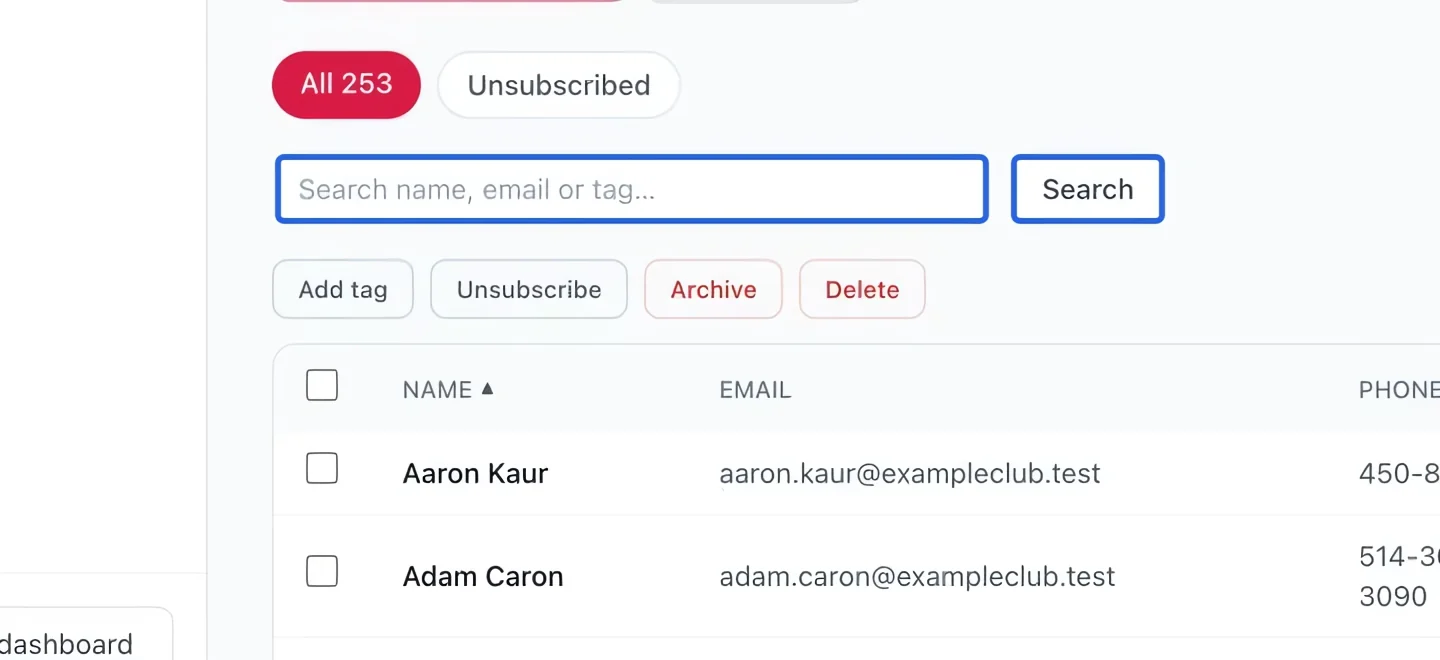
Open Marketing → Audience → Contacts. Search by name or email before importing. A family’s registration does not automatically mean permission to send promotional email.
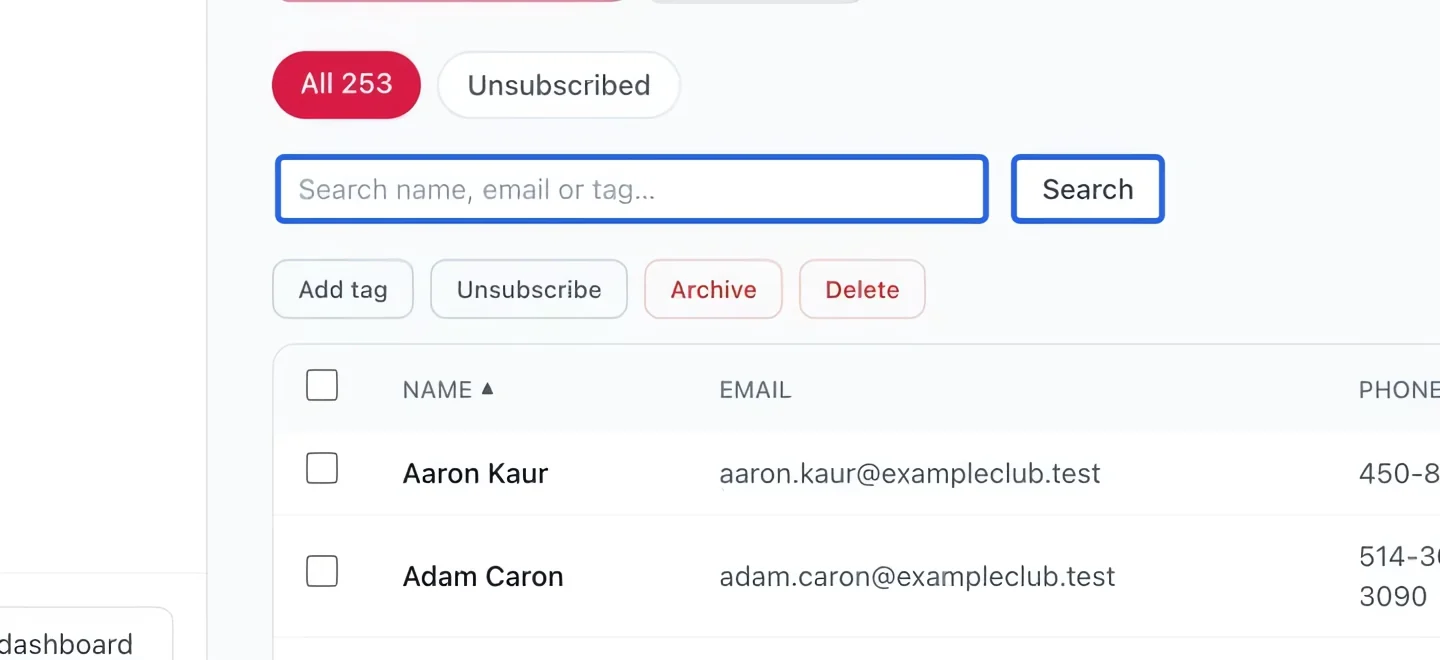
Select the screenshot to enlarge it. The blue outline marks the control to use.
- 2
Open the importer
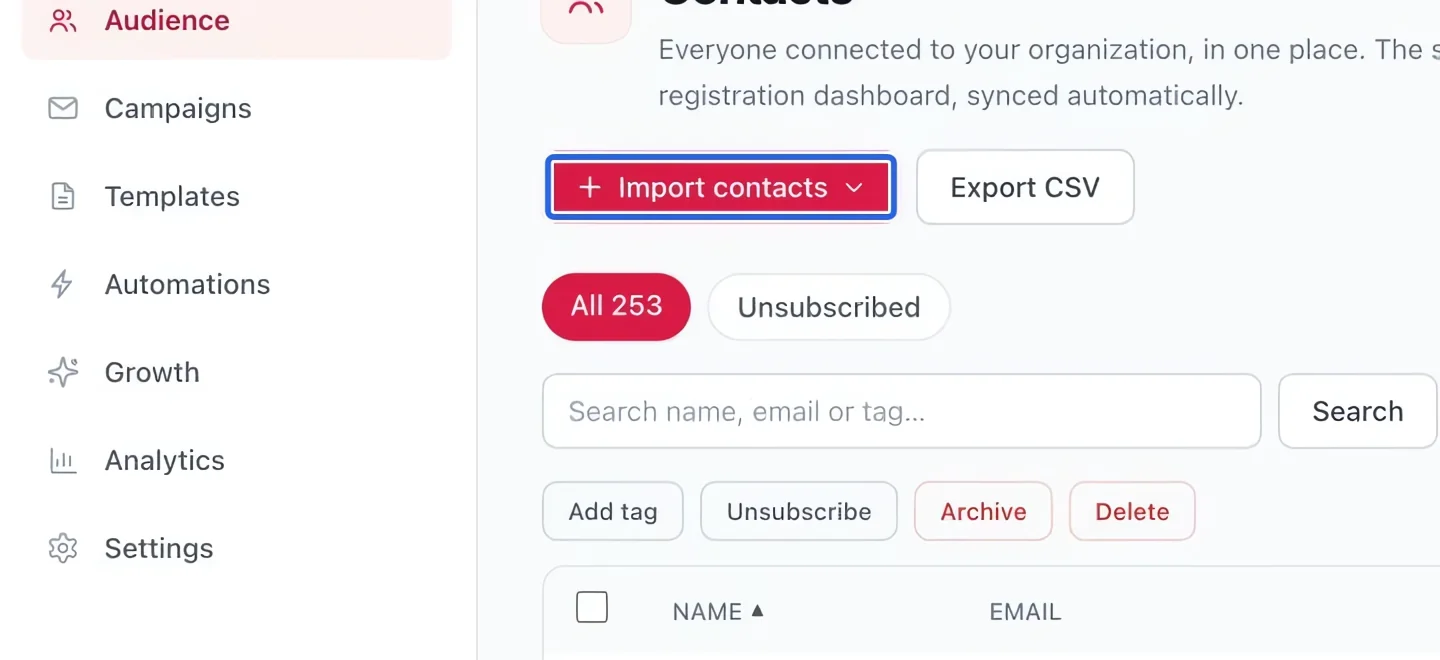
Click Import contacts. Choose the method offered in the importer for your list. Prepare names and email addresses, and verify that you have permission to contact these people for this purpose.
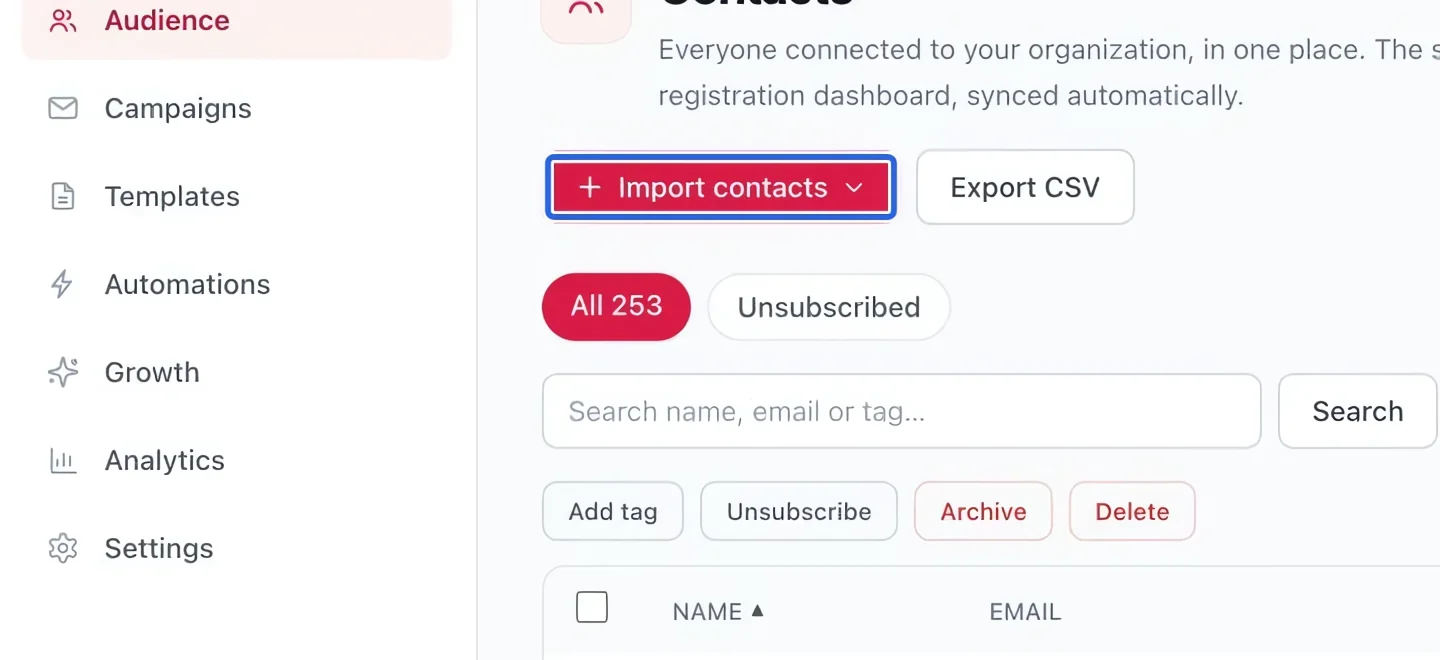
Select the screenshot to enlarge it. The blue outline marks the control to use.
- 3
Paste the contact rows
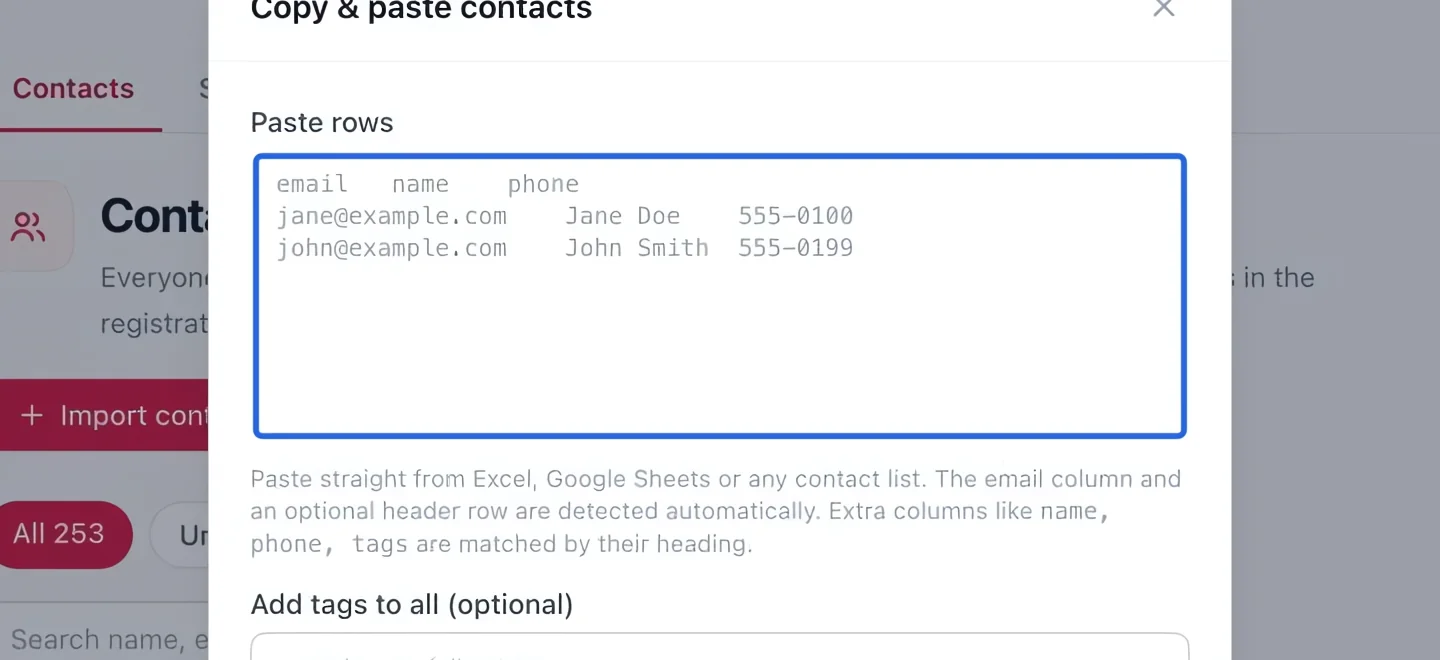
Choose Copy / paste contacts. Paste your spreadsheet rows into the large text field, following the column order shown above it. Check names and email addresses before continuing.
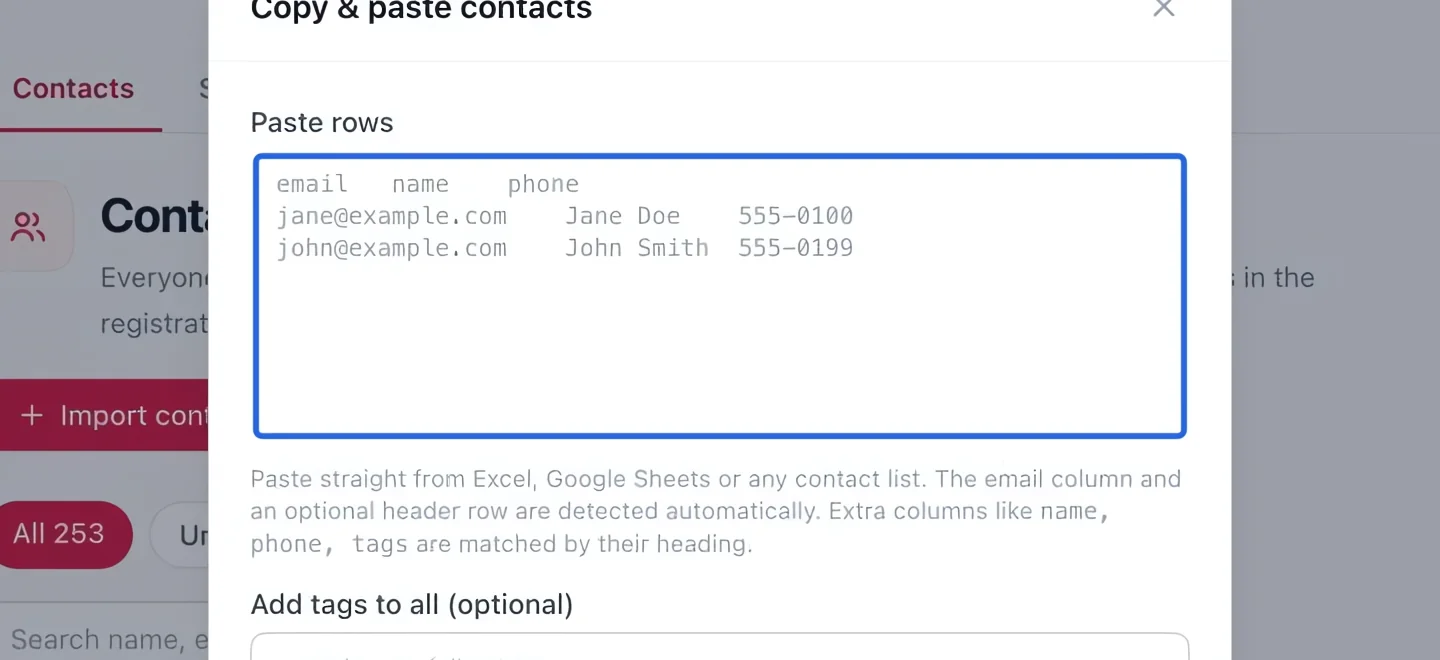
Select the screenshot to enlarge it. The blue outline marks the control to use.
- 4
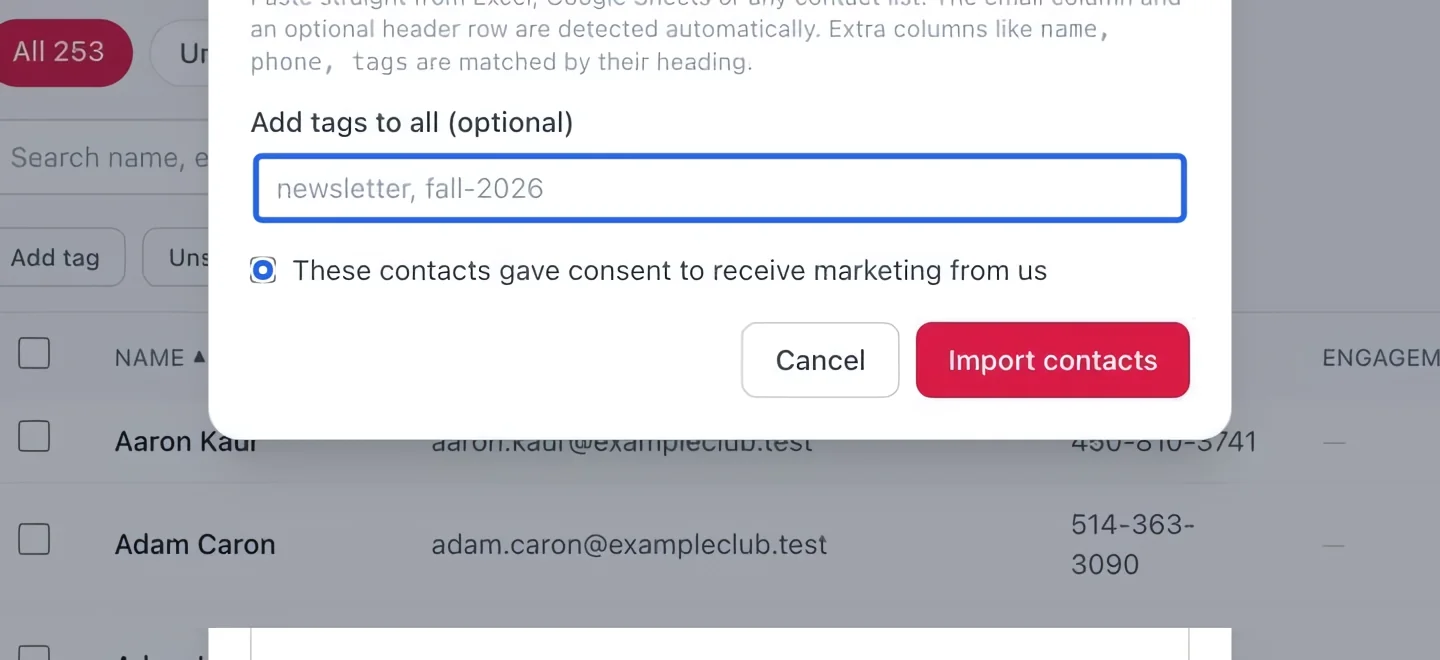
Review tags and consent
Optionally enter tags for this group. Select the consent checkbox only if these contacts gave permission to receive your marketing. Review the entries, then use the import button. Existing unsubscribe choices must be respected.
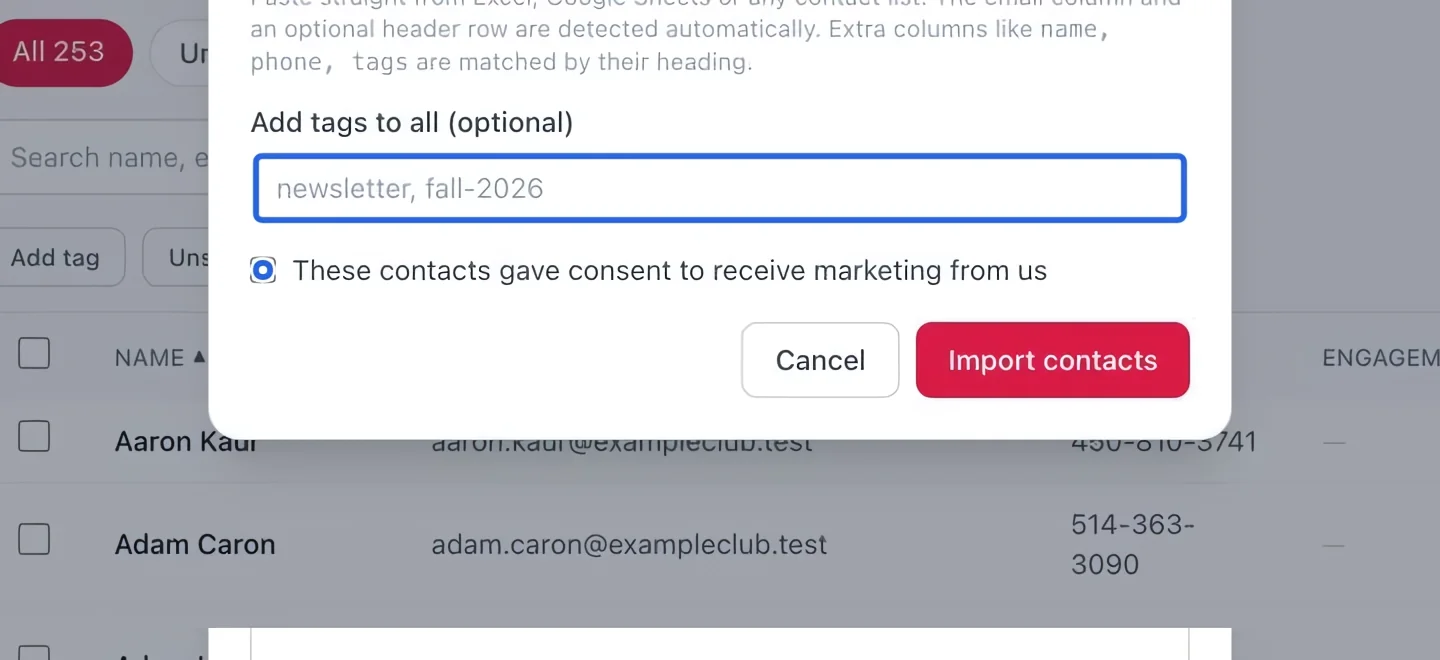
Select the screenshot to enlarge it. The blue outline marks the control to use.
- 5
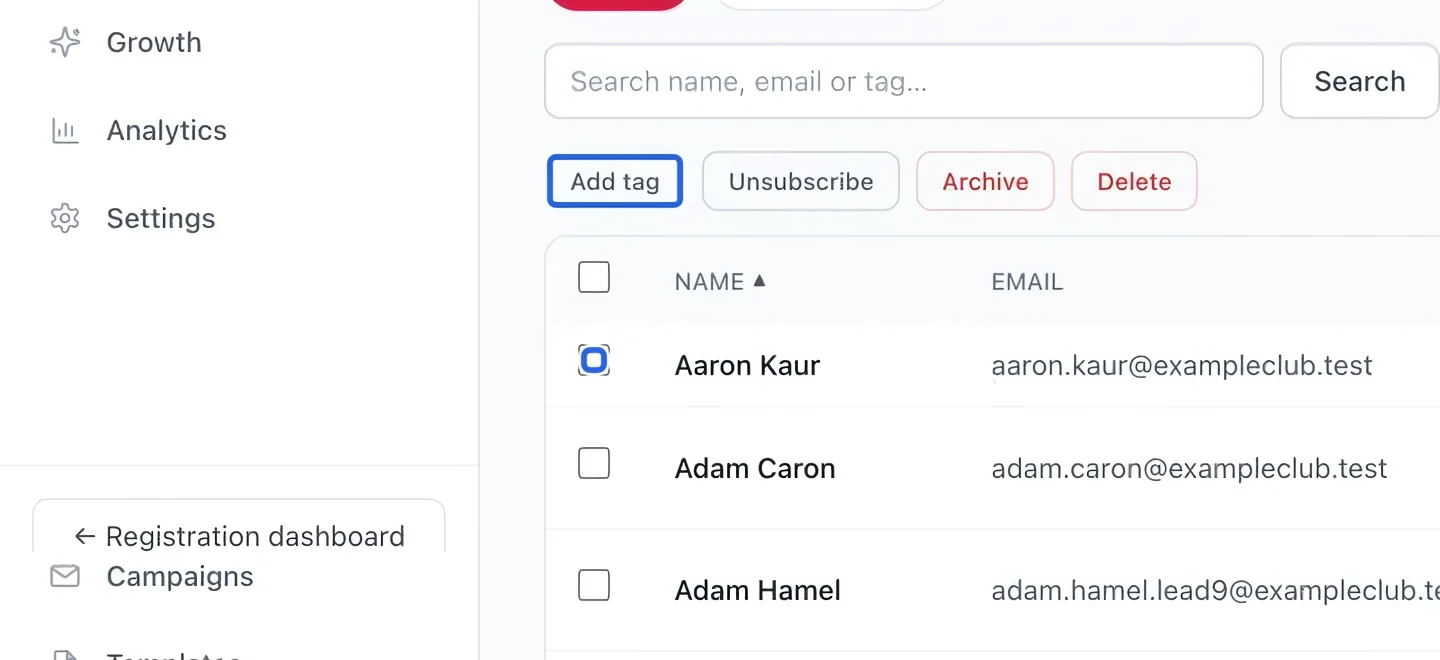
Organize the saved contacts
Return to Contacts and check the imported rows. Select the contacts you want to group and use Add tag. Use consistent tags such as “camp” or “volunteer” for future audience segments.
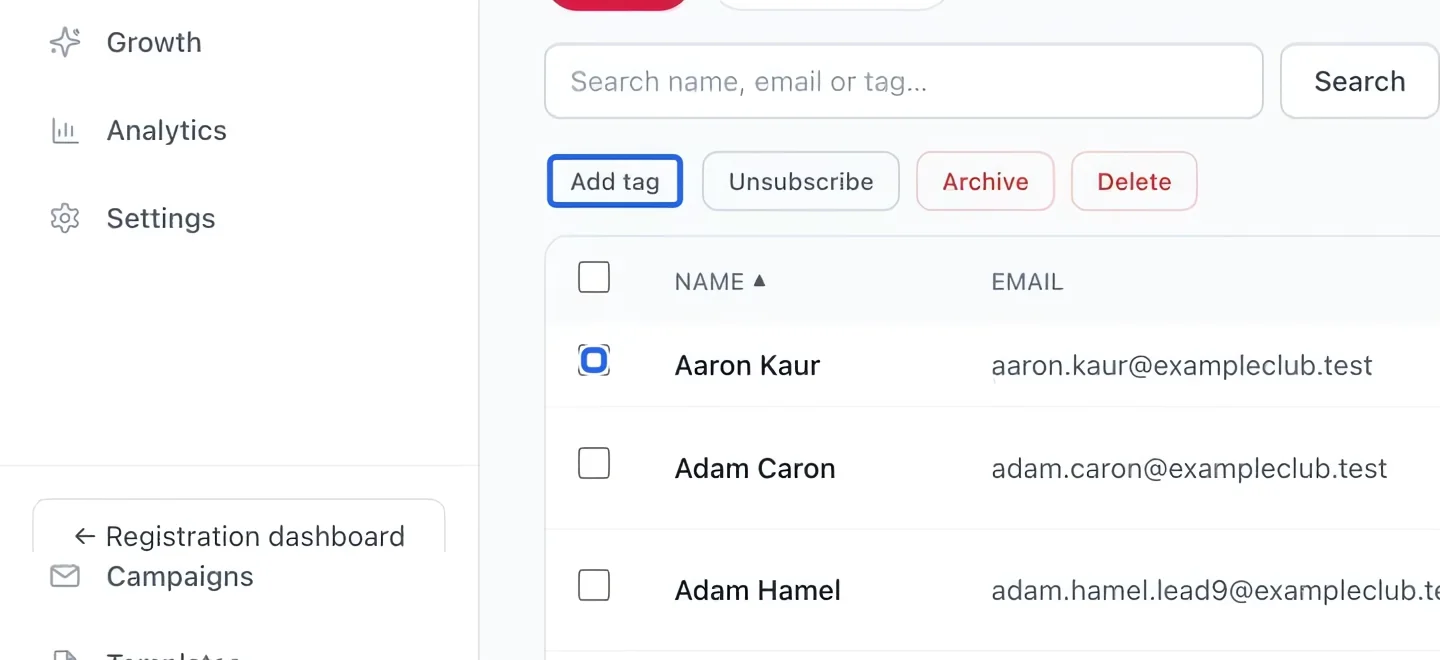
Select the screenshot to enlarge it. The blue outline marks the control to use.
Keep going
Saved audience rules (by tag, program history, engagement or location) that update themselves.
MarketingReview marketing eligibility, respect excluded contacts and check your sender identity.
MarketingNewsletter signup forms for your portal, and trackable QR codes for gym posters and flyers.